So 2018 has ended and I thought I would share all the day hikes I did from Tokyo over the past year, excluding those done using the shinkansen, since they are covered in the Tokyo Wide Pass updates. There were some additional hikes that required overnight stays that I hope to share eventually. I only managed about 30 hikes, about 10 less than year. Hopefully, I can make up for this in 2019 (already 5 in January so off to a good start!).
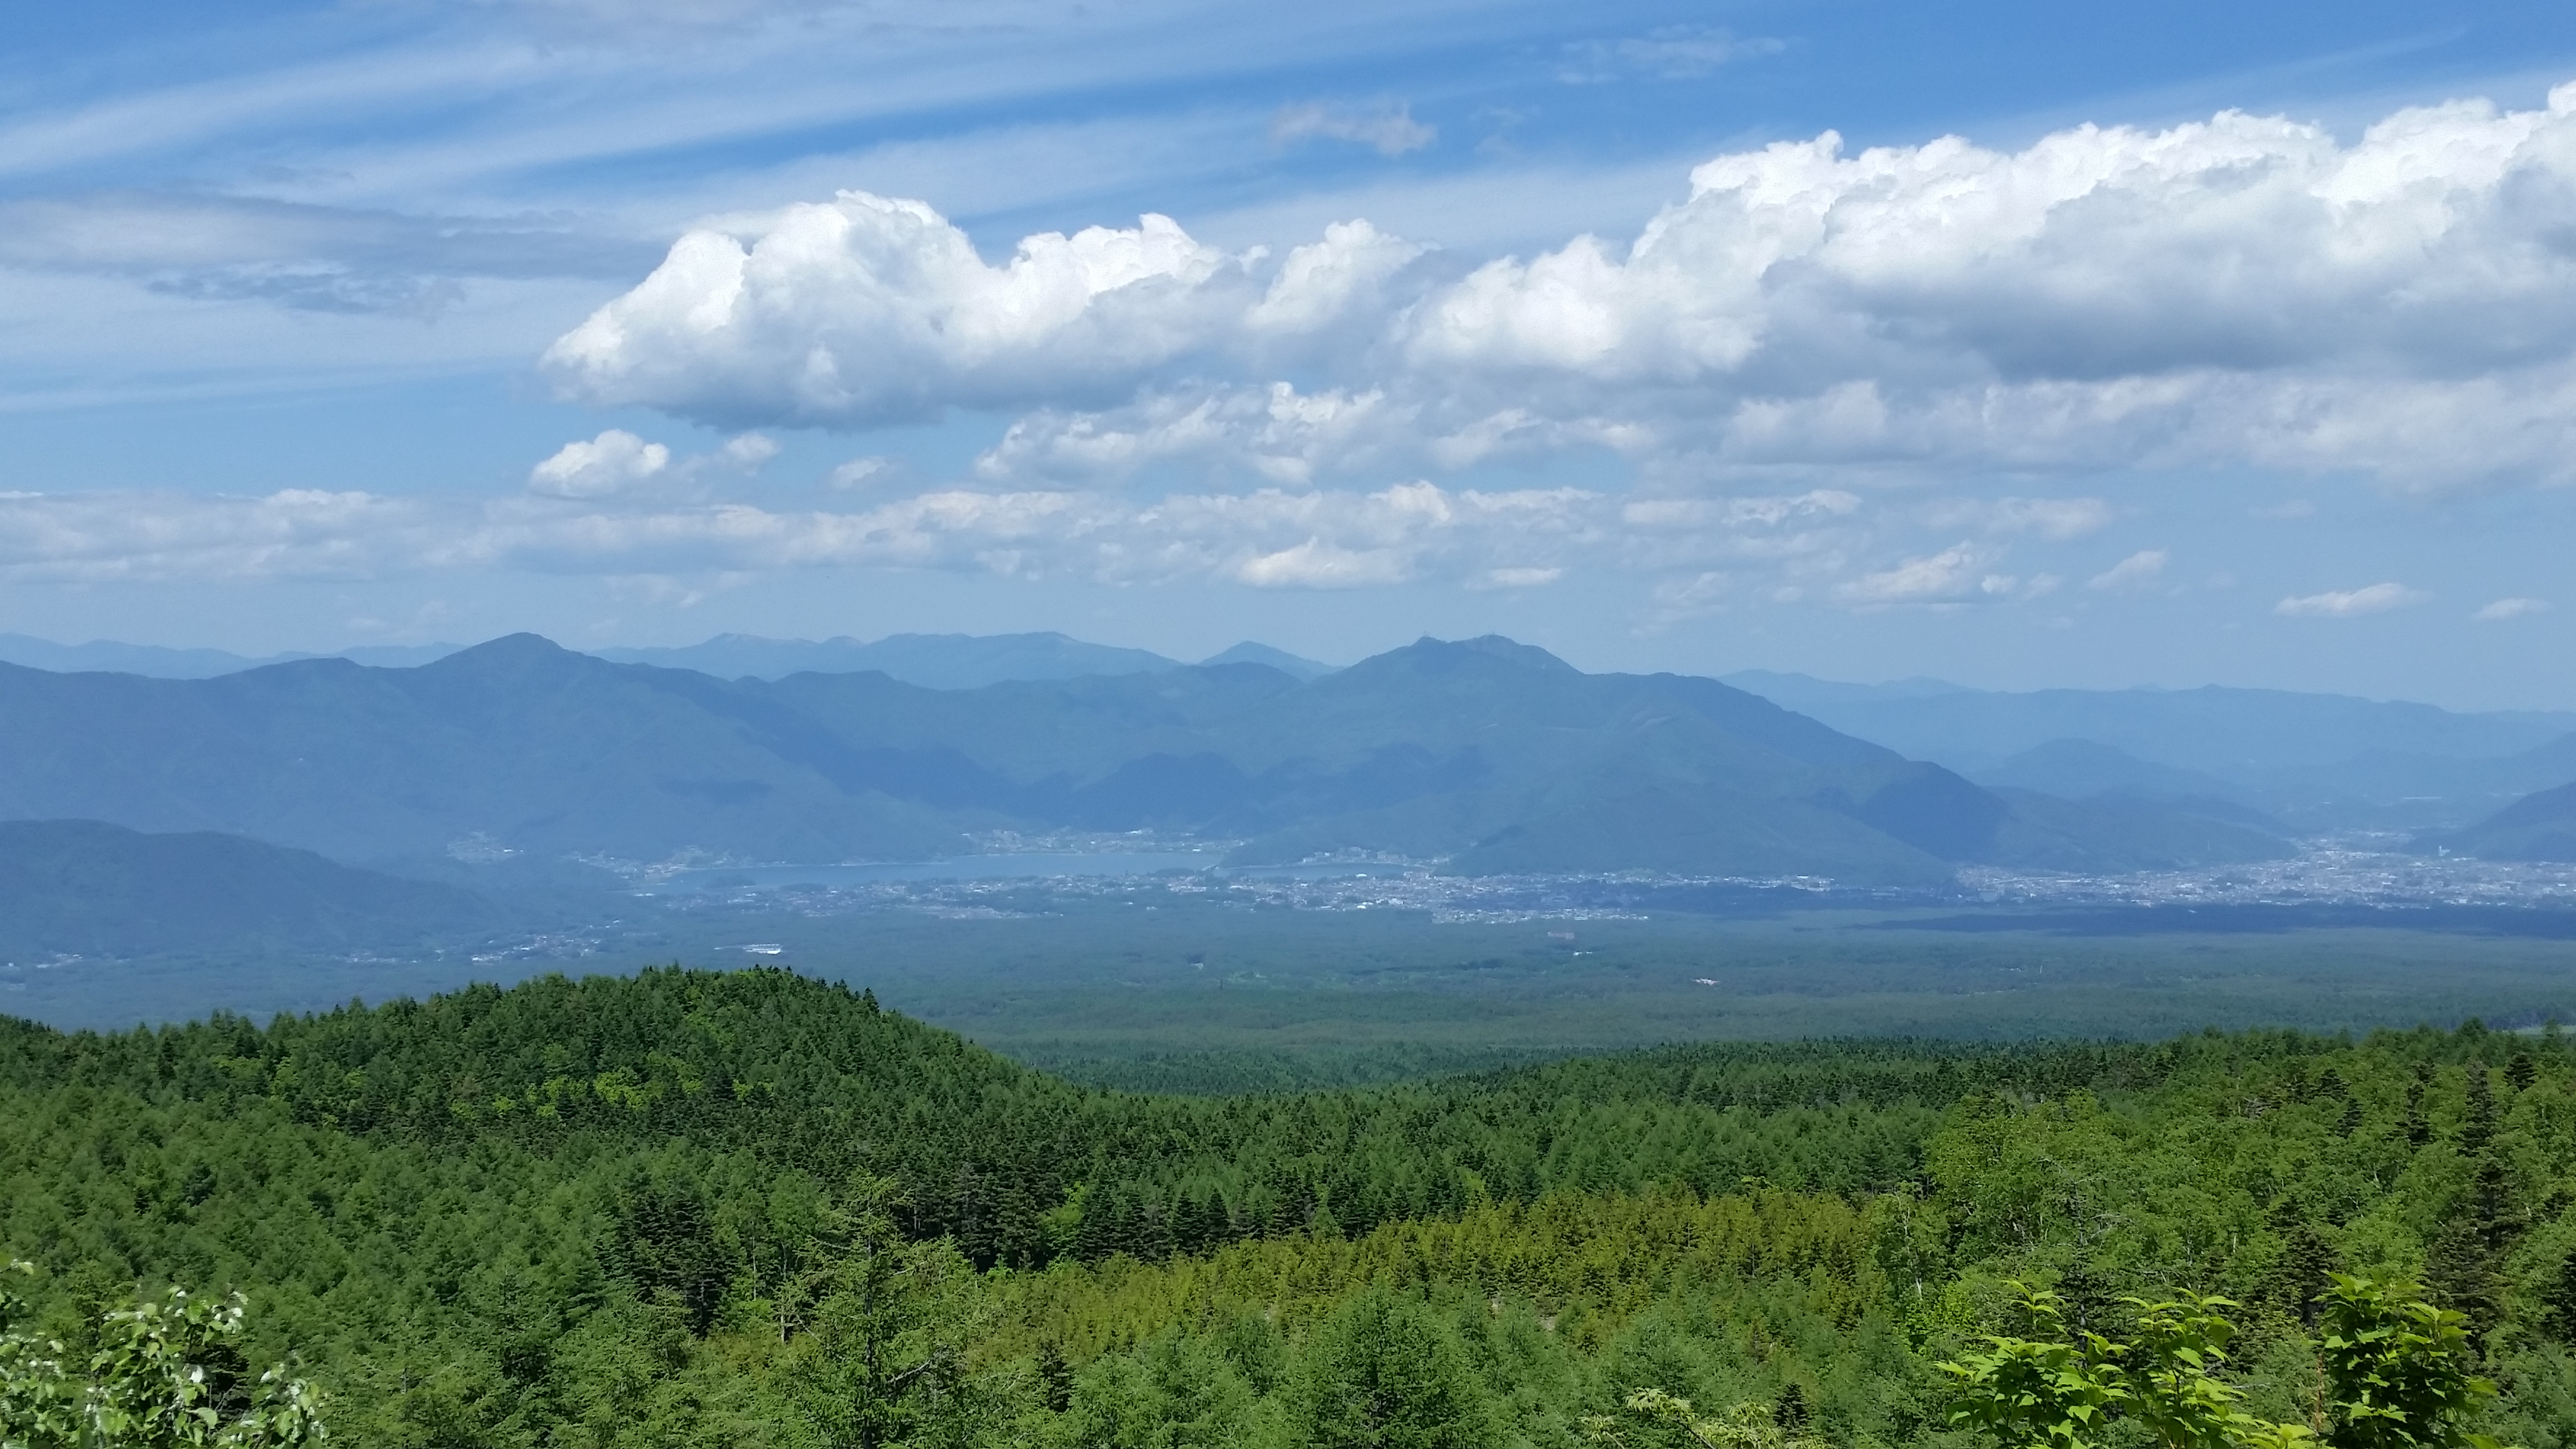
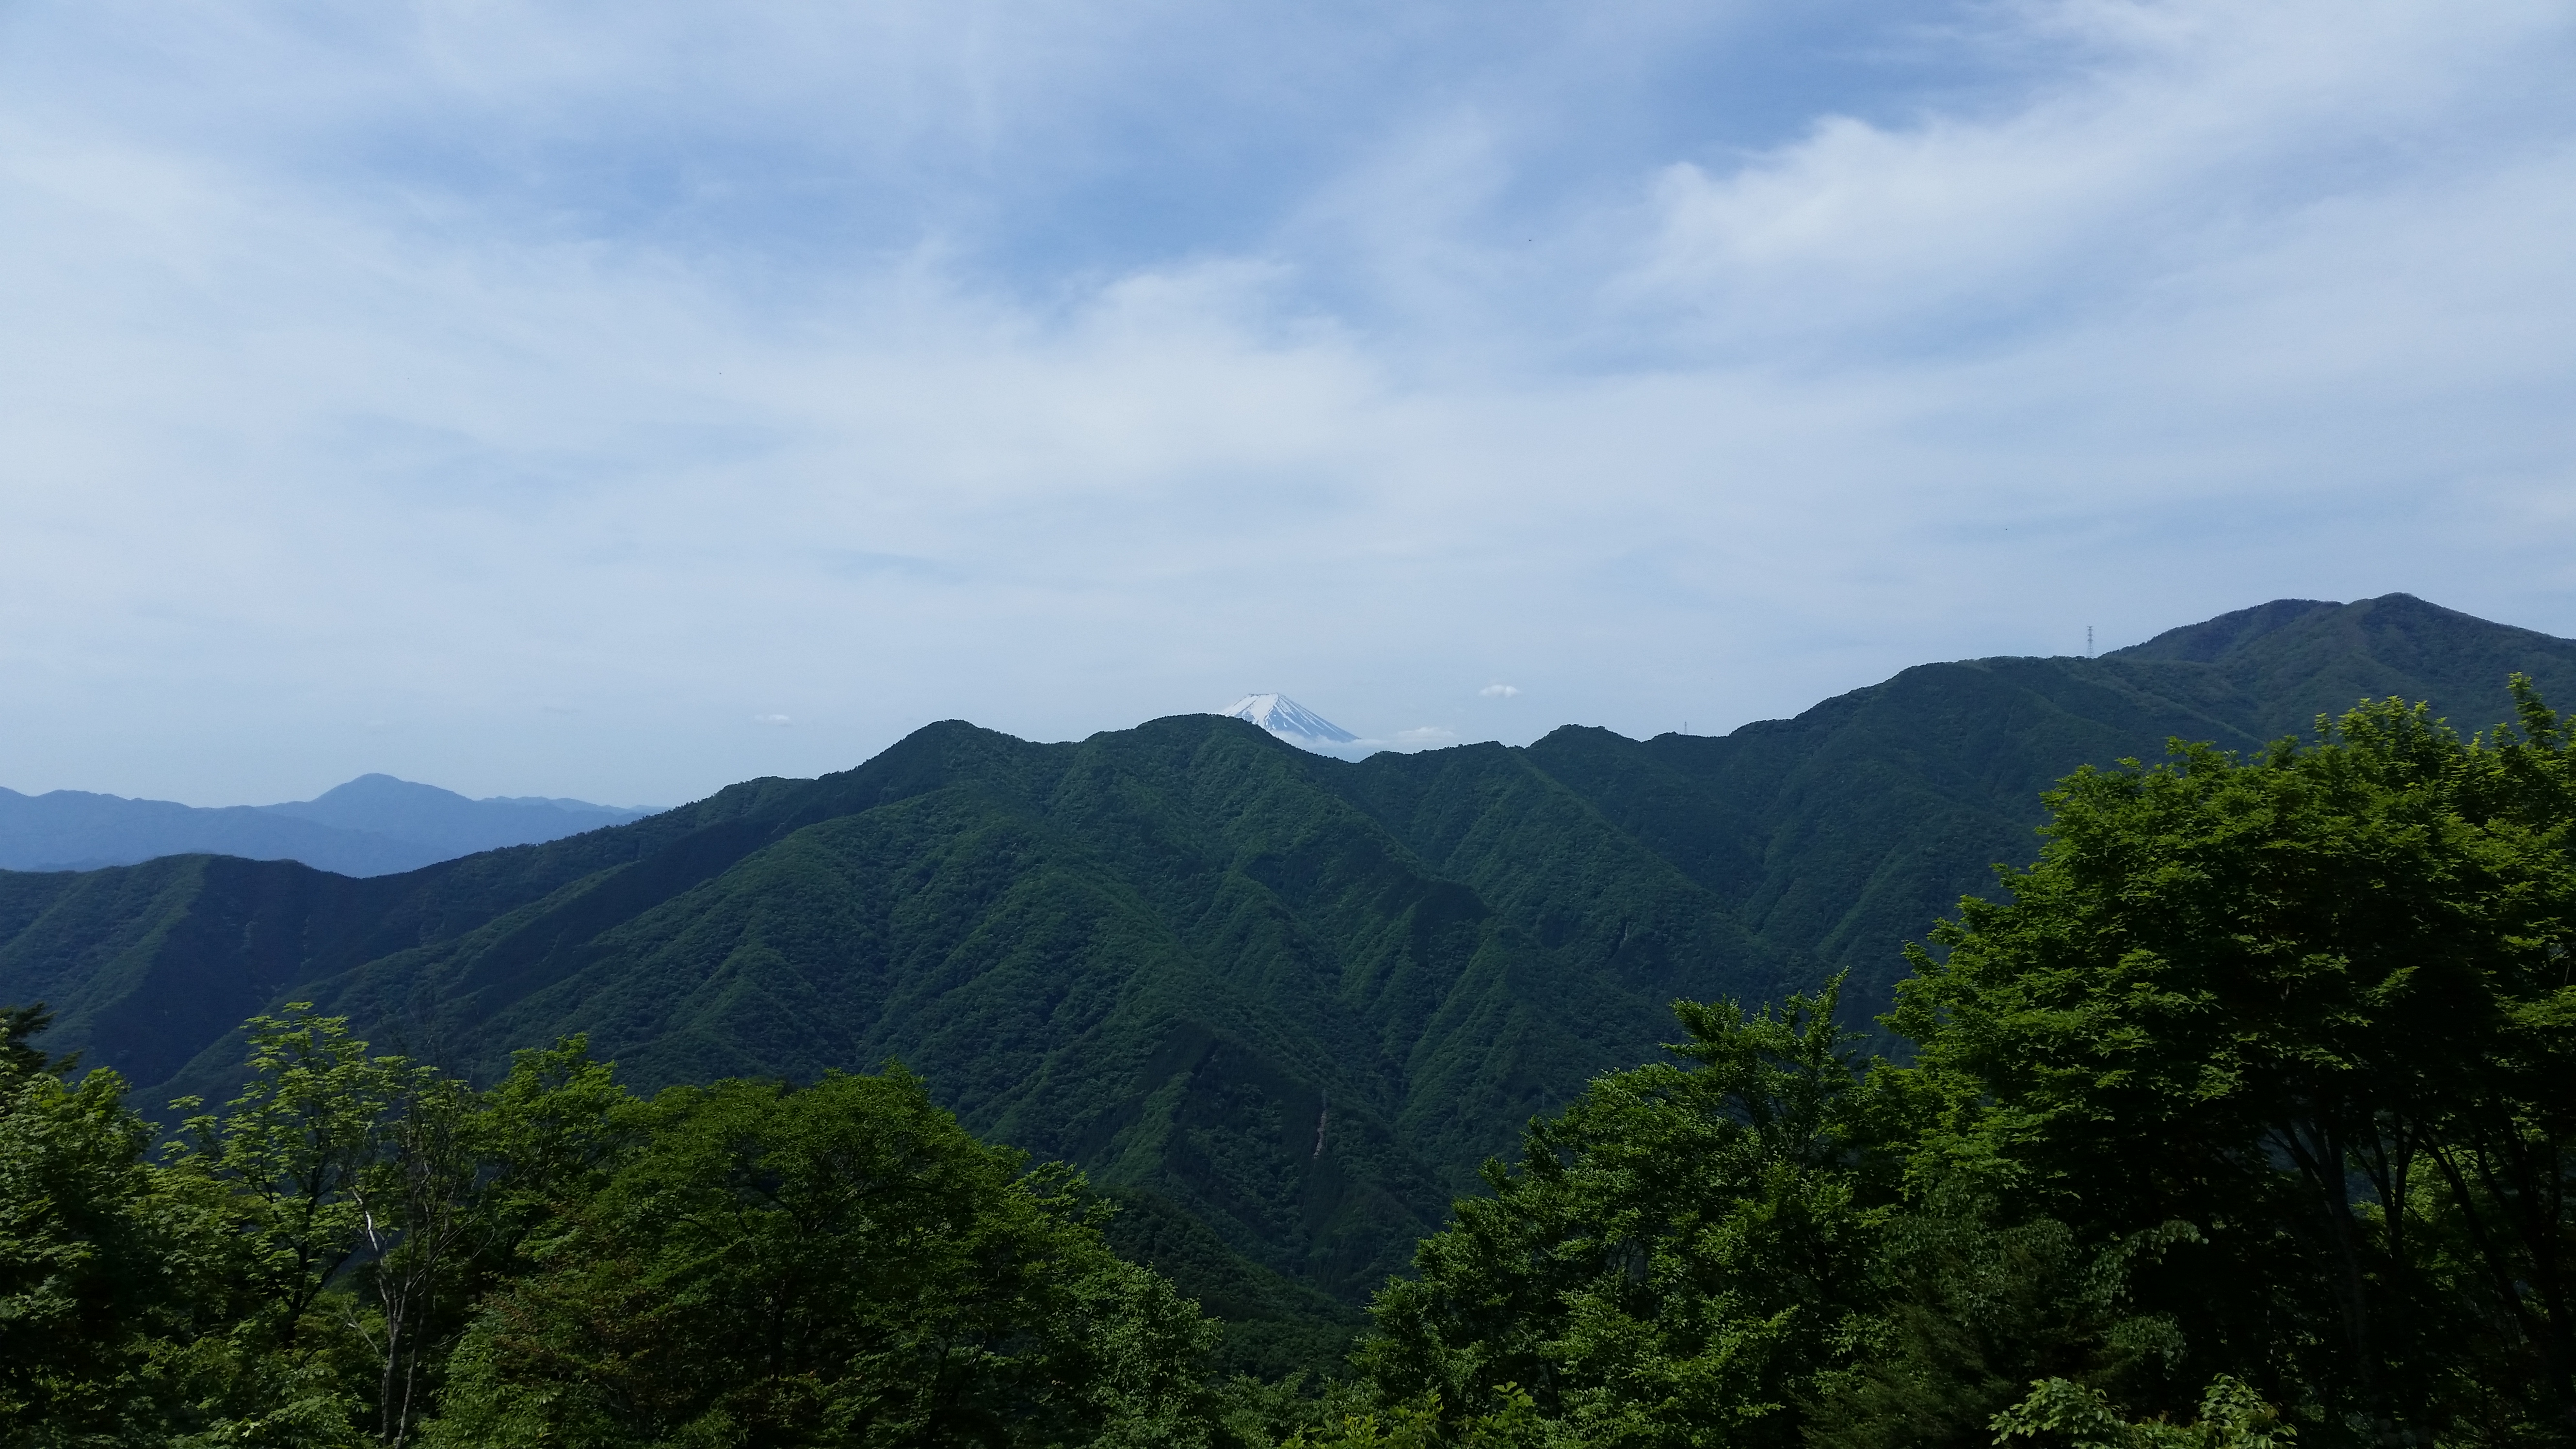
Soga Hills (highest point 328m), Odawara city, Kanagawa Prefecture, Saturday January 13

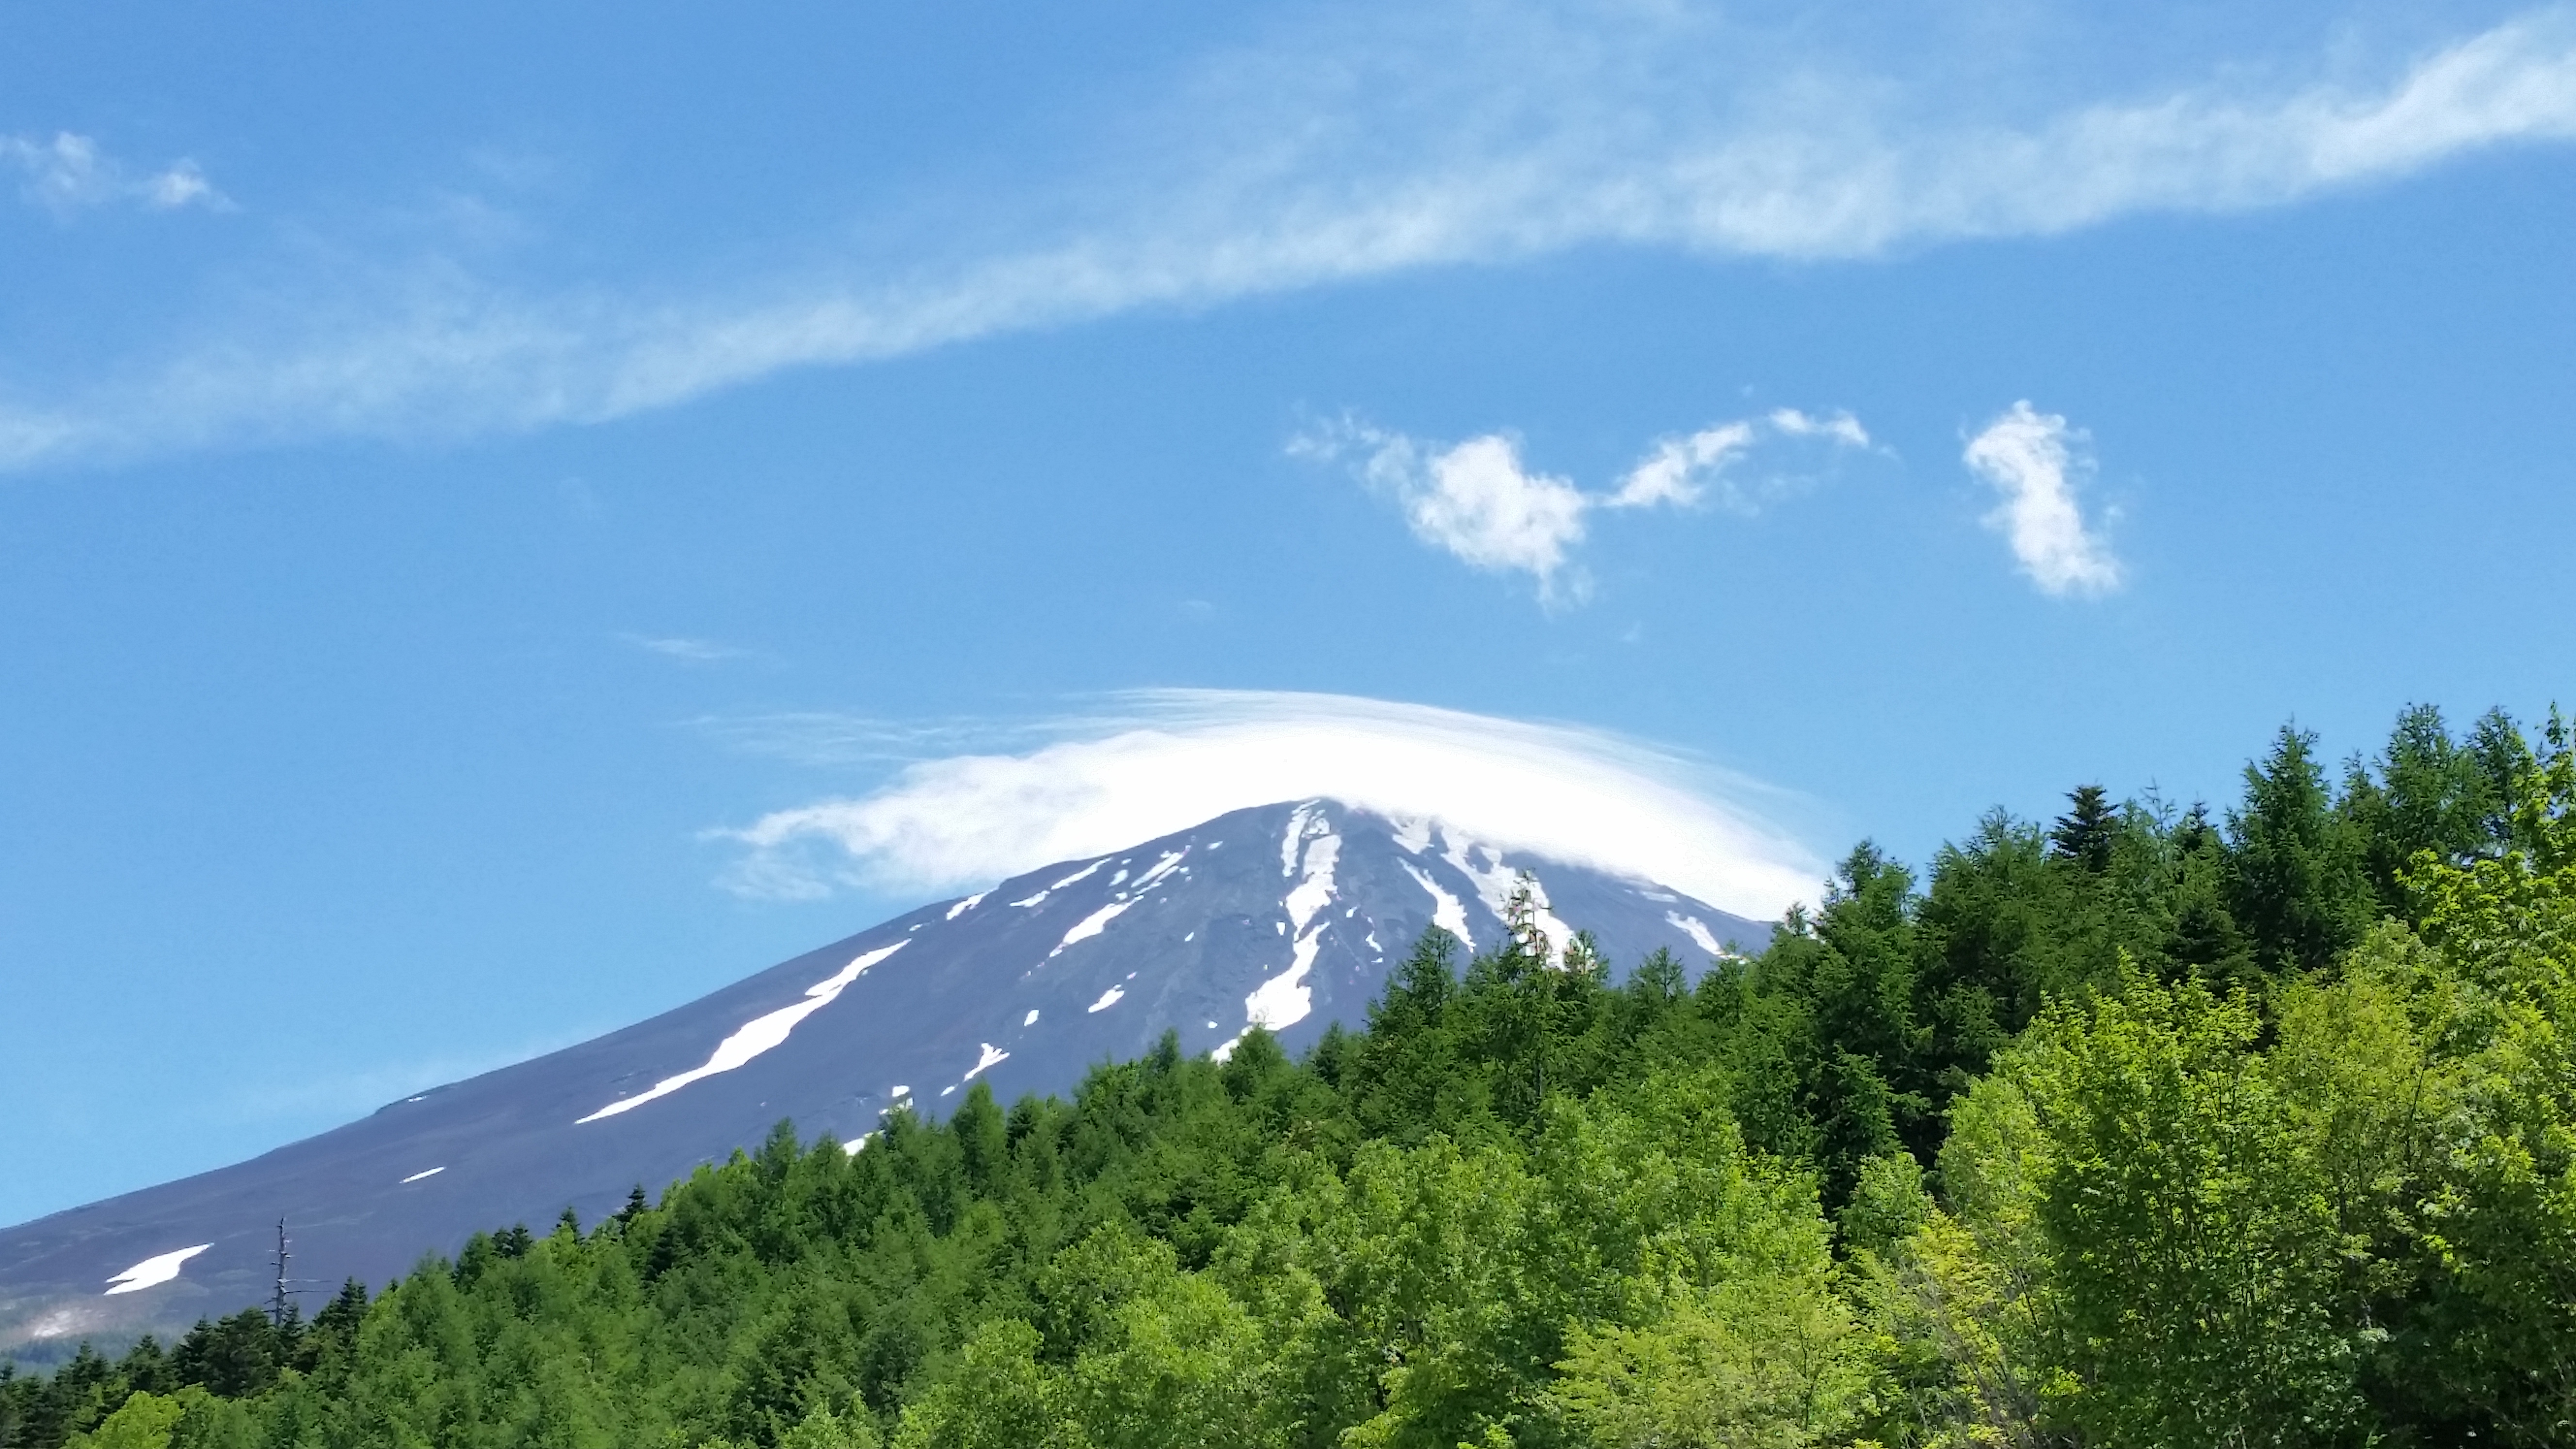
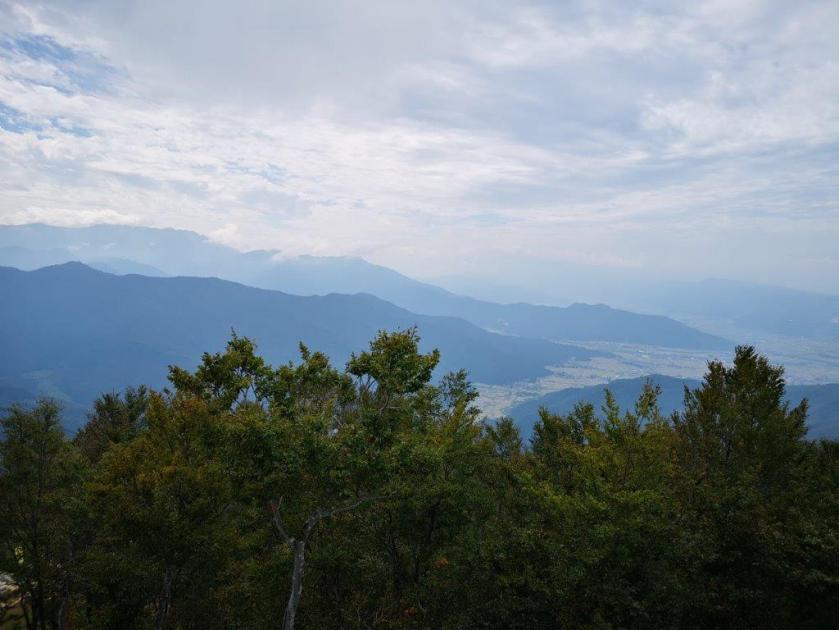
The rounded peak to the left of Mt Fuji is Mt Kintoki
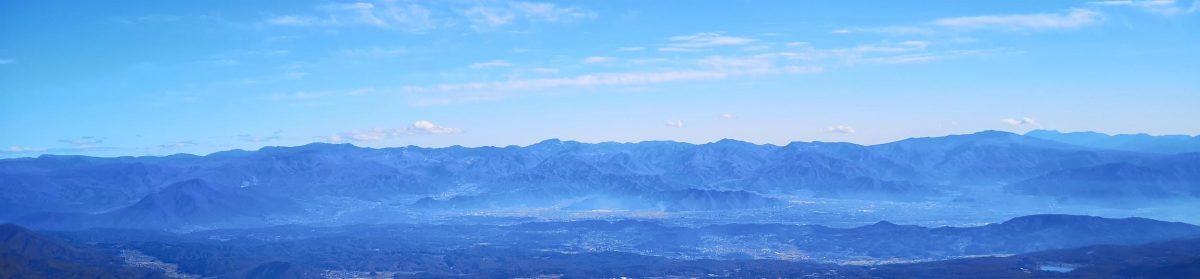
I chose the Soga Hills 曽我丘陵, a hilly forested area in Western Kanagawa, stretching from the foothills of the Tanzawa mountains all the way to Sagami bay, for my first hike of the year. In theory you can hike from Shin-Matsuda all the way to Kozu. However my guidebook didn’t have any information about the first part, so I played it safe and started the hike a little further south, from Kamioi station instead. At first I had to walk along roads, then through fields with nice views of snow-capped Fuji. I saw some interesting wood piles destined for the bonfires of dondonyaki (celebrated on the 15th).

New year decorations and old charms such as Daruma heads are burned
A steep path finally brought me to “Yume no Sato” at the top of the ridge with great views of Mt Fuji and the Hakone mountains. From there it was easy walk with some slight ups and downs along countryside lanes and through lovely forest, with occasional glimpses of Mt Fuji to the West and the Tanzawa mountains to my back, in the North.

The Tanzawa mountains – the pyramid one on the very left is Mt Oyama
Finally Sagami bay came in view – I could spot the faint outline of Oshima island to the South and the hills of the Boso peninsula to the East. After reaching an area full of plum tree orchards, I started to descend along a road with good views of Odawara town, the Izu peninsula and the ocean. The path is well-sign posted with several detailed information boards, and I was lucky to find a good onsen about 1.5km West of Kozu station.

The sea and, in the far distance, the Chiba coastline
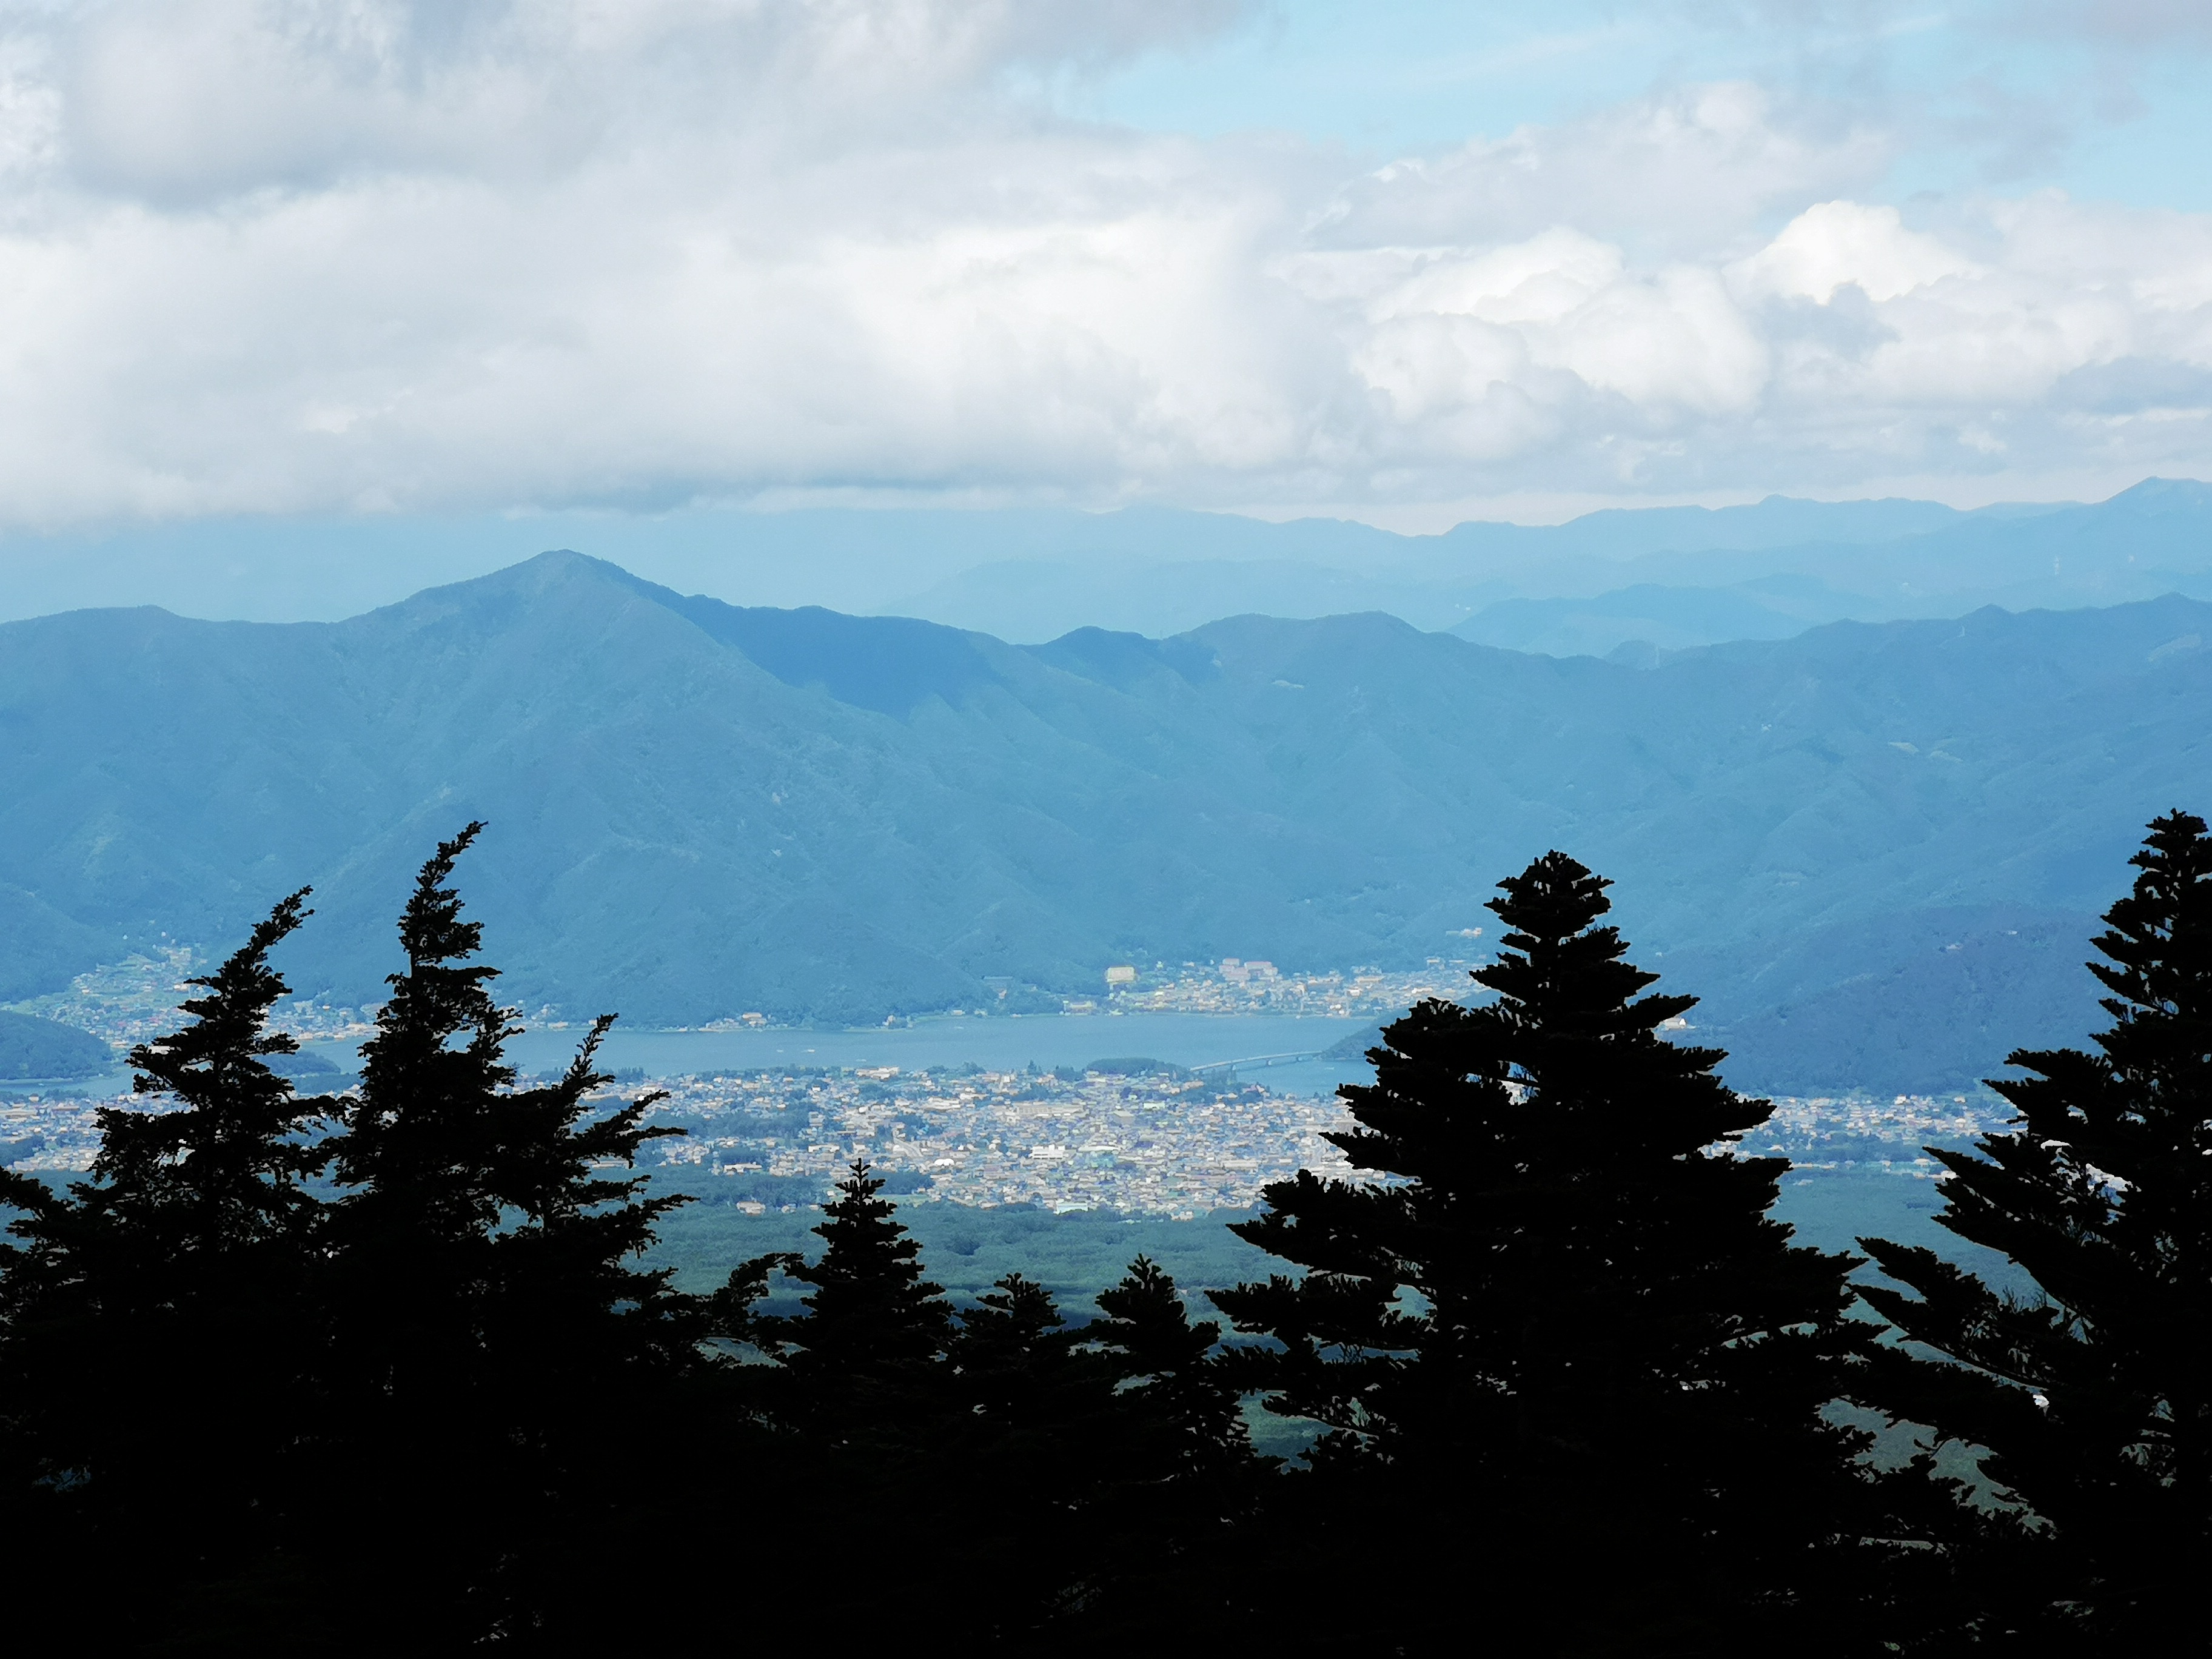
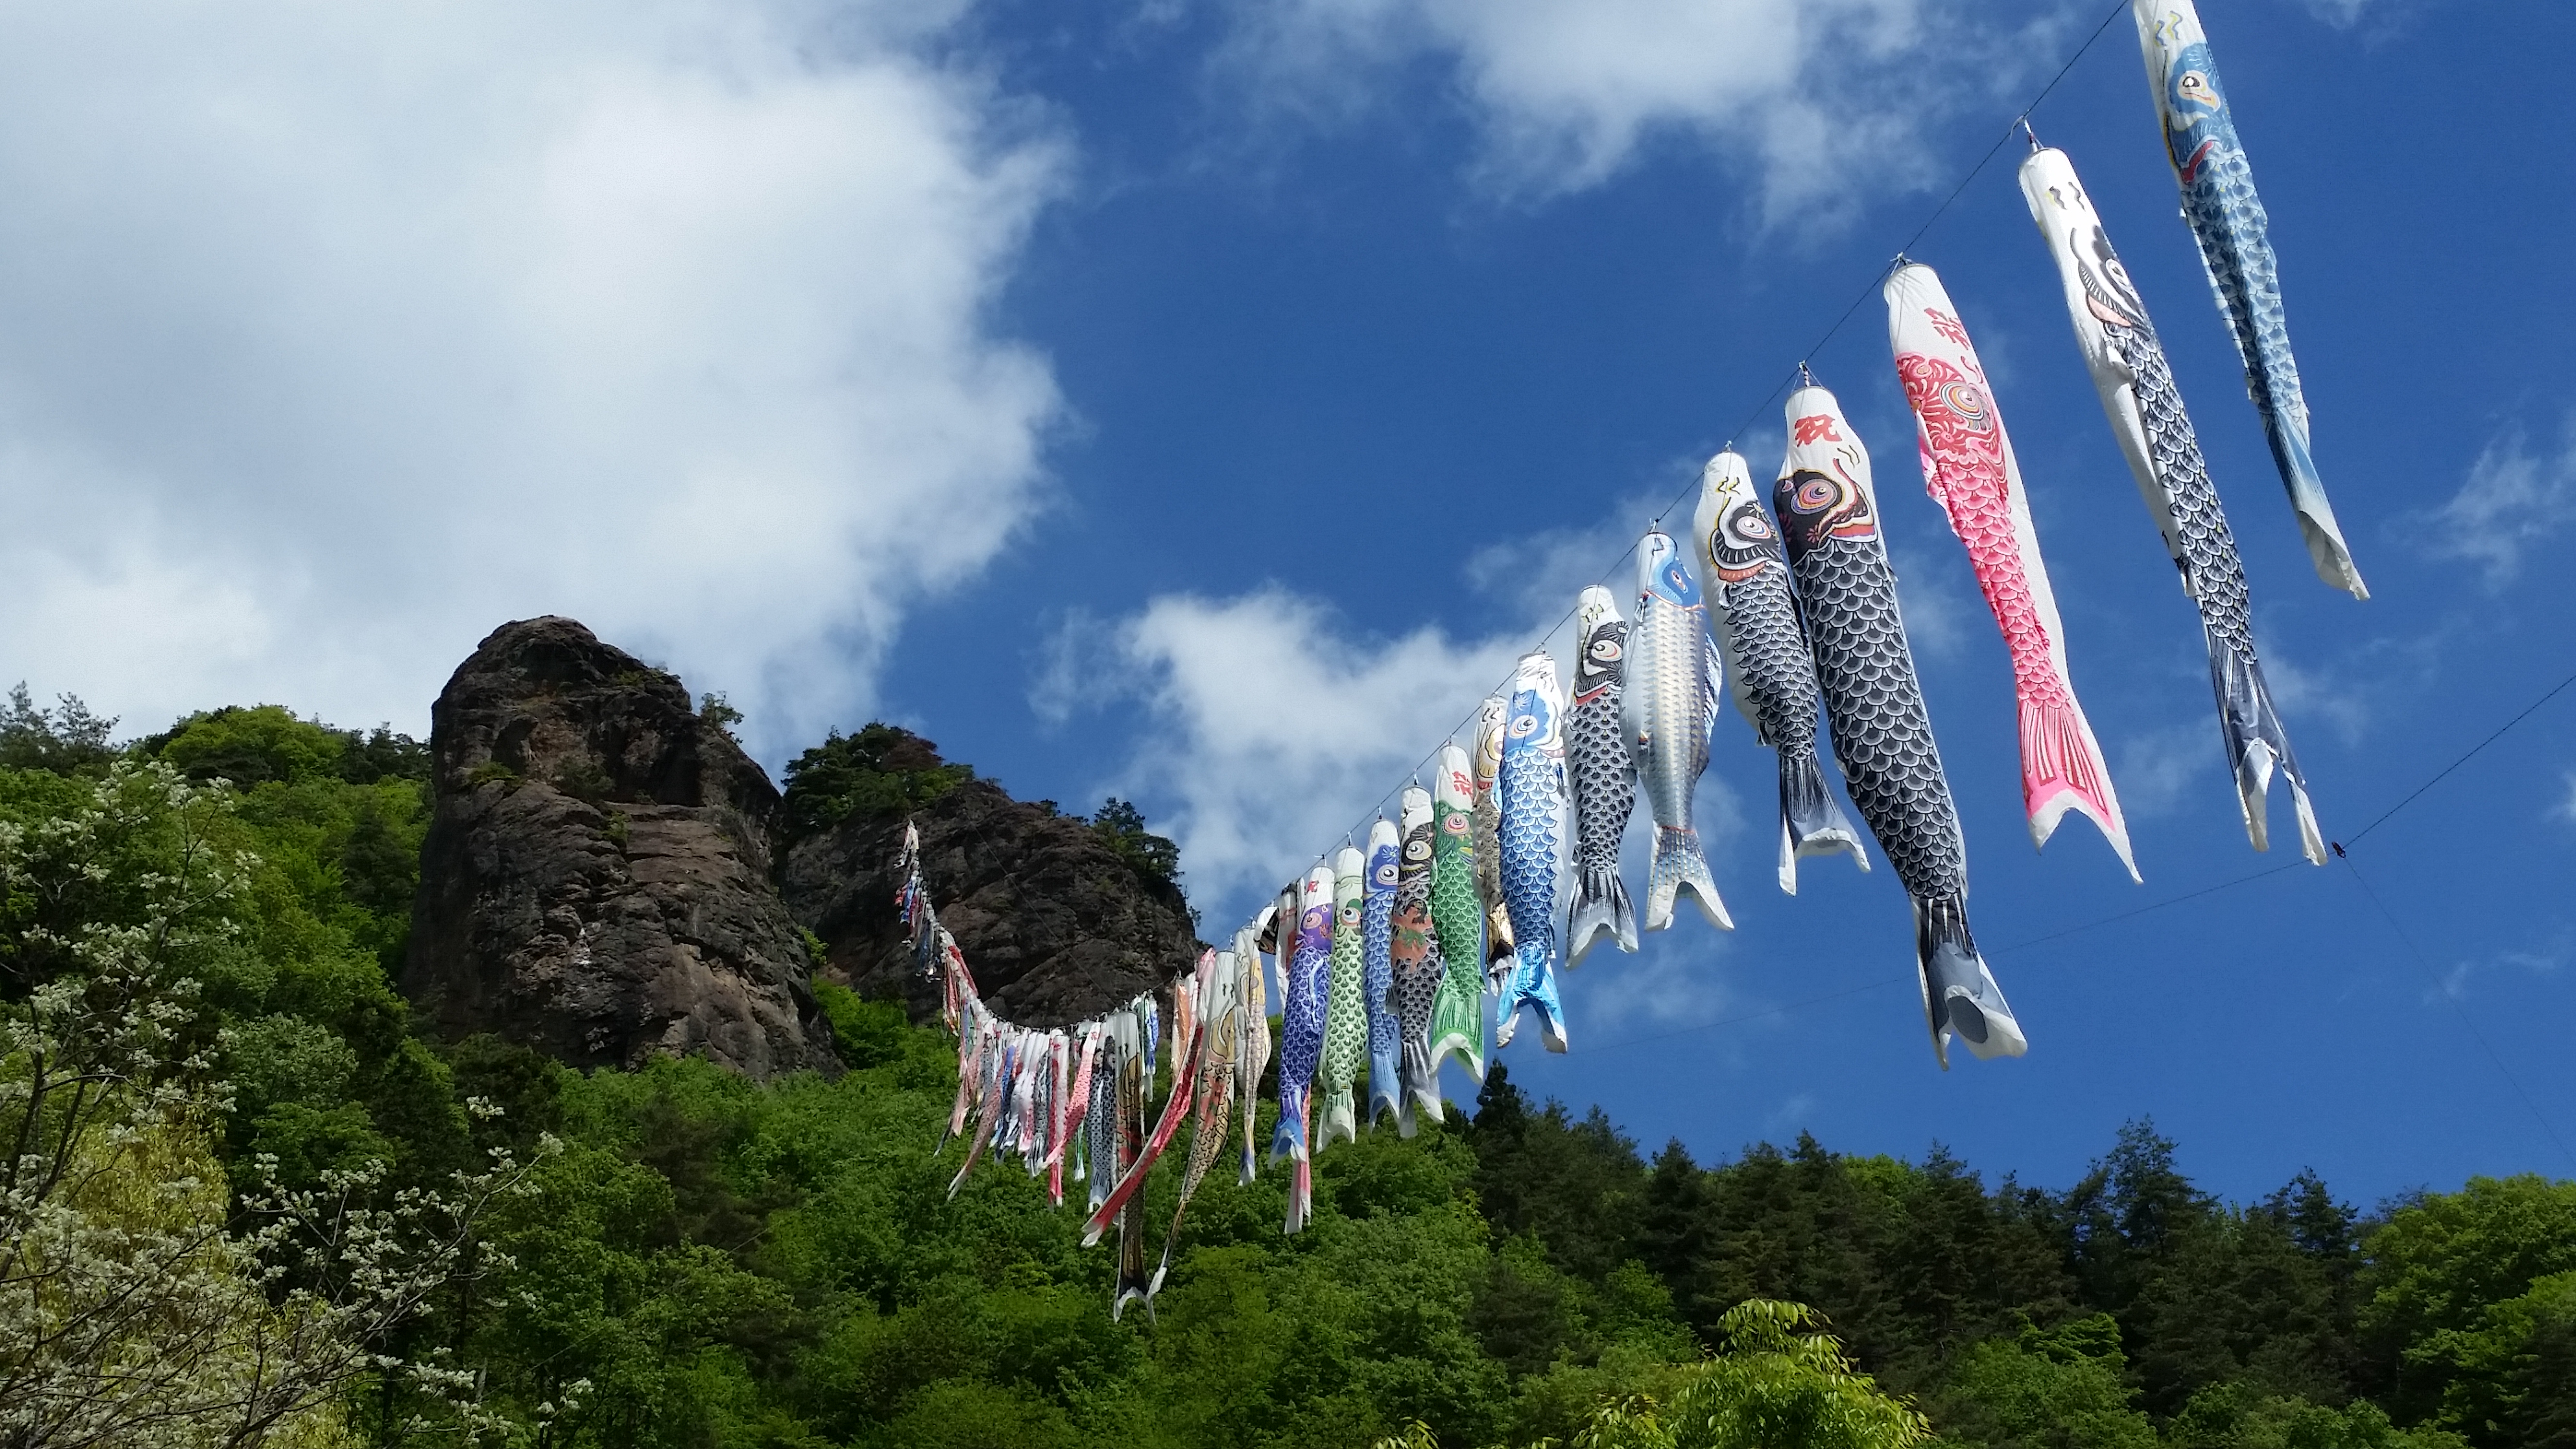
Mt Karasawa (249m), Mt Suwa (324m) and Mt Mikamo (229m), Sano City, Tochigi Prefecture, Sunday January 21

The final stretch before Karasawa shrine lined with banners
One area I discovered in 2017, and continued to explore in 2018, is the mountainous Southern part of Gunma and Tochigi prefectures, jutting into the Kanto plain from the North, and consisting of Kiryu, Ashikaga, Sano and Tochigi cities. It combines countless low hills with fairly good access from train stations.
Getting to the start of the hike required a little bit of road walking (I saw a couple of emus inside an enclosure on the way!) Once you start up the mountain, the scenery was surprisingly beautiful and wild. Near the top of Mt Karasawa 唐沢山 there is the Karasawa Shrine with its many (real) cats. The hike over to Mt Suwa 諏訪山 is also very pleasant – nice surrounding forest with lots of pine trees and good views of the valley.

Views of Southern Tochigi
Since it’s really quite a short hike, I decided to do one more mountain – Mt Mikamo 三毳山 just south of the Ryomo train line and a Kanto 100 famous mountain. I got the bus driver to drop me off at the nearest point and I quickly went up and down this relatively low mountain inside Mikamoyama park, making it down just after sunset.
Boshu Alps (highest point 268m), Boso Peninsula, Chiba Prefecture, Sunday February 4

Kagutsuchi Shrine, a mysterious place a little off the main trail
I had been wanting to hike the the Boshu Alps 房州アルプス , the hilly area East of Mt Nokogiri, for a while, but unfortunately, there is no public transport to the start, and a round trip wasn’t feasible because the last bus at the end was too early. After I had hurt my knee in 2017 (not while hiking), I had decided that I should do all the hikes I really wanted to do regardless of cost (within reason), so I coughed up the money for a taxi from Kazusa Minato station.
Since it’s a fairly short hike, and to save money, I asked to be dropped off at the base of the hills. However, the taxi driver took me all the way up to where the trail actually starts. Lesson learned – on subsequent taxi rides I always made sure to check our position using the GPS on my phone so I could tell the driver where to stop exactly.

My taxi drop-off point and official start of the Boshu Alps hiking trail
This was my only hike of the year in Chiba – a shame since the area is very pittoresque with its rolling green hills. The end, however, was a bit of a disaster – I couldn’t find the last part of the trail going down and, after some lost time, ended up descending via the same route as when I did my last hike in the area in 2017. In fact, I also got somewhat lost on that hike as well – the area could use some better signposting because apart from those confusing bits, it’s a wonderful and easy place to hike in the winter.
Mt Gyodo 442m, Mt Ryogai 248m, Mt Oiwa, 417m Ashikaga City, Tochigi Prefecture, Sat February 24

The urban sprawl of Ashikaga city
February 2021 – due to a forest fire, access to the hiking trail to Mt Gyodo is forbidden. Please check the Ashikaga City website for updates.
The best thing about hiking Mt Gyodou 行道山, apart from the views of the hills of Southern Tochigi, is that it starts at Ashikaga Orihime Shrine, passes through the ruins of Ashikaga Mountain castle, and finishes at Gyodosan-join temple, so I was able to include some cultural sightseeing with my hiking (there are signs with English explanations). I choose to walk to the start of the trail, instead of taking a taxi, and saw several interesting sights inside Ashikaga city, and some plum blossoms as well.

As you go further in, the city gives way to countryside
All the spots are very photogenic, and the trail in between, is rocky and alpine-like despite the low altitude. It’s a popular hiking area so I saw (and chatted) with lots of people, especially in the first section. The last part I was all by myself. I can’t think of a better hike to do in the middle of winter.

Steps leading up to Orihime shrine
Mt Amamaki (533m), Mt Takamine (520m) & Mt Bucho (431m), Kasama city, Ibaraki prefecture, Saturday March 3

The hills of Ibaraki prefecture to the South
This one required yet another taxi ride to the start of the trail. As I was starting to discover, Japanese taxi drivers can be very chatty, so I was getting some Japanese practice for the same price. I had originally spotted these 3 mountains when I had hiked from Mt Atago to Mt Wagakuni, South of the Mito line, in 2017. This was my first hike of the year to Ibaraki prefecture, another area I am slowly discovering, although all 3 mountains are on the border with Tochigi prefecture.
I enjoyed the start of the trail very much. It went through some nice forest and it was already quite warm in the beginning of the March. After reaching the top ridge I went left to the top of Mt Amamaki 雨巻山 with views of Tochigi prefecture to the East. I passed an observation tower on the way with good views to the South with Mt Tsukuba in the distance. There are other hiking trails up and down this mountain and it would make a good day hike by itself.

The hills of Tochigi prefecture to the North
I then retraced my steps and headed down the mountain and followed a road for a bit, still icy in some parts. I finally found the small path that led to the top of Mt Takamine, where there was a launching spot for paragliders and a fantastic panorama. I think this is about the 7th such spot that I’ve come upon while hiking – I hadn’t realised that it was such a popular spot in Japan! I continued through forest with good views of Tochigi to the North, to the last of the 3 summits, Mt Buccho 仏頂山, surrounded by trees. After descending, I walked through fields and villages all the way back to the train station.
Mt Kurakake (492m), Kanuma city, Tochigi Prefecture, Sunday April 8

The ragged ridgeline of Mt Kogashi
Mt Kurakake 鞍掛山 is situated in a small hilly area located between Utsunomiya and Nikko cities. I used a taxi for the approach but asked to be dropped off at Akagawa lake, the starting point of neighbouring Mt Kogashi (climbed in 2017), so that I could walk the last part along small roads to the trailhead. I kind of regretted that decision because no sooner had I set out that in started snowing – yes, snowing in April! It didn’t last but I had to take refuge under some trees at one point. The area is not particularly high but it seems that the cold front had just moved in – it was quite cold for a while after that.

View of Mt Takahara to the North (Mt Tsukuba can be see to the West)
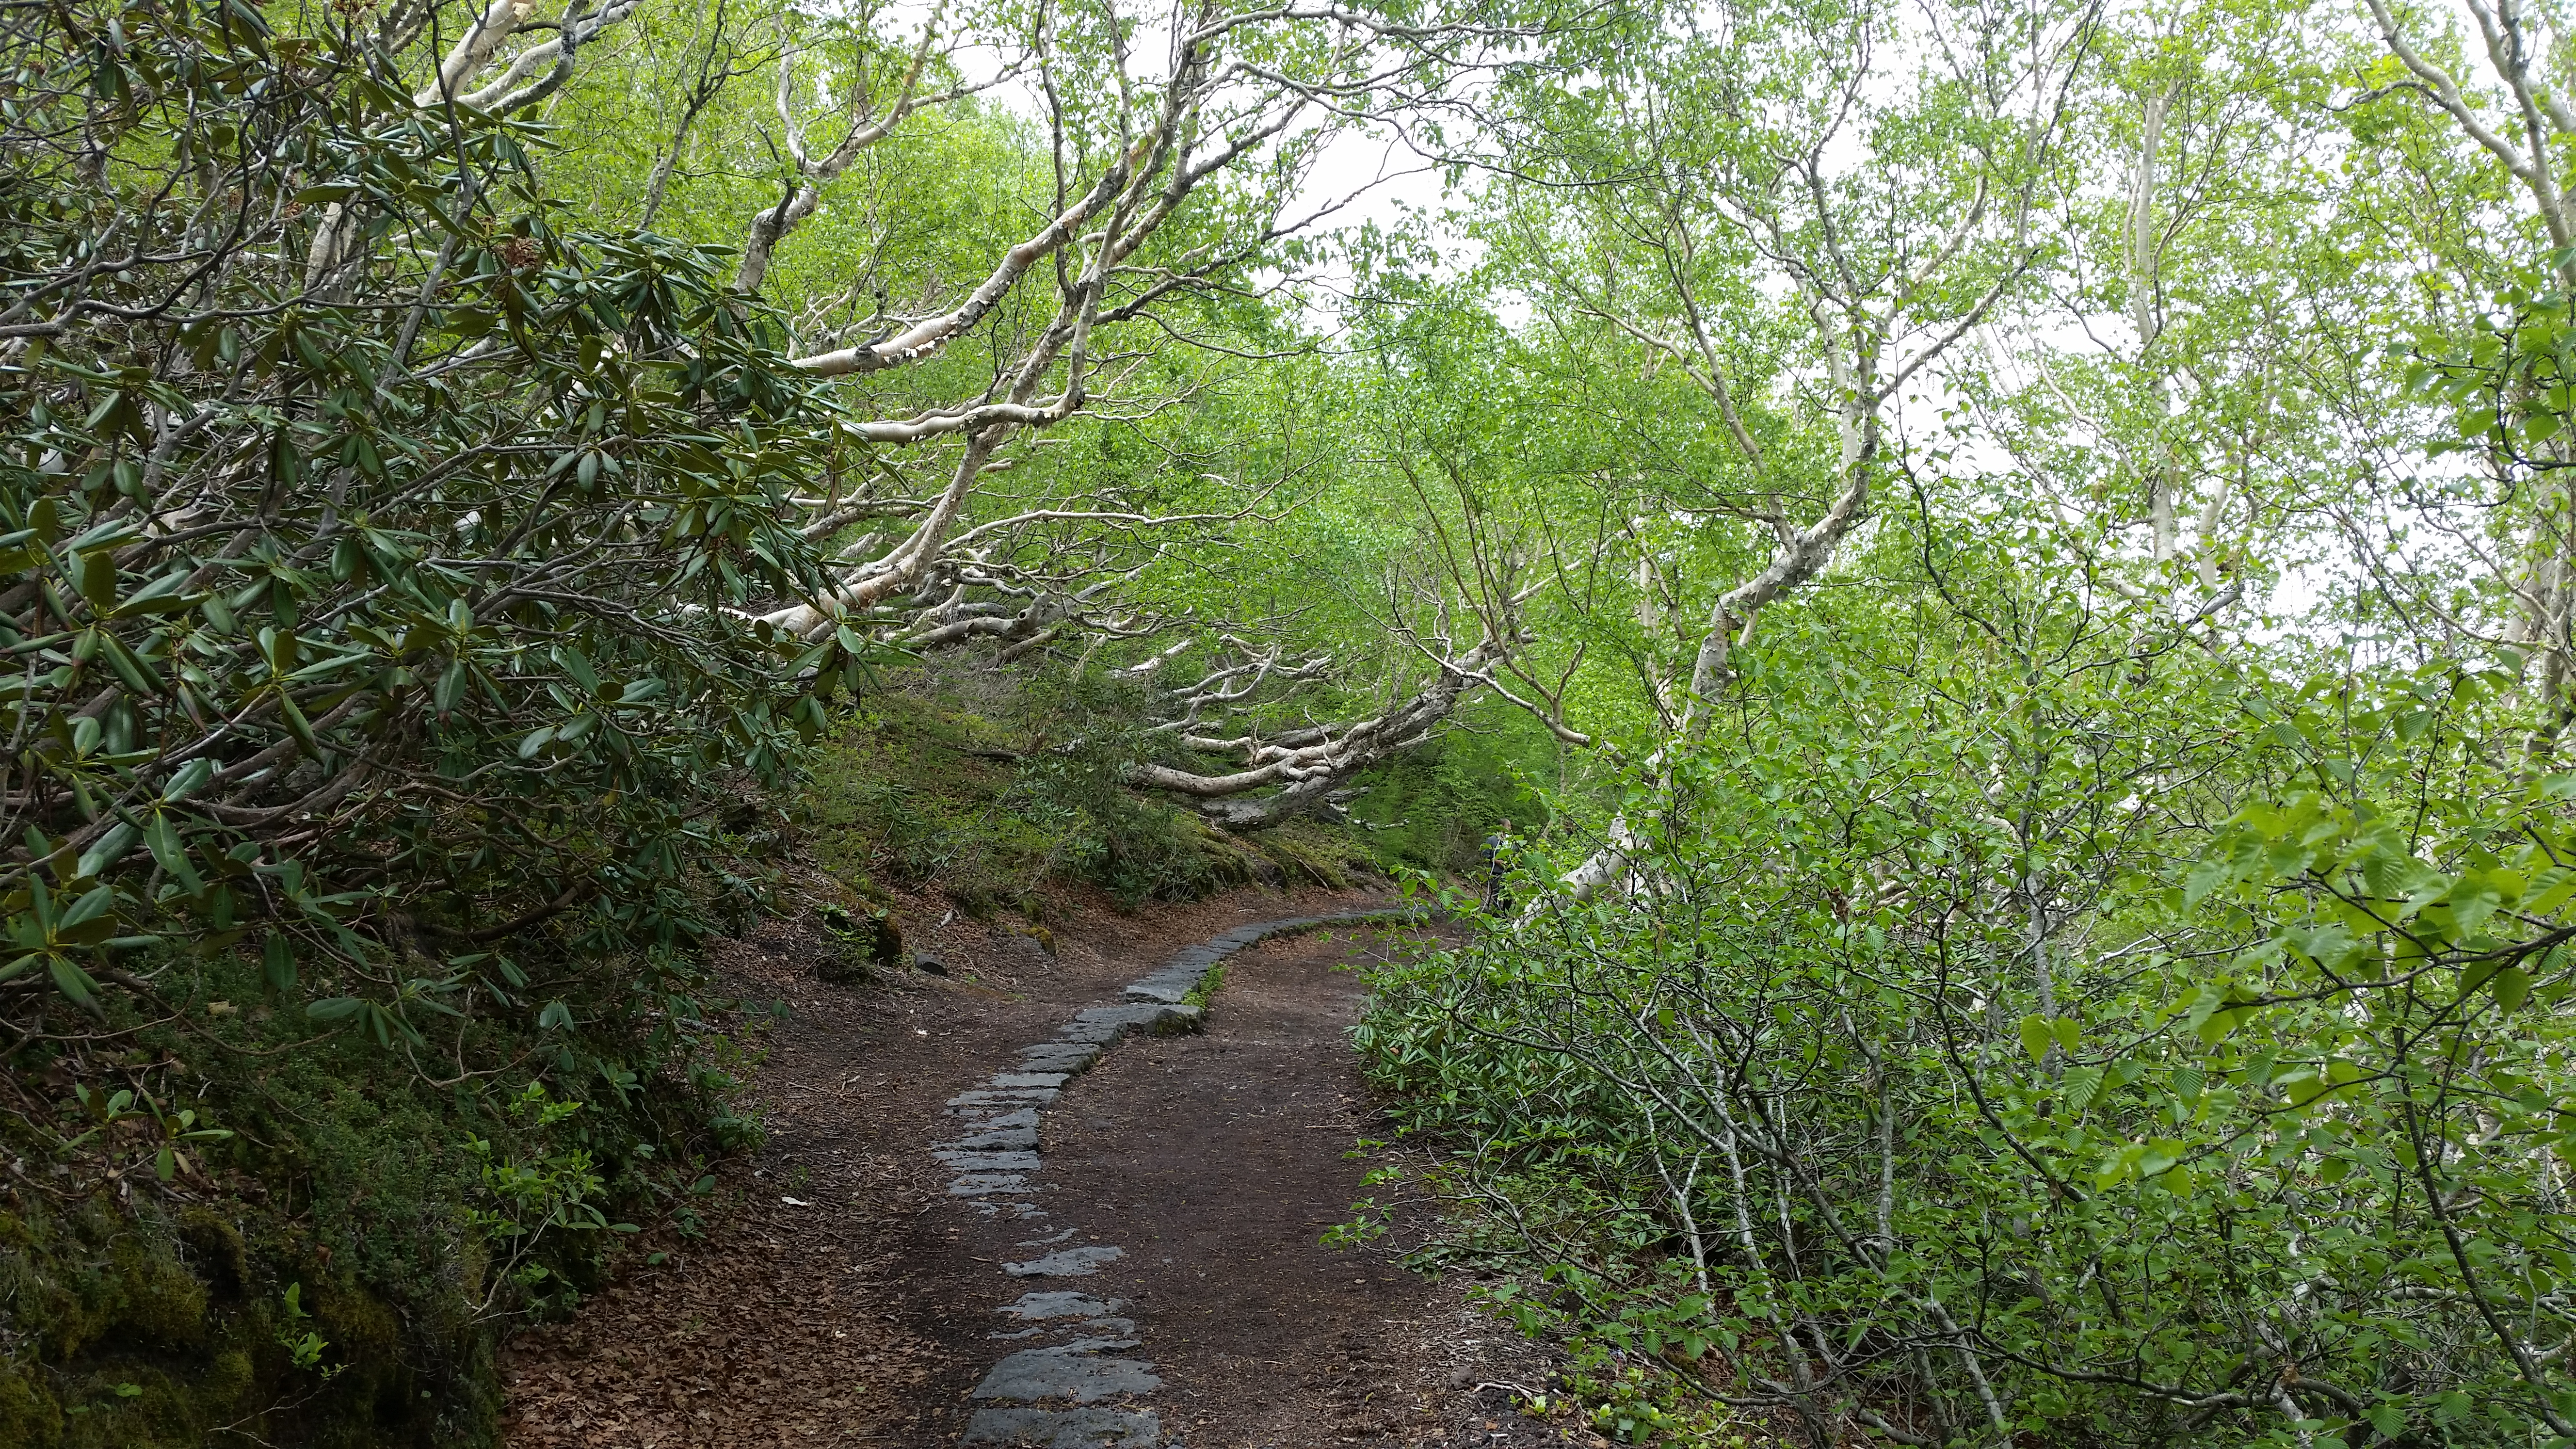
The hike starts past a “torii” or a Shinto gate, then separates into two routes which form a loop. I took the “iwa kosu” or rock route up – it ascends quite steeply at one point – there is a rope to prevent a nasty fall. The top is rather unremarkable, but I noticed that there is a connecting path to Mt Kogashi, something to try in the future. There is a good view further along at “oiwa” (big rock). I returned via the “one kosu” or ridge route, and made my way down back to the “torii”. I finished the hike along small roads all the way to a small town where there was an interesting hot spring – not a resort or a hotel, just a small building inside a park, where one can pay a small fee to use the hot spring bath.
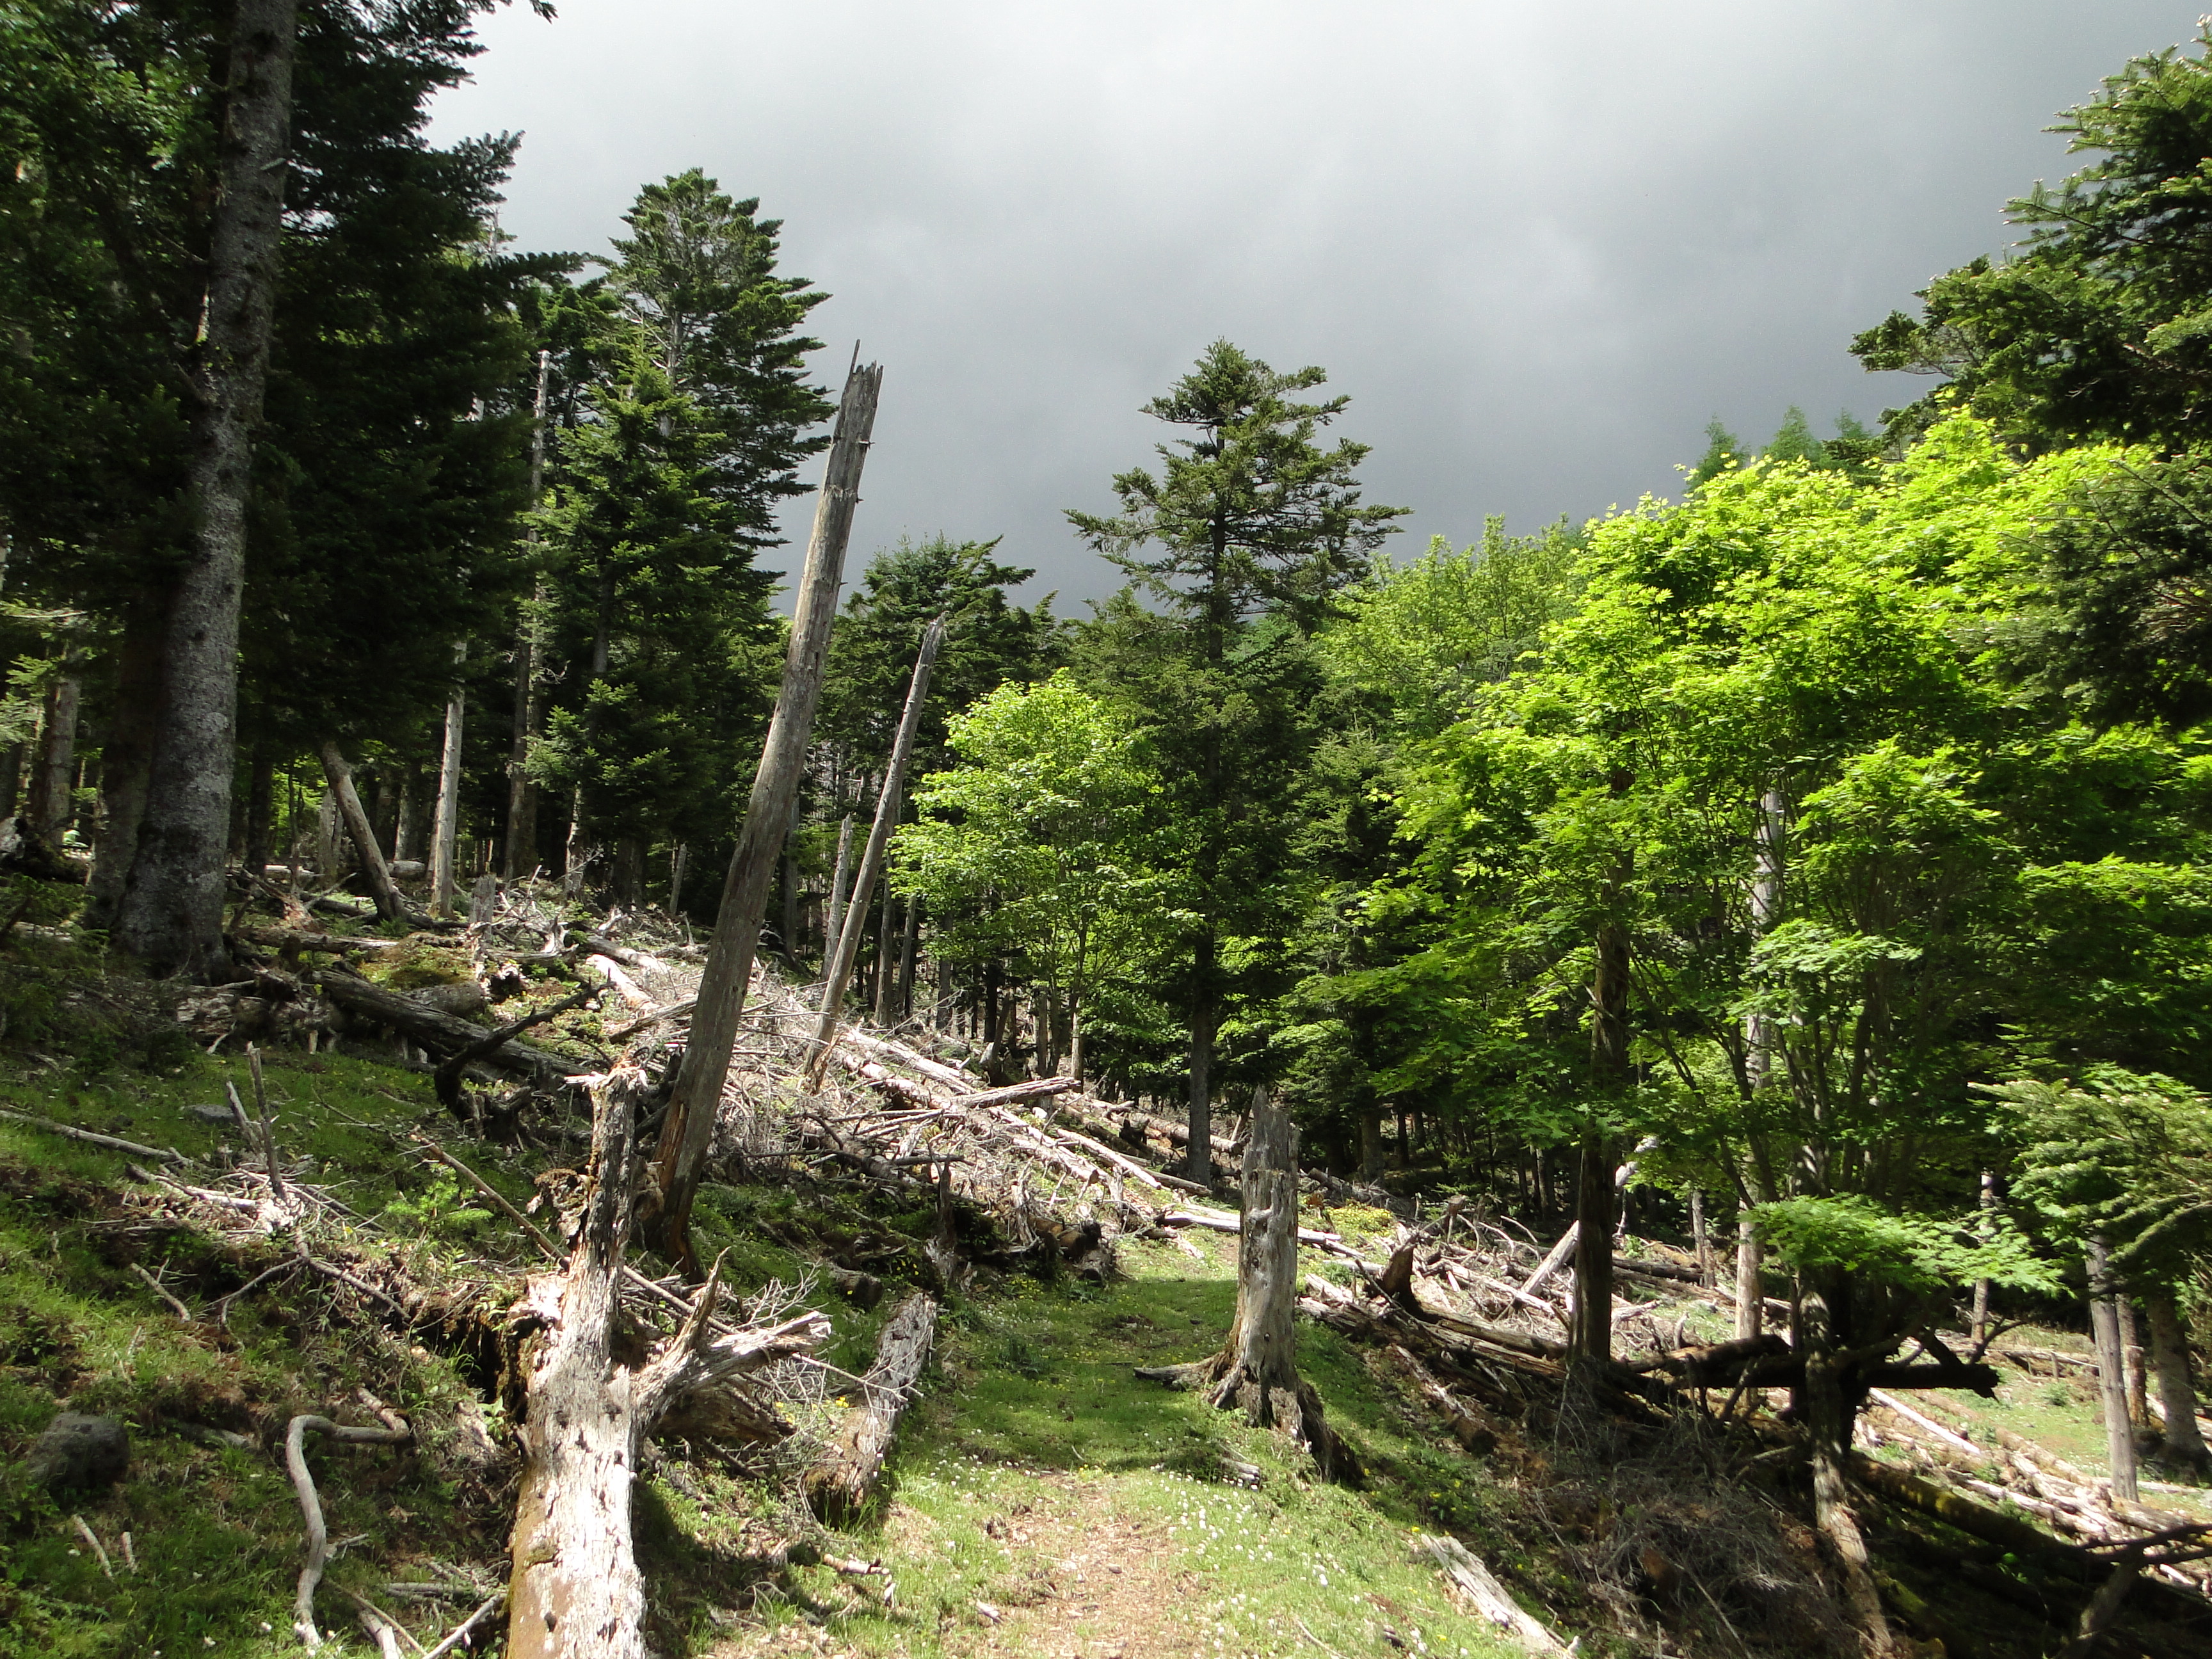
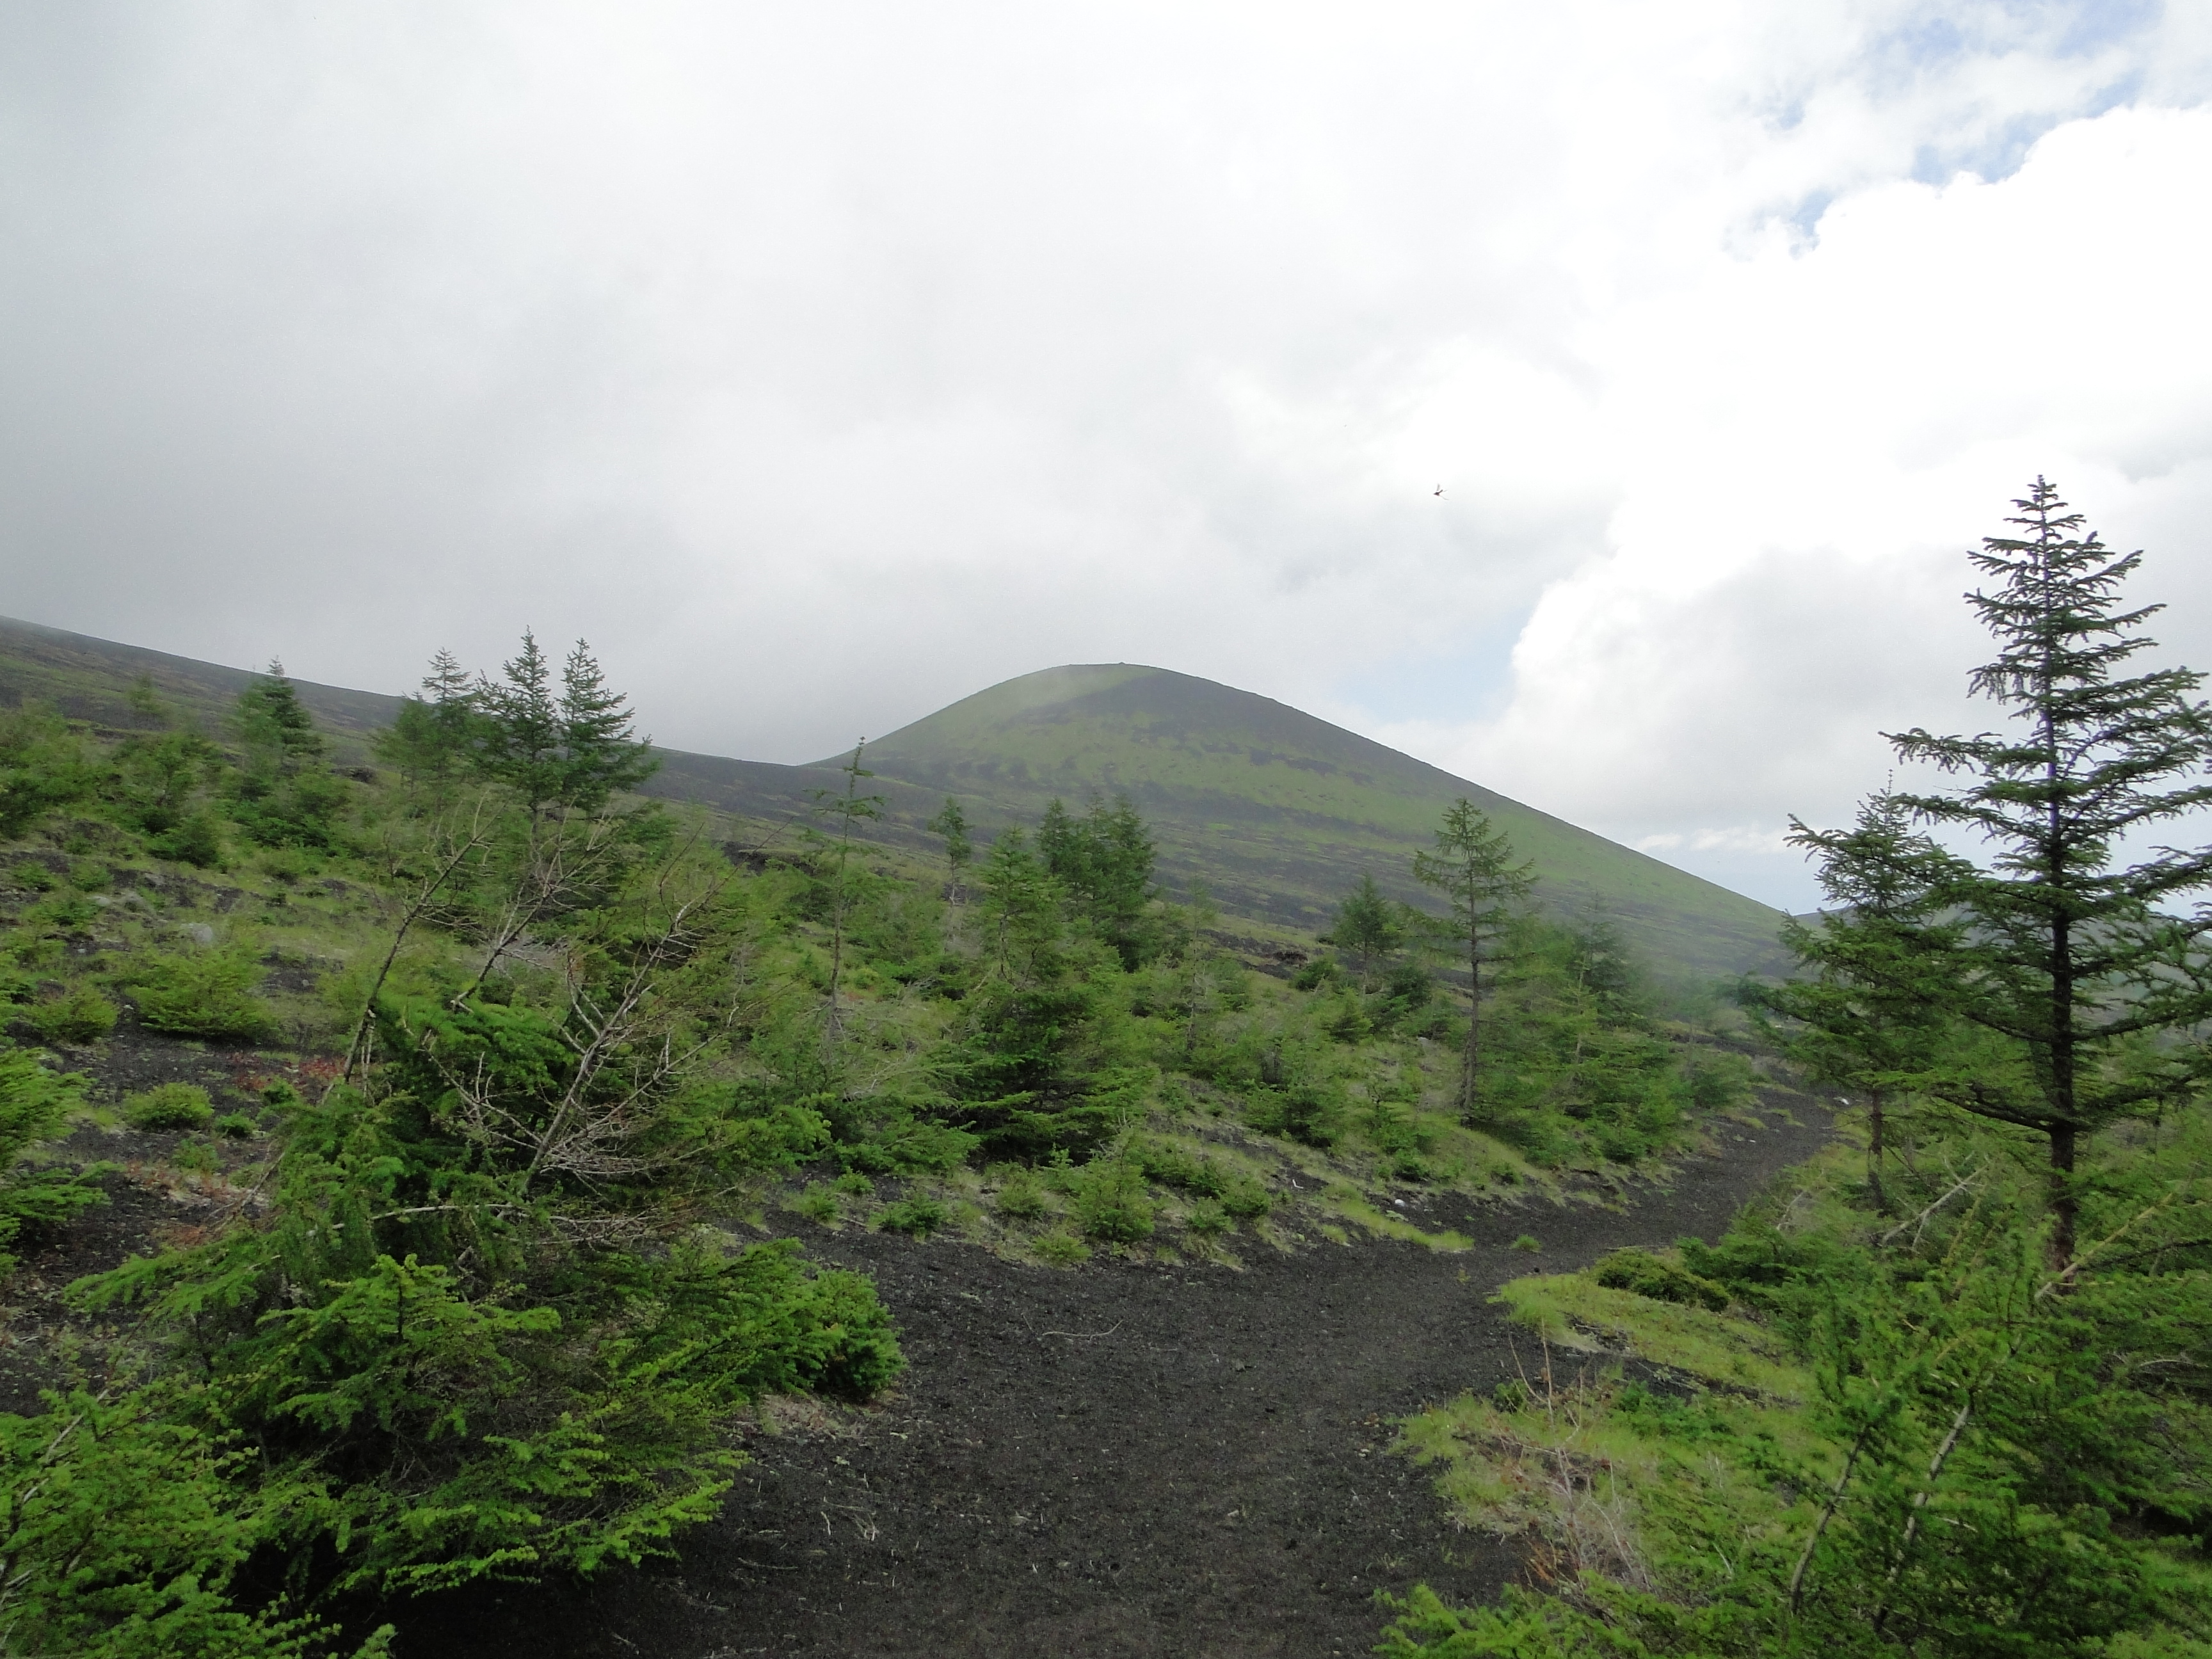
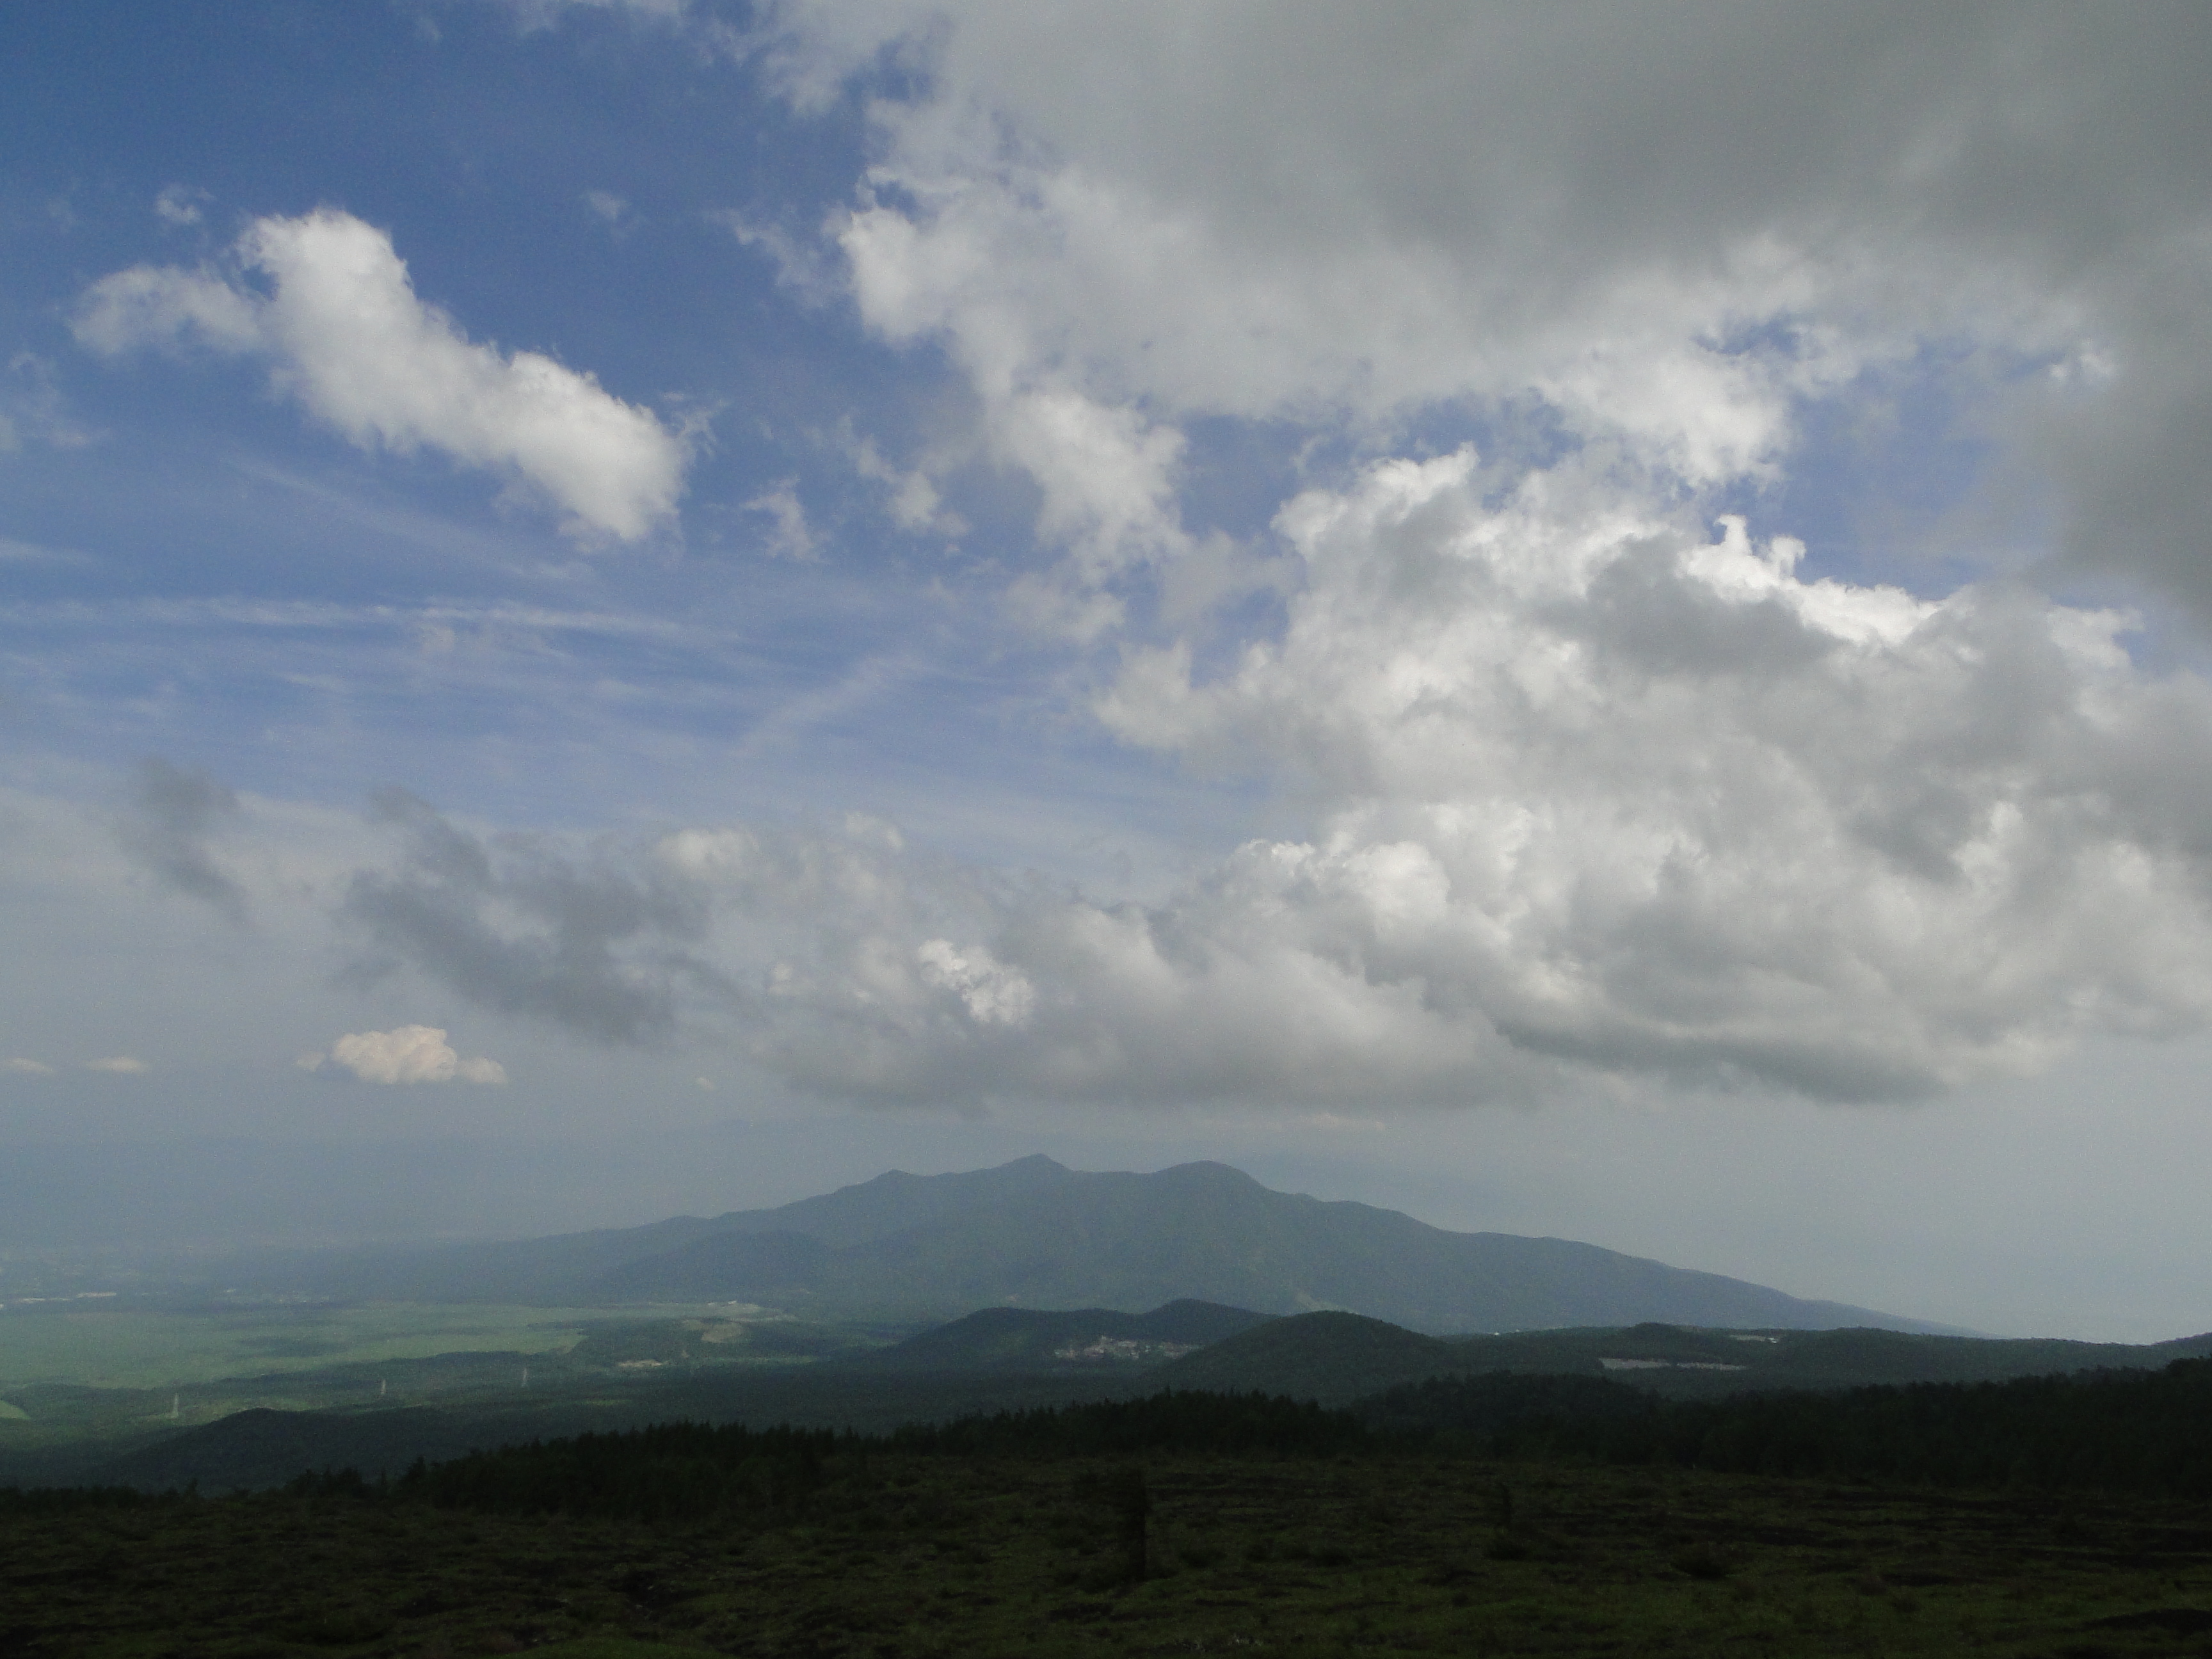
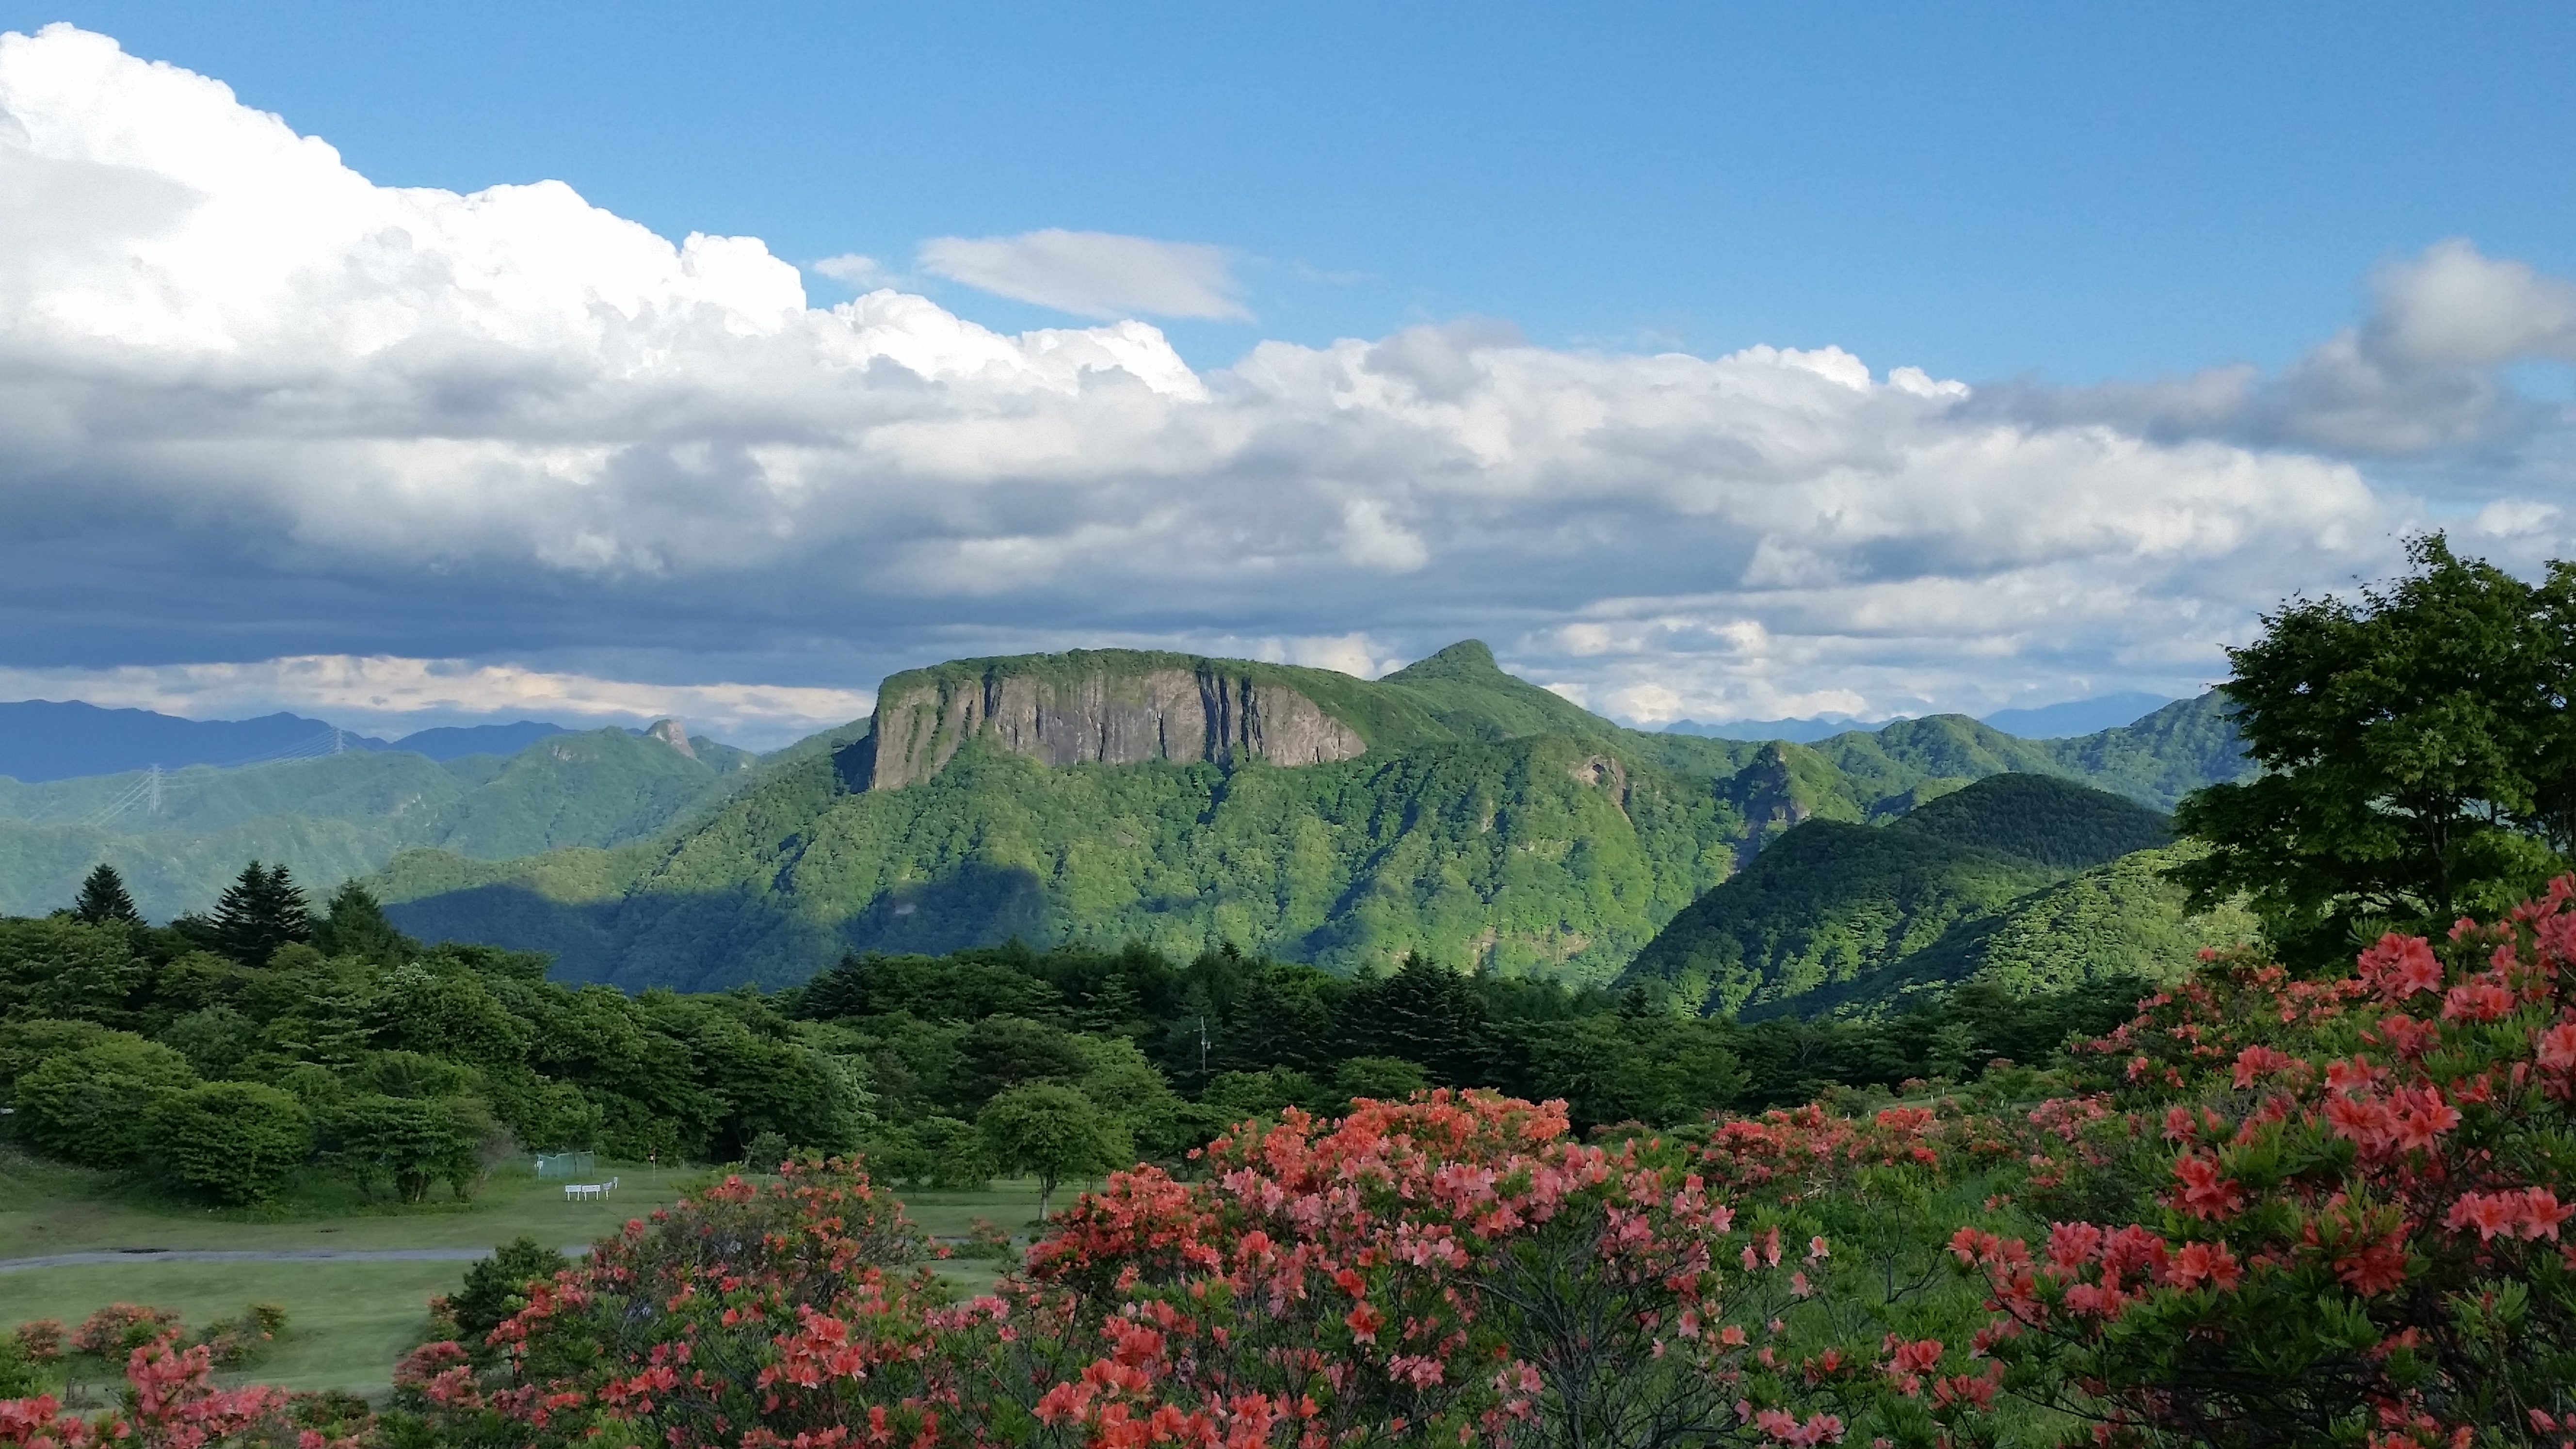
Mt Mitsumine (605m), Tochigi City, Tochigi Prefecture, Sunday April 22
Ryuo Gorge & Mt Nandaira (1016m), Kawaji Onsen, Tochigi Prefecture, Sunday May 20

The Kinu river at the Ryuo gorge
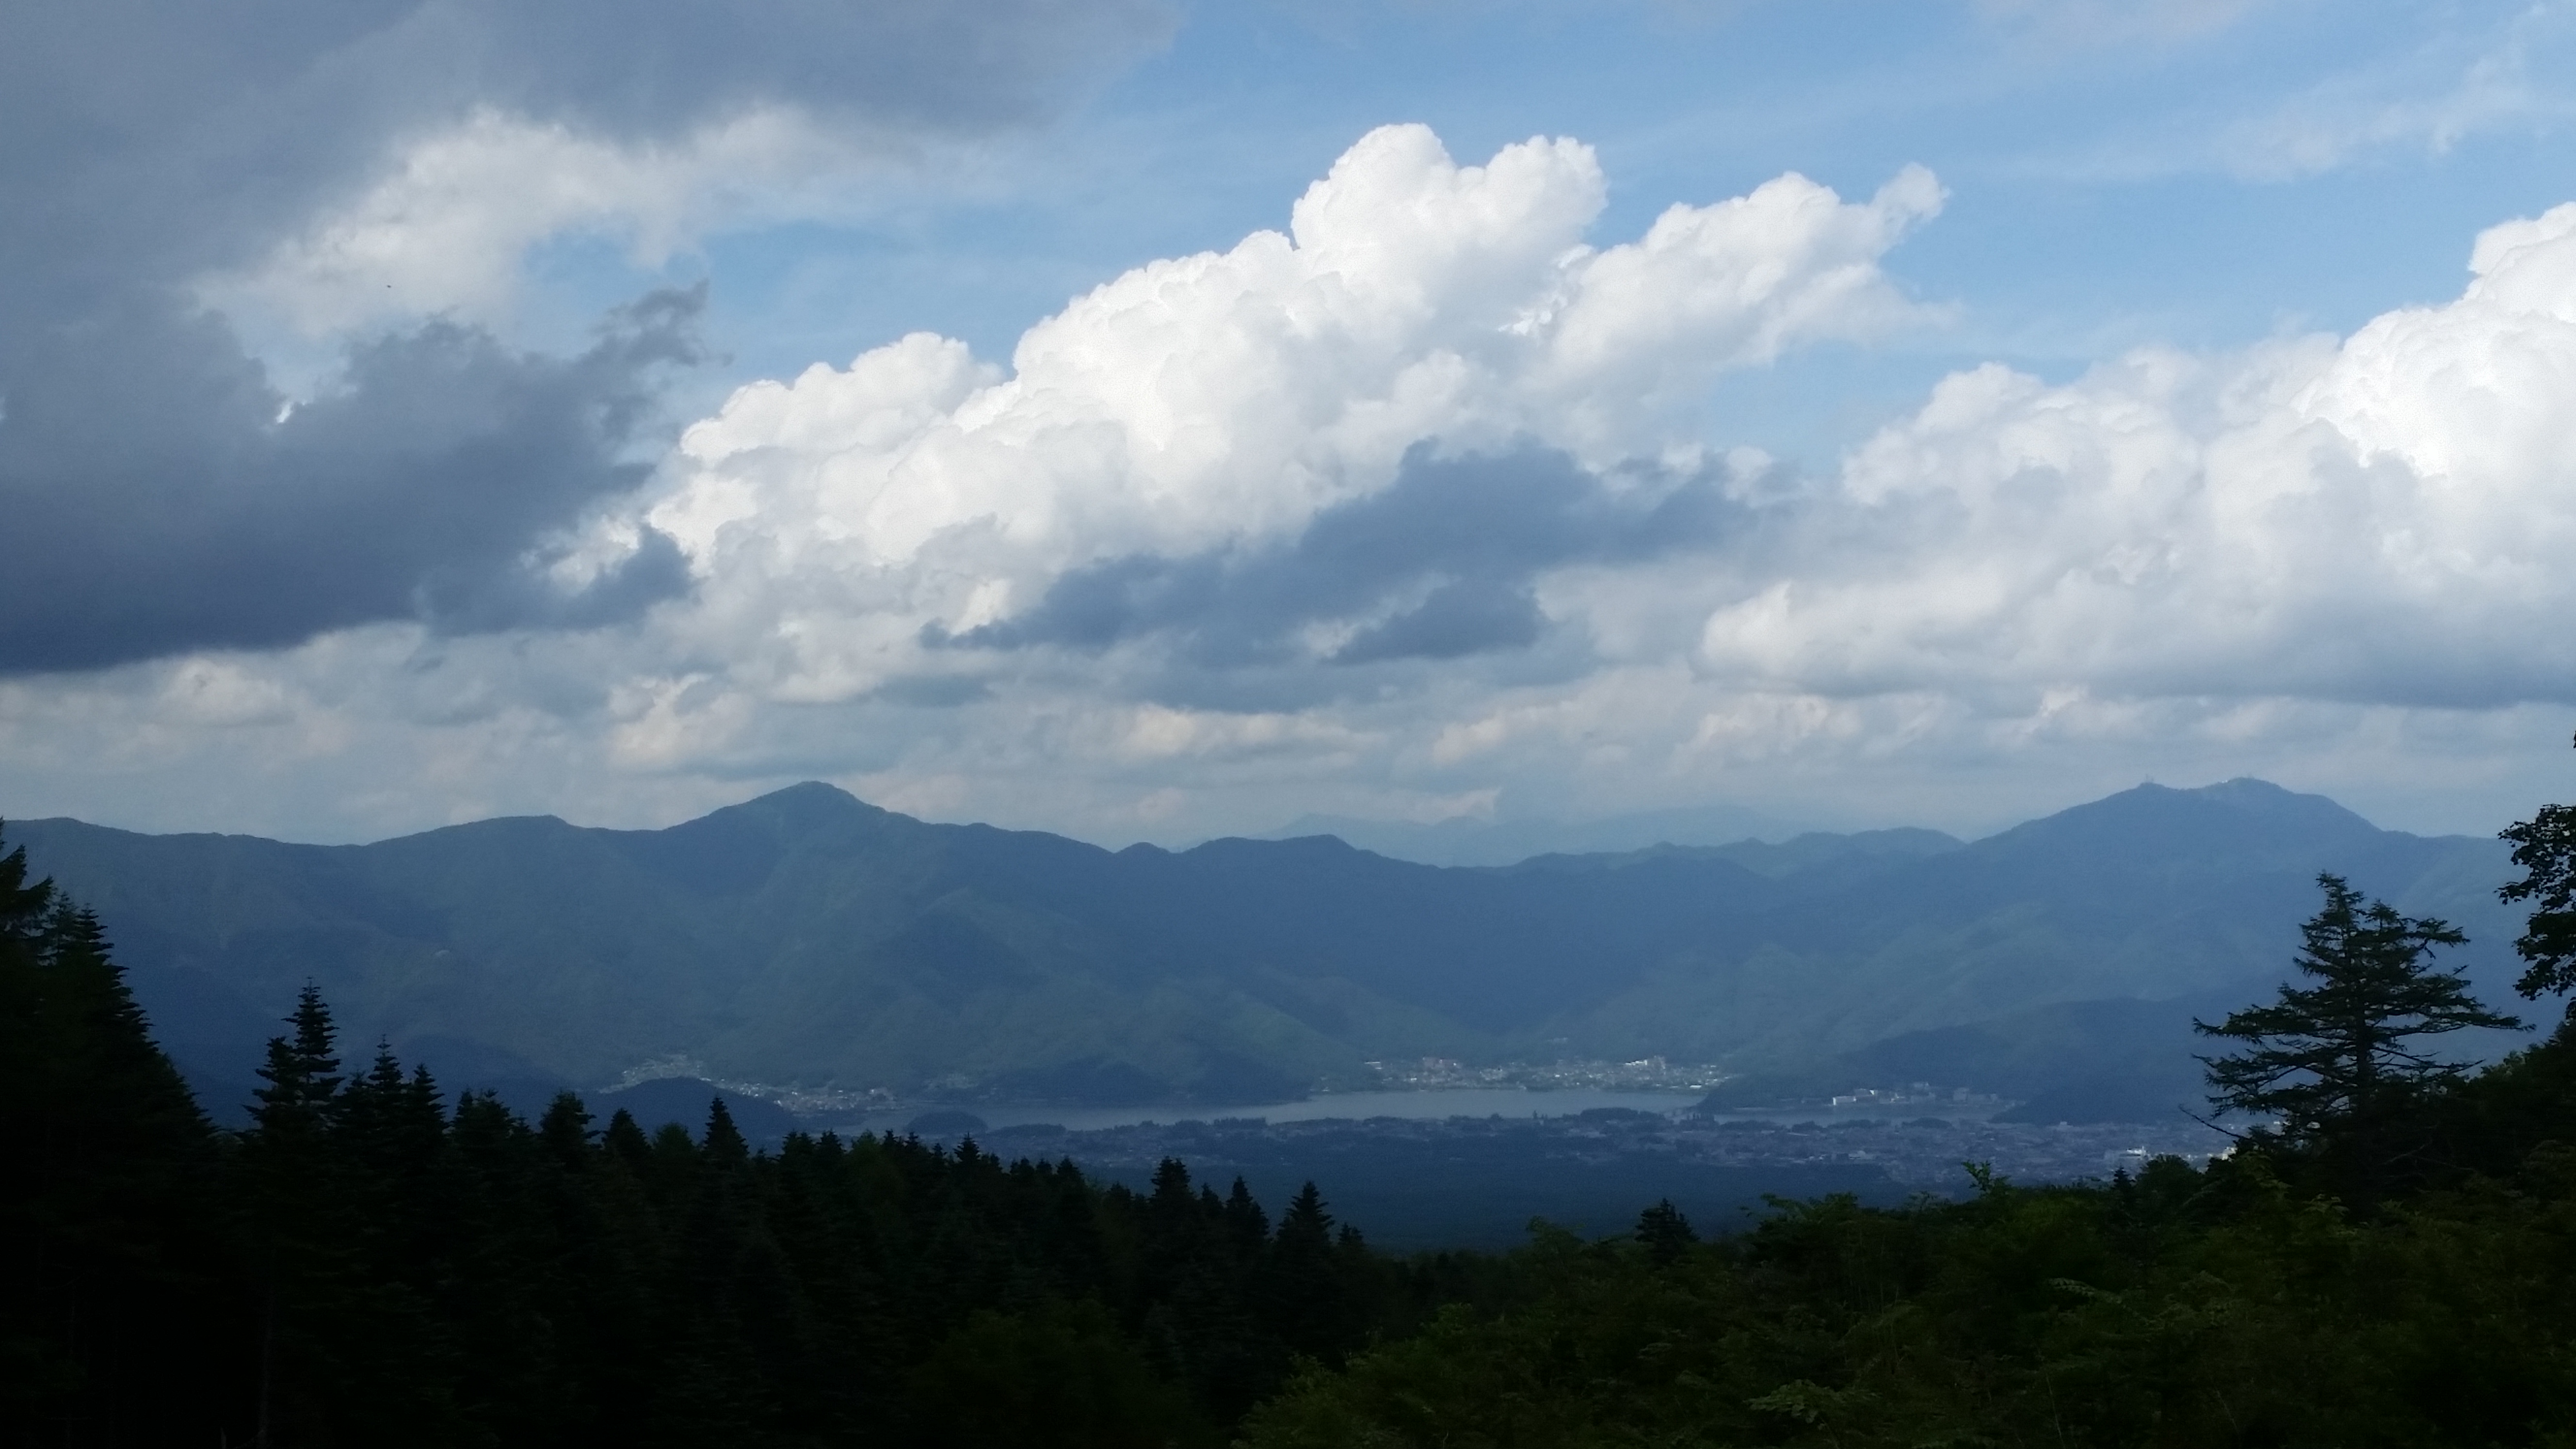
Here is one more hike that was on my to-do list – ever since I first stayed overnight at Kinugawa onsen in 2010. At the time, I made it to Ryuo gorge, only 2 train stops away from the hot spring resort, but too late in the day to do any hiking. This time, not only was I early enough, I was also surprised how few people there were on this gorgeous May day. I saw only a handful of people while walking along the river gorge, and no one during my ascent and descent of Mt Nandaira 南平山.

Another river view along the hike
The gorge part is fantastic – mostly flat and with lots of scenic views up and down the valley. Although the top of Mt Nandaira doesn’t have a view, the path – up and down the same way – is well-maintained and very pleasant to walk on. Some people may turn their noses up at such a hike but I found it oddly satisfying. The hike ended at Kawaji Onsen, where there was a nice little hot spring near the river.

Kawaji Onsen, a hot spring resort next to the river
Mt Kanomata (1637m) & Tanbara marshland, Numata city, Gunma prefecture, Saturday May 26

Tanbara from Mt Kanomata through the late May haze
I was lucky enough to get a lift to the trailhead from occasional hiking partner Isobel who has a second house in nearby Minakami. Otherwise it’s possible to get there by bus from Numata station but you will need to leave Tokyo with the first trains. Tanbara marshland 玉原湿原 was a real discovery for me: I hadn’t imagined that a place with such beautiful nature existed within the confines of the Kanto plain, literally at the feet of Mt Hotaka.
Most of the hike is through beautiful forest on an elevated plateau through the center of which runs a bubbling brook. The area is home to a ski resort in the winter so at one point we walked under a stopped chairlift. The skies were hazy so unfortunately the views of Gunma prefecture to the West were somewhat muted. The hike to the top of Mt Kanomata 鹿俣山 is relatively short and easy with little altitude gain. On the return we extended the hike to the West towards Mt Amagahage 尼ヶ禿 (1466m).

Forest walking around Tanbara marshland
Mt Wanakura (2036m), Koshu & Chichibu cities, Yamanashi & Saitama prefectures Saturday June 2

Soaring above Chichibu – the summit of Mt Wanakura
This mountain – a two-hundred famous mountain called Mt Wanakura 和名山 on the Saitama side and Mt Shiroishi 白石山 on the Yamanashi side – was on my bucket list for a long time, and it felt good to check it off. The reason I kept putting it off, is that it seemed impossible to do without an overnight stay on the mountain. In the end I forked out some money for the taxi ride from Enzan station to the trailhead on the Yamanashi side, which enabled to do the traverse over to the Saitama side in one long day.

Looking back towards Yamanashi and Mt Kobushi and Mt Kentoku
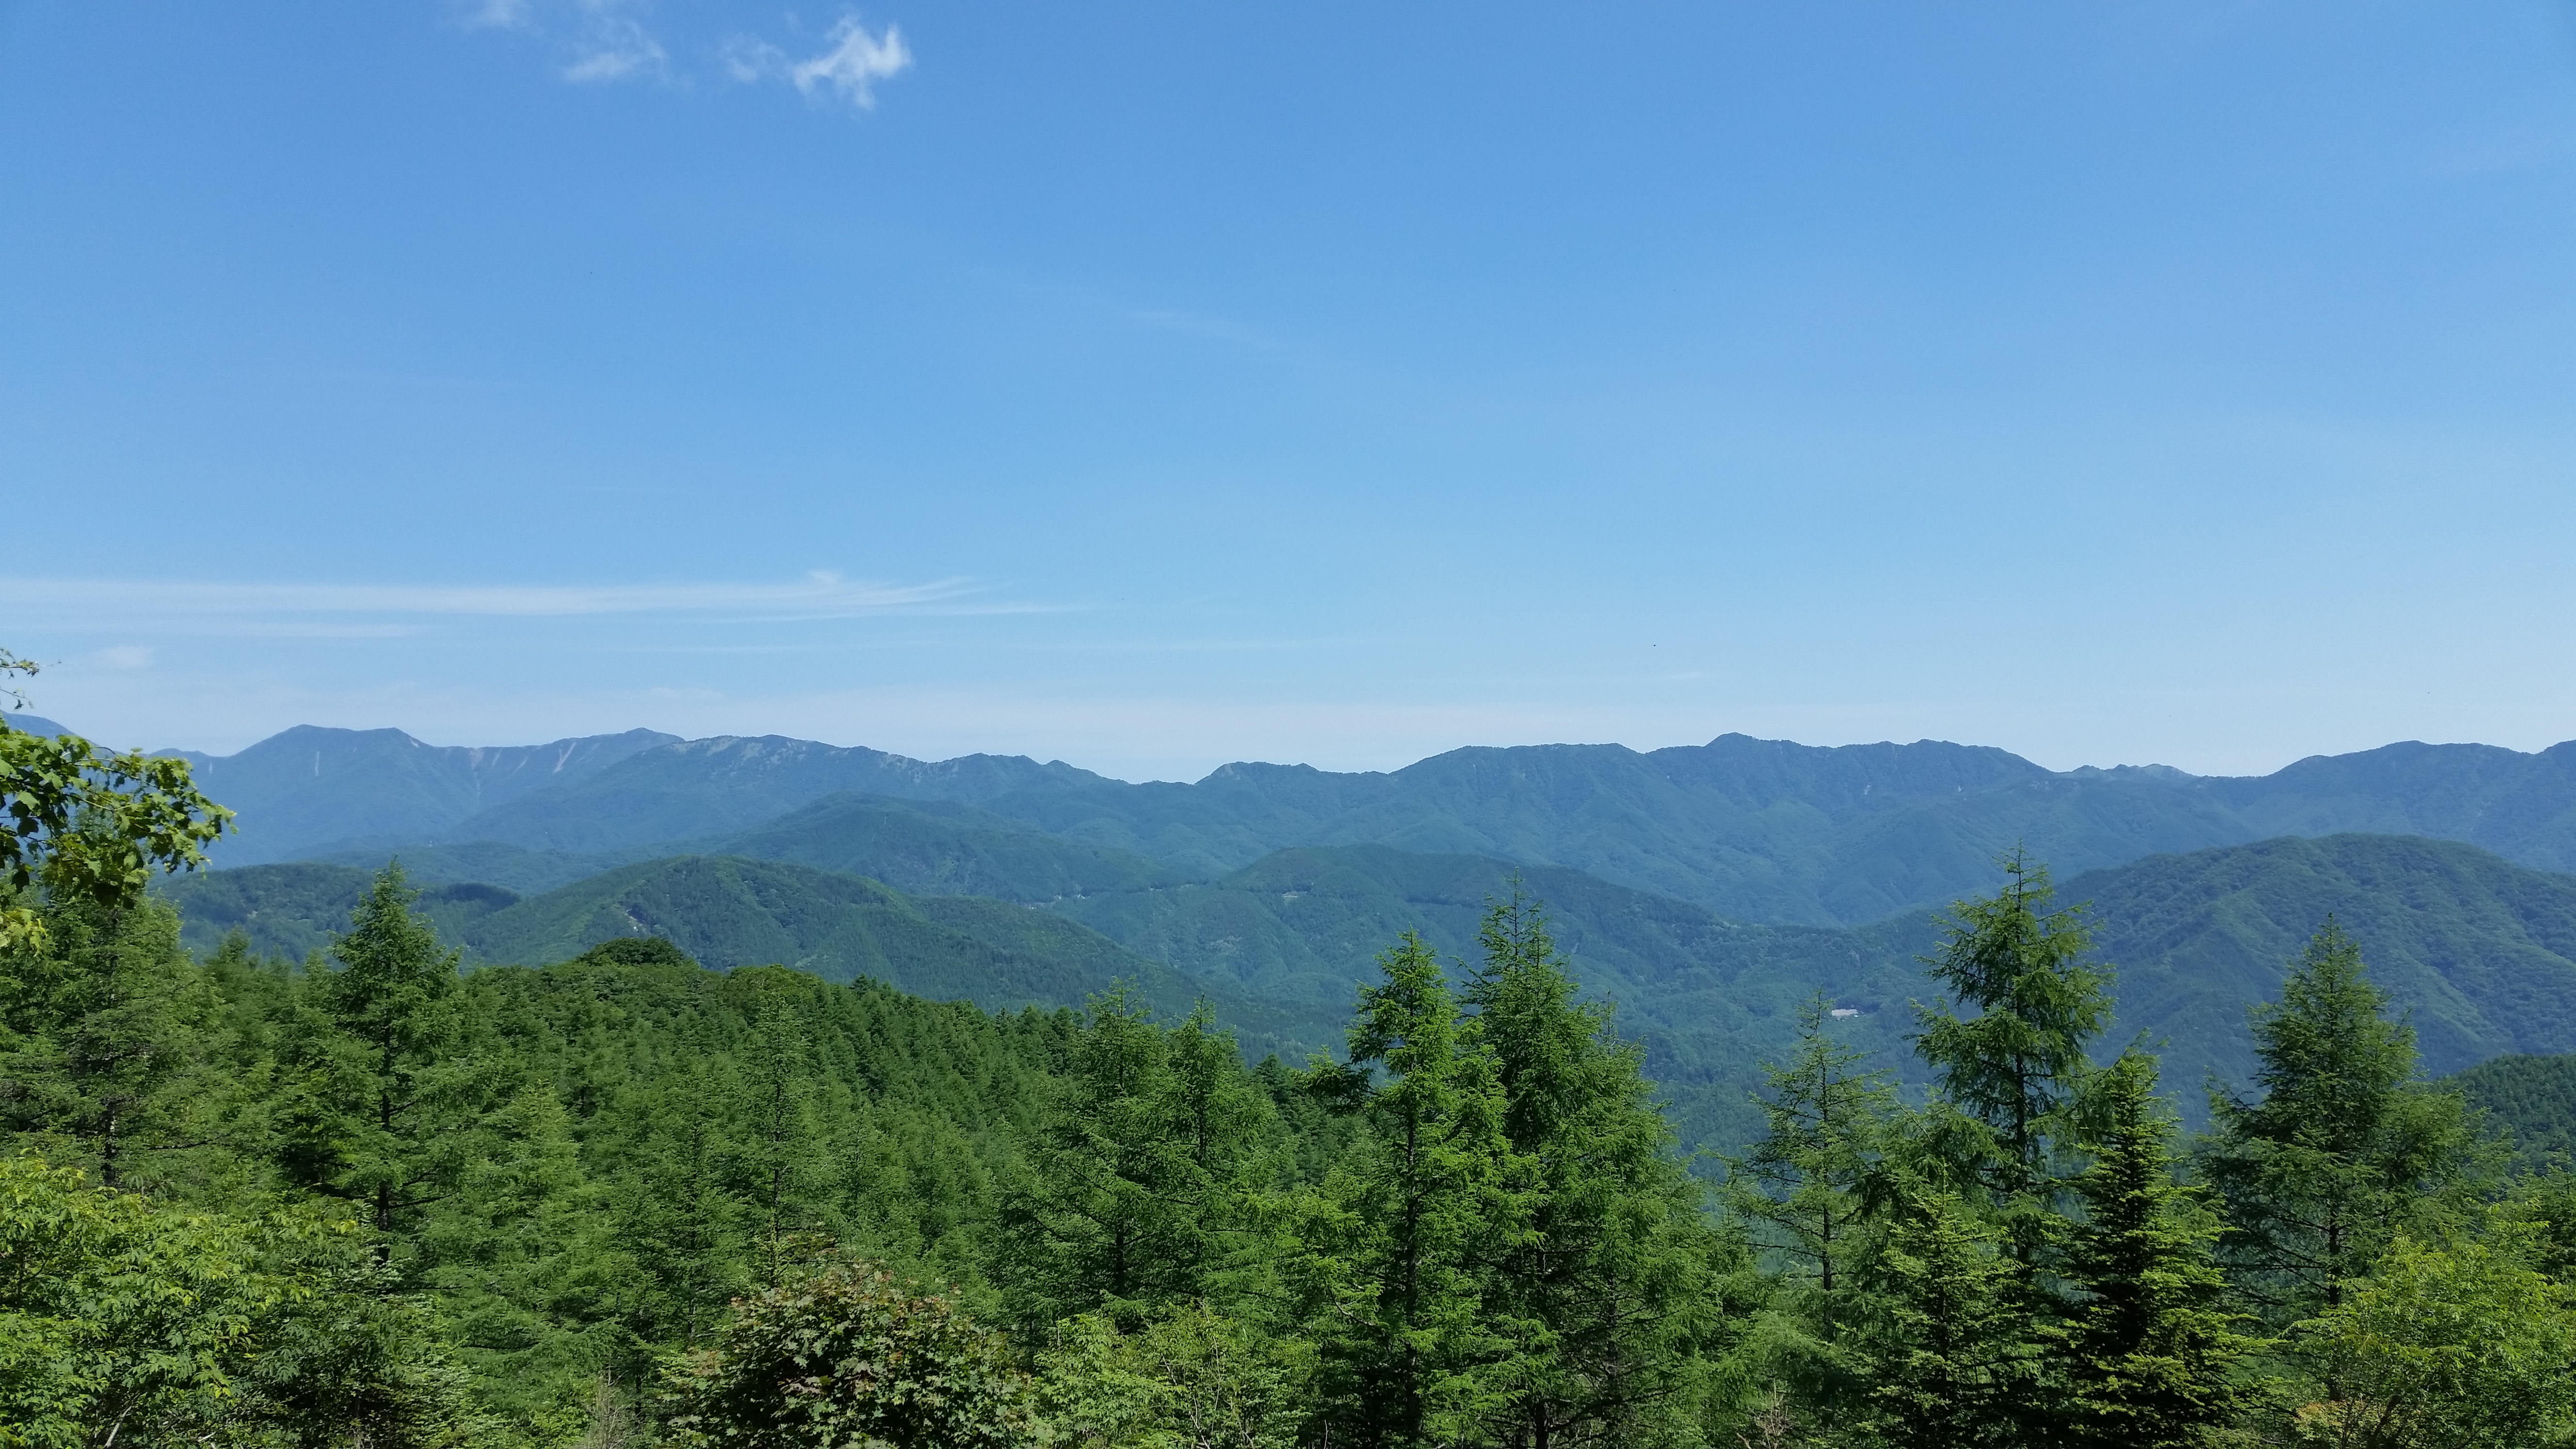
The climb up was nice (lots of larch trees) but the ridge section from the Saitama border to the summit was definitely worth it – stunning scenery, sweeping views and relatively easy hiking at around 2000m high. The views were easily some of the best I had ever seen of the central part of the Chichibu mountains. The summit completely surrounded by trees was a slight disappointment and the steep and rocky descent down into Chichibu was pretty tough – no wonder most people stay in a hut on the Yamanashi side and do it as a roundtrip only.

The vastness of the Okuchichibu mountains
There is a great suspension bridge at the very end, that enables one to cross Chichibu lake. I was waiting for the bus at the other end but it was very late so I was picked up by a couple of guys who had also climbed the same mountain but up and down the path I had found so terrible – quite a punishing climb and descent with no view at the end! They kindly me dropped me off at an onsen where I take a bath and catch a bus back.

On the long suspension bridge spanning Chichibu lake
Mt Nijurokuya (971m) & Mt Takahata (982m), Uenohara, Yamanashi Prefecture, Sunday June 17

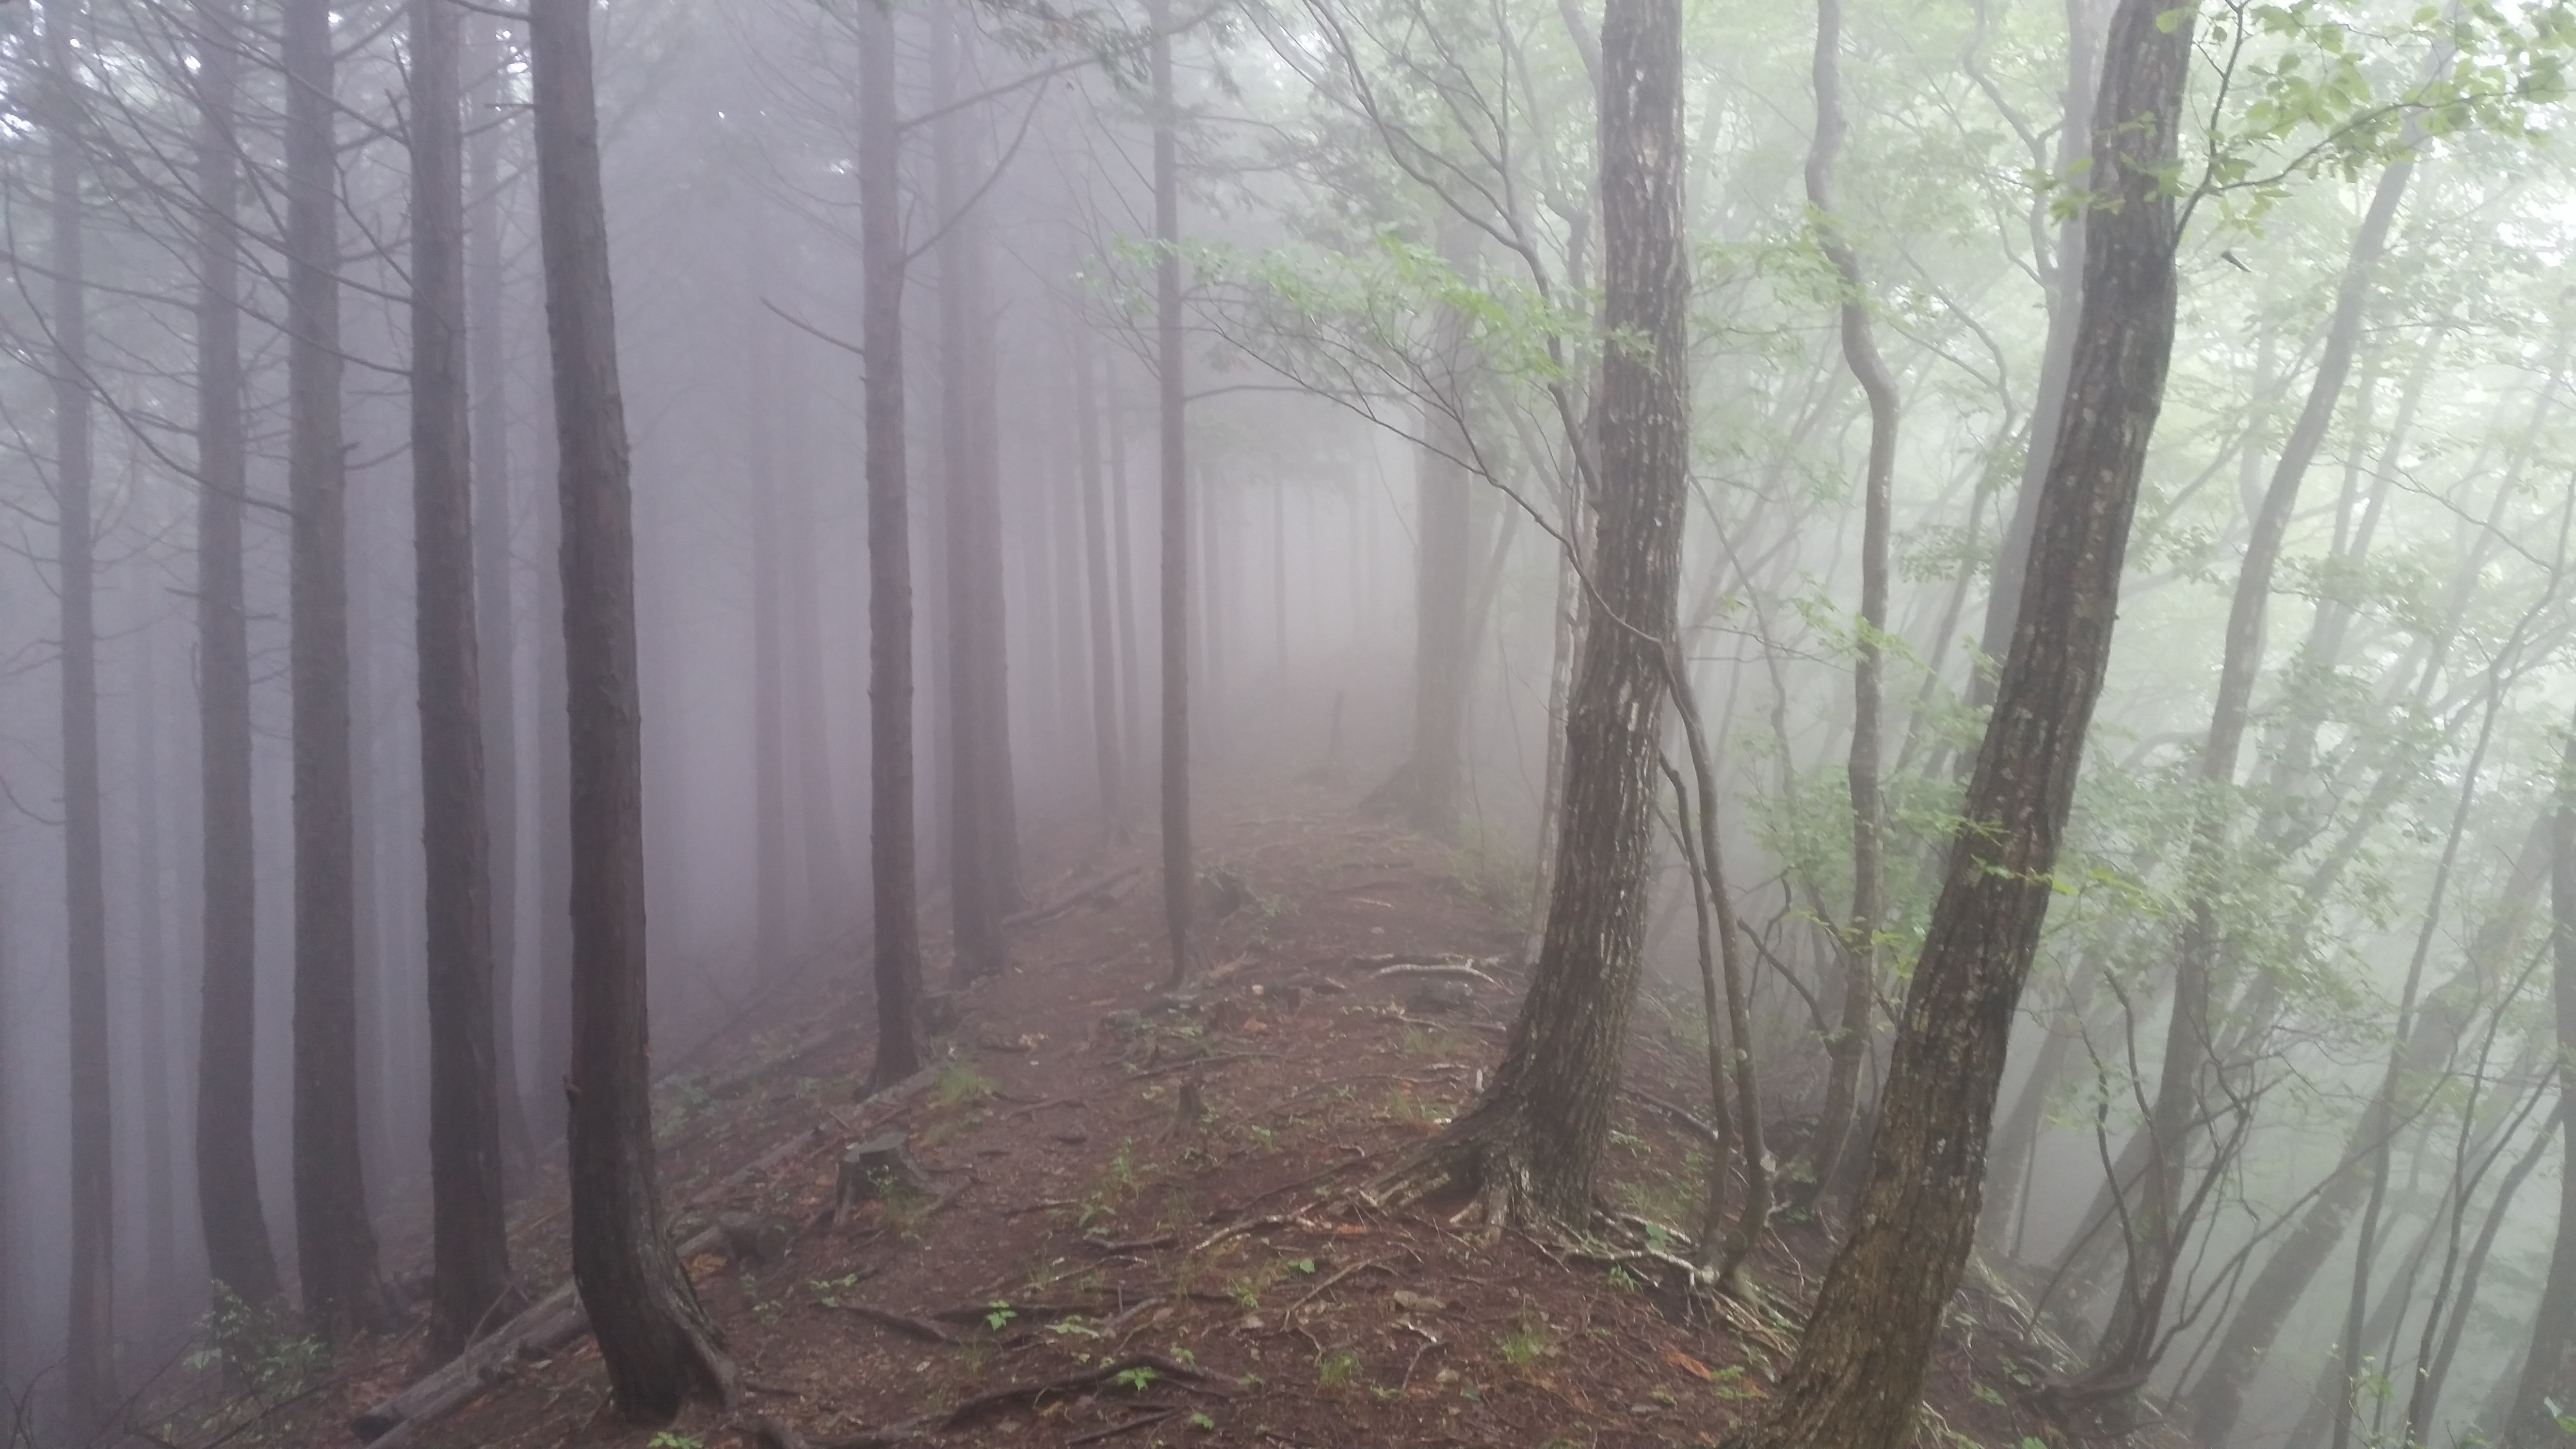
A misty climb can also be beautiful
The rainy season was in full swing but I decided to try my luck, and although it didn’t rain, I was nearly always in the mist – apparently it was sunny just 500m higher up! However I didn’t mind since with little wind, the conditions were quite pleasant and the surroundings atmospheric. I got to see some interesting spiderwebs and beetles, some beautiful alpine-like forest, and only encountered one other small group during the entire hike. I look forward to redoing this hike in clear weather so that I can enjoy the views.
The top of Mt Nijurokuya 二十六夜山 was quite unremarkable, a short there and back from the main trail. Supposedly you can see Mt Fuji from the top of Mt Takahata 高畑山 but the weather hadn’t improved enough by the time I got there. While hiking between the two peaks, you can catch a glimpse of the JR maglev station in the valley on the left. The final descent follows a pretty river valley which I had already walked up when climbing Mt Kuratake a few years ago. A bus ride from Uenohara is needed to get to the start of the hike. However it finishes on the Chuo line which you can ride direct back. It is by far one of the easiest Yamanashi hikes you can do from Tokyo.

A misty ridge
Mt Kesamaru (1908m), Watarase Valley, Gunma prefecture, Sunday June 24

Glimpses of the other Kesamaru ridge
Mt Kesamaru 袈裟丸山 was another headache in terms of logistics. In the end I opted for a taxi ride for from Akagi station which in hindsight was a mistake. The ride was more expensive that I had estimated, and the road, which had been redone recently, was in far better state that I had imagined – renting a car from Takasaki would have been better overall.
From the taxi drop-off point, it was another couple of hours of road hiking to reach the trail entrance. From there, the hike was fairly amazing – beautiful forest and breathtaking views of the Watarase valley. Mt Kesamaru has actually two peaks “front” and “back”. I climbed the back one, hoping to be able to cross to the front one, and make a loop back down. Unfortunately the connection between the two was closed due to trail degradation and I didn’t dare venture onto to the crumbly ridge by myself – it will have to tackle the front part separately another time. So after gazing at the view Eastwards towards Tochigi prefecture, Westwards towards Mt Akagi, I headed down the same way.

Five months later I would be hiking the mountains directly opposite
During the descent, I realised that I had miscalculated the timing of this hike and that due to the low frequency of trains on the Watarase line, there was a chance that I wouldn’t make it back to Tokyo Sunday night. So I hitchhiked, and was picked up by a kind couple who dropped me off at my request, not at the closest station, but two stations further down at Mizunuma 水沼, because it has an onsen inside the station.
Mt Hangetsu (1753m), Nikko, Tochigi Prefecture, Monday September 17

The classic view of lake Chuzenji and Mt Nantai
Mt Hangetsu 半月, meaning half moon in Japanese, is located on the Southern shore of Chuzenji lake in upper Nikko. Although I had observed the mountain ridge there multiples times and from different angles, I had so far never ventured to the area. I cheated a little and took the very short ropeway from the top of the iroha slope. I was mostly alone on my hike till I reached the car park a little below the summit with spectacular views of the lake and Mt Nantai – apparently there is a bus that runs all the way there too.
After reaching the summit, that I shared with several people, I made my way back to the bus stop at Chuzenji lake along the lakeshore – a nice and easy stroll. Unfortunately the Prince Hotel was closed for renovation so I had to scramble to find another hot spring for day trippers, before catching a bus back. September is actually a great time to visit the area since most hikers flock to the Alps and don’t flood the area till the autumn leaves start appearing in October.

The Kegon falls as viewed from the top of the ropeway
Mt Senjin (663m) & Mt Akayuki (621m), Ashikaga city, Tochigi prefecture, Sunday November 18

View of Matsuda lake
Another Ashikaga hike – the station is starting to feel familiar. Due to poor bus connections, a taxi ride was required to the start of the trail – I used my phone’s GPS to pinpoint the exact drop off point. The start of the hike was unexpectedly beautiful – up a steep river valley. The lovely path suddenly became a steep switchback bringing me to the top of the ridge. I did a quick round trip to the right in order to get to a nice viewpoint of a lake and surrounding mountains. The surrounding vegetation was quite alpine-like which was surprising considering the relatively low altitude. I then made my way up to the top of Mt Senjin 山人ヶ岳 (no view).
My plan was to circle Matsuda lake till Mt Mt Akayui 赤雪山 and then descend towards Matsudagawa dam. The path was slightly longer than I had anticipated with a certain amount of ups and downs – a good workout! I met no other hikers. It was getting “girigiri” to catch my bus back so after reaching the “azumaya” at the top of Mt Akayuki (I left a message in the notebook in the “azumaya”) I took the shortest route down down and sorely regretted it.
My guidetalk had mentioned some fallen trees due to a past typhoon but nothing could prepare me for the mess I encountered. I was forced to leave the main path and find my own way through the forest. Just when I thought it couldn’t get any worse, I encountered a real barrage of fallen trees – I had never seen anything like it. They should seriously close off the path. After finding my way round and getting tangled in brambles, I finally emerged at the dam way behind schedule. Luckily, the first car that came by stopped to pick me up, and kindly dropped me off at the nearest train station.

Route barred on the descent!
Mt Nyukasa (1955m), South Alps, Nagano prefecture, Friday November 23

I froze my fingers to take this picture of Yatsugatake!
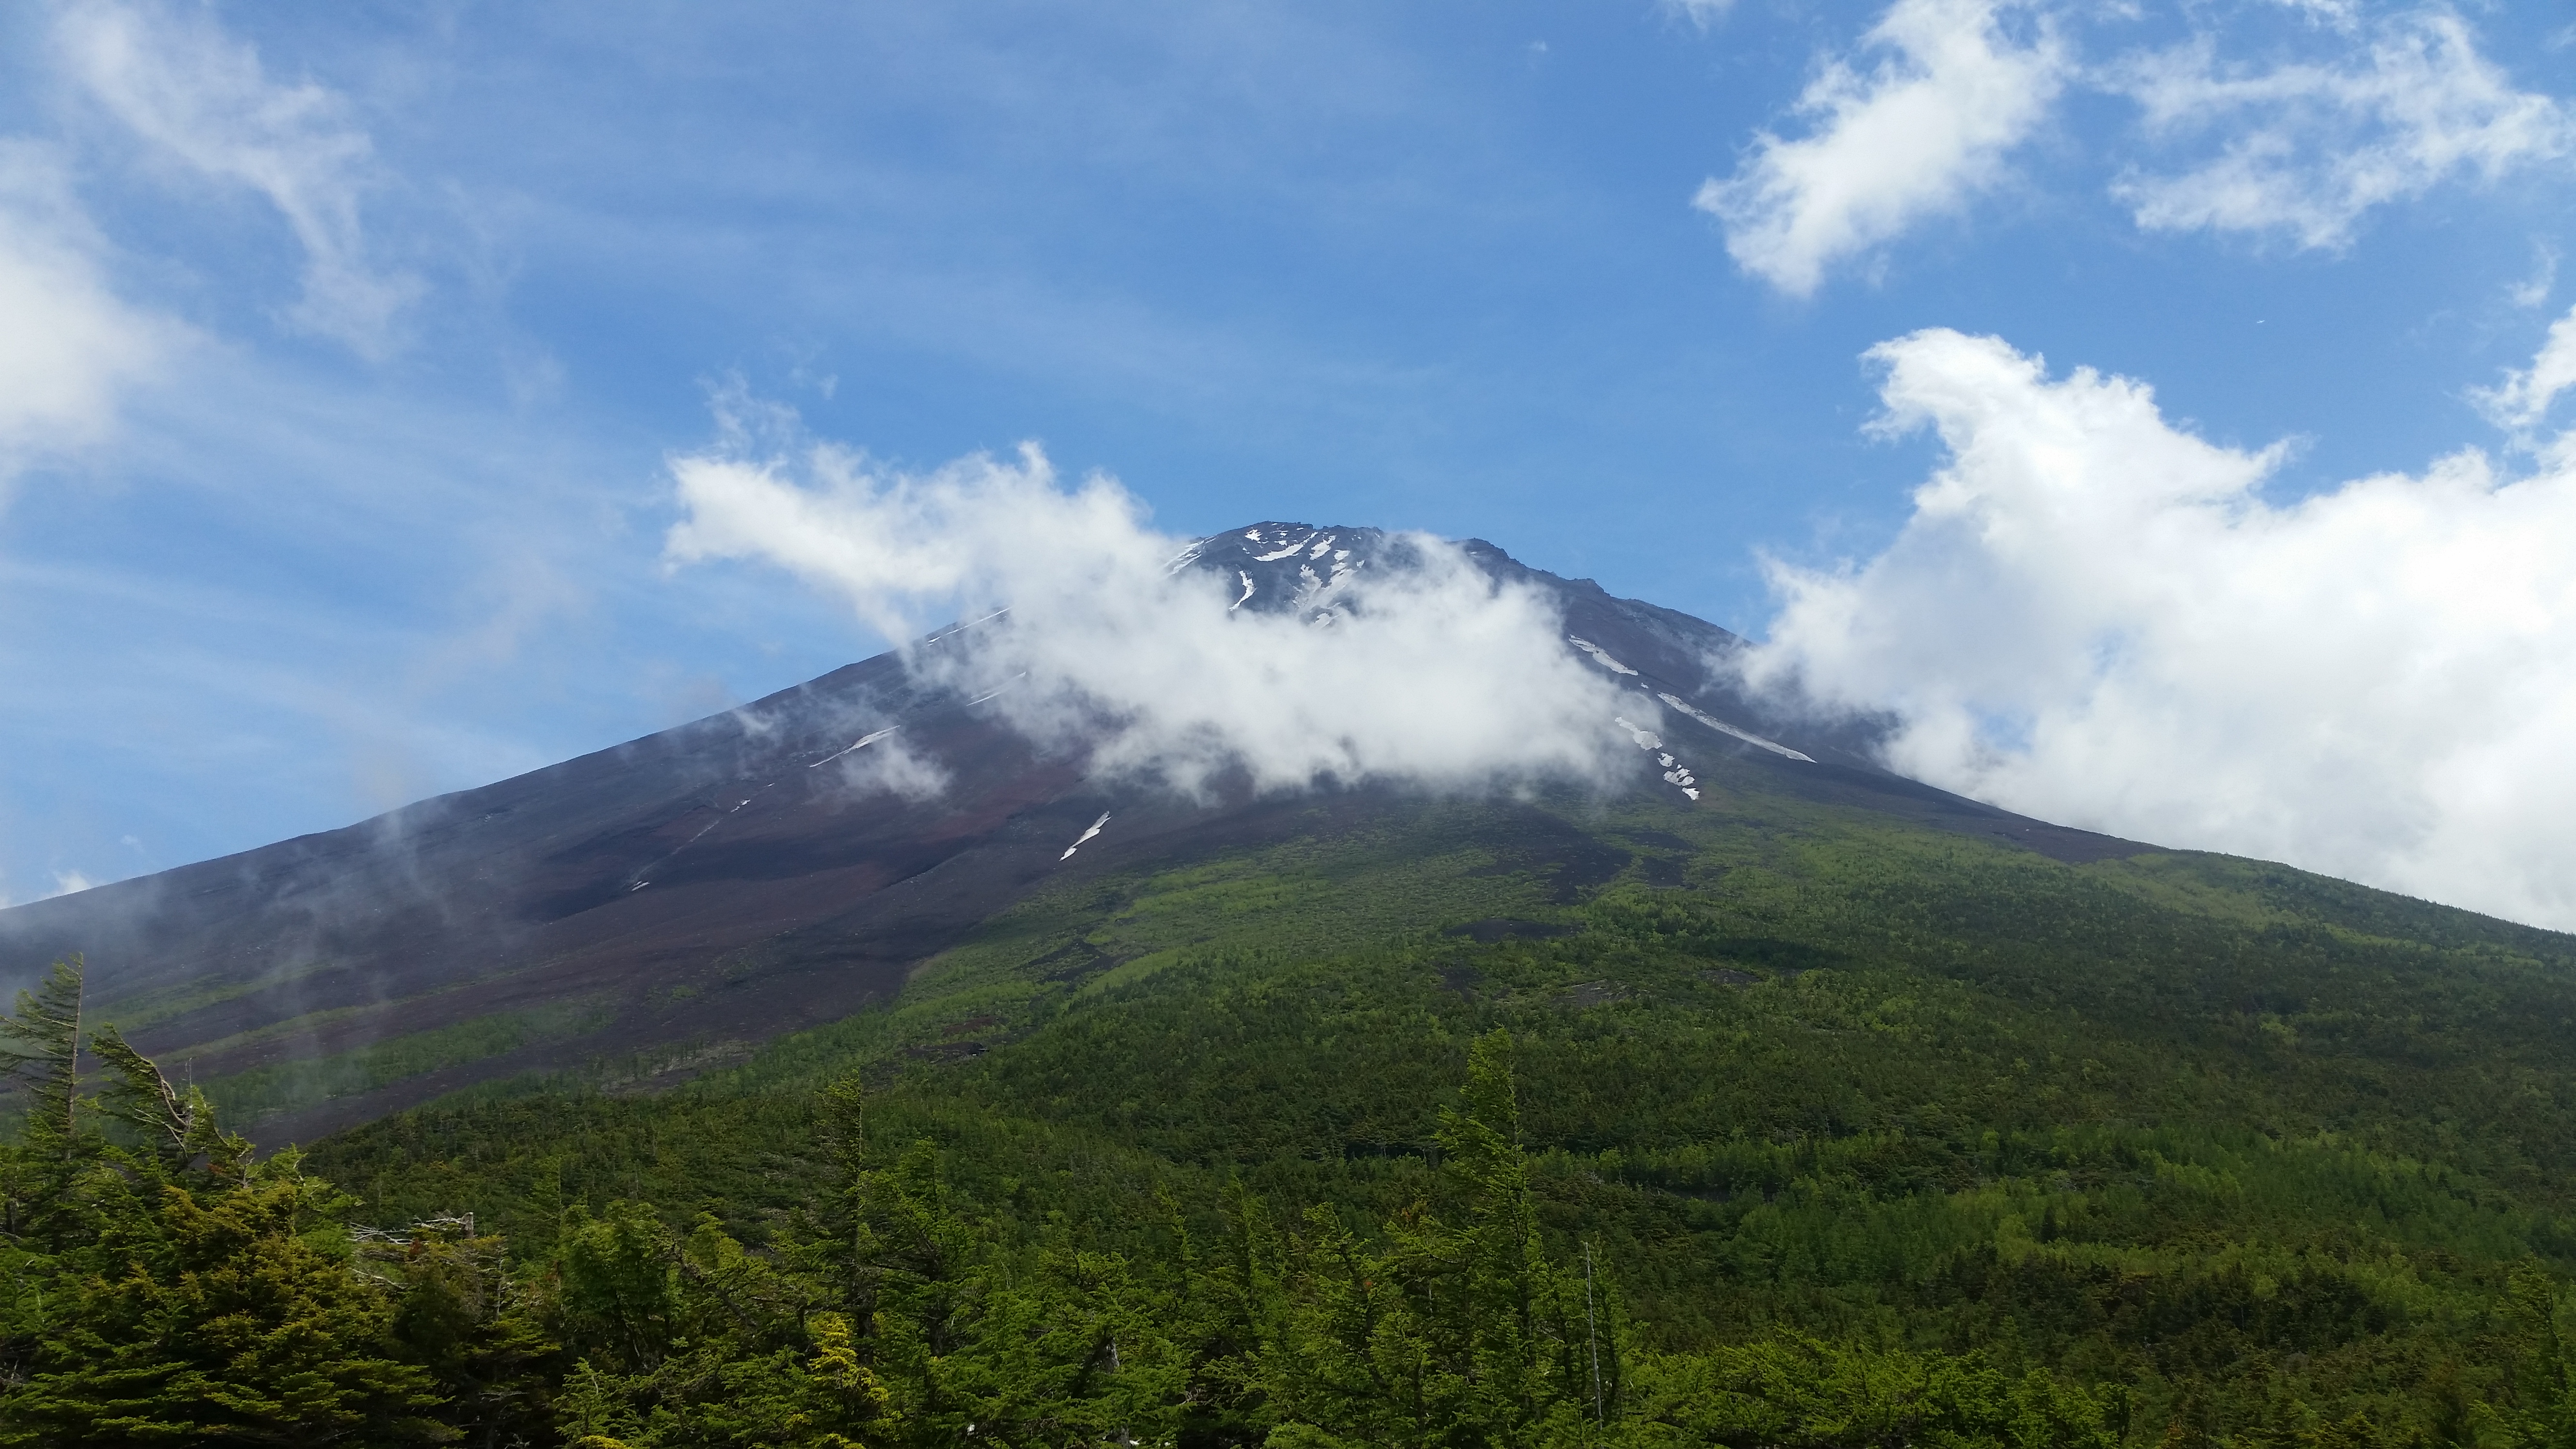
When I am not busy climbing 100 famous mountains, I like to climb Kanto hundred famous mountains and 200 / 300 famous mountains in the Tokyo area. Mt Nyukasa 入笠 is a 200 famous mountain in Nagano prefecture, located at the northern tip of the South Alps. It’s a little far from Tokyo – I had to go all the way to Fujimi station on the Chuo line, and then take a taxi to the trailhead.
The climb to the top is relatively short and easy, but the views of Mt Yatsugatake opposite were breathtaking. There were also good view of Mt Fuji, Lake Suwa and the South Alps. It was definitely freezing there so I quickly made my way down the other side, and continued towards the Oahara marshland 大阿原湿原. Quite a nice place, it strongly reminded me of my native Belgium. I had originally planned to do a simple loop but halfway I found a path following a small stream.

A view that could easily be easily be the “haute fagnes”
The signboard nearby indicated – without any times – that it was possible to loop back to my starting point, so I decided to take a chance and follow this new route. I was rewarded by a very pretty river valley. It was mostly in the shade in winter, but I could imagine that in the summer it would be bathed by soft sunshine – a place to revisit. I emerged onto a dirt road but quickly left it to follow a small path up to the top of a ridge with great views of the central alps. Eventually I emerged back at the base of Mt Nyukasa. I still wasn’t done, since I had to walk all the way down the mountain. Luckily there was an onsen which I could stop by before hopping on to the train back to Tokyo.

View toward the Ida area of Nagano prefecture
Mt Narukami (980m), Kiryu city, Gunma Prefecture, Sunday November 25

Pure Tochigi – endless mountains
The attraction for this hike are the 360 degrees panoramic views of Southern Tochigi from the top. After what seemed like an endless ascent, popping out of the trees onto the bareless top was quite a relief. Afterwards I continued on a little hiked path towards the North, all the way to Watarase valley, with good views of Mt Nantai and Kusagi dam. A word of caution: the trail was difficult to follow at times and had a lot of ups and downs (when I say a lot, I mean a lot). It’s also a very solitary hike – I only met two runners going in the opposite direction.

A rewarding view after a tough hike
Unfortunately I ended up taking longer than expected and missed the bus for the onsen at the end of the trail. Fortunately I was able to hitchhike to Mizunuma station, where there is an onsen right inside the station. Pretty handy since trains only run once an hour or so.
Kobugahara (1144m) & Mt Yokone (1373), Kanuma city, Tochigi Prefecture, Sunday December 2
This was another great discovery, tucked away in the heart of Tochigi prefecture. I had never heard of it till I stumbled across it in my hiking book (however my Japanese friends knew about it). The top part of the mountain is part farm and part wetlands – an interesting contrast scenery. The most amazing view however was of the view of Mt Nantai and Mt Nyoho – quite unexpected to see them appear above farmland.

Magical view of the high peaks of okunikko
I was so taken by the views that I had to rush going back to catch the bus – I didn’t want to miss it twice in a row! I took a different route down that I was recommended for people with “healthy legs” only. However it was much longer than I had calculated and only managed to catch the bus by doing a 100 meter dash down the last part which was along the road!

Ido Marshland, another hidden secret of Tochigi Prefecture
Mt Shigasakasuwa (1207m), Chichibu mountains, Saitama prefecture, Tuesday December 25

View towards Gunma prefecture
This was a rather short hike motivated by the discovery of a new shared car station in Chichibu station – I absolutely had to try it out! Plus I really enjoy visiting the Chichibu area so this Christmas day hilke was a no-brainer. After a one-hour drive, I reached the small parking area I was the only car – not surprising since the 25th is not a national holiday in Japan.
After a short climb, I reached the top of Mt Shigasakasuwa 志賀坂諏訪山 – the view was OK but not spectacular, not as good as my guidebook has led me to believe. Mt Ryokami was towards against the sun so perhaps it’s better earlier in the day. I opted for a different route down. The beginning was quite pleasant but the lower part was a bit too rocky for my taste. However, I was happy to get some nice views towards the Gunma side, including the top of Mt Asama. On the way back, I stopped at a nice ryokan that allows day trippers to take baths.

Mt Ryokami against the sun
Mt Bonomine (969m) & Mt Arima (1213m), Okutama / Chichibu mountains, Tokyo & Saitama prefectures, in December, Sunday December 30

Last view of Fuji of the year!
My last hike of 2018 was quite difficult but that’s alright since I wanted to challenge myself. I went up Mt Bonomine 棒ノ峰 from the Tokyo side – my 4th time climbing this wonderful mountain, but first time from this side – then hiked west up and down (mostly up though) along the ridge before turning sharply north at Hinatazawa (good view of Mt Fuji) into Saitama prefecture. More up and downs (7 in total) brought me to the unremarkable summit of Mt Arima 有間山, surrounded by trees.

View of Naguri lake from Arima pass
After I left the summit, the trees completely disappeared on the North side giving you sweeping views of the Chichibu area with Mt Ryokami throning in the background. To the South, I could still get occasional glimpses of the Tokyo megalopolis in the distance among the trees. The two contrasting views are really made this part of the hike wonderful. I finished the hike on the Chichibu side, close to lake Urayama side, just on time to make the minibus back to Chichibu city. On the way I was lucky enough to spot some monkeys crossing the road – a nice way to finish the year!

Last views of 2018 with Mt Ryokami in the back


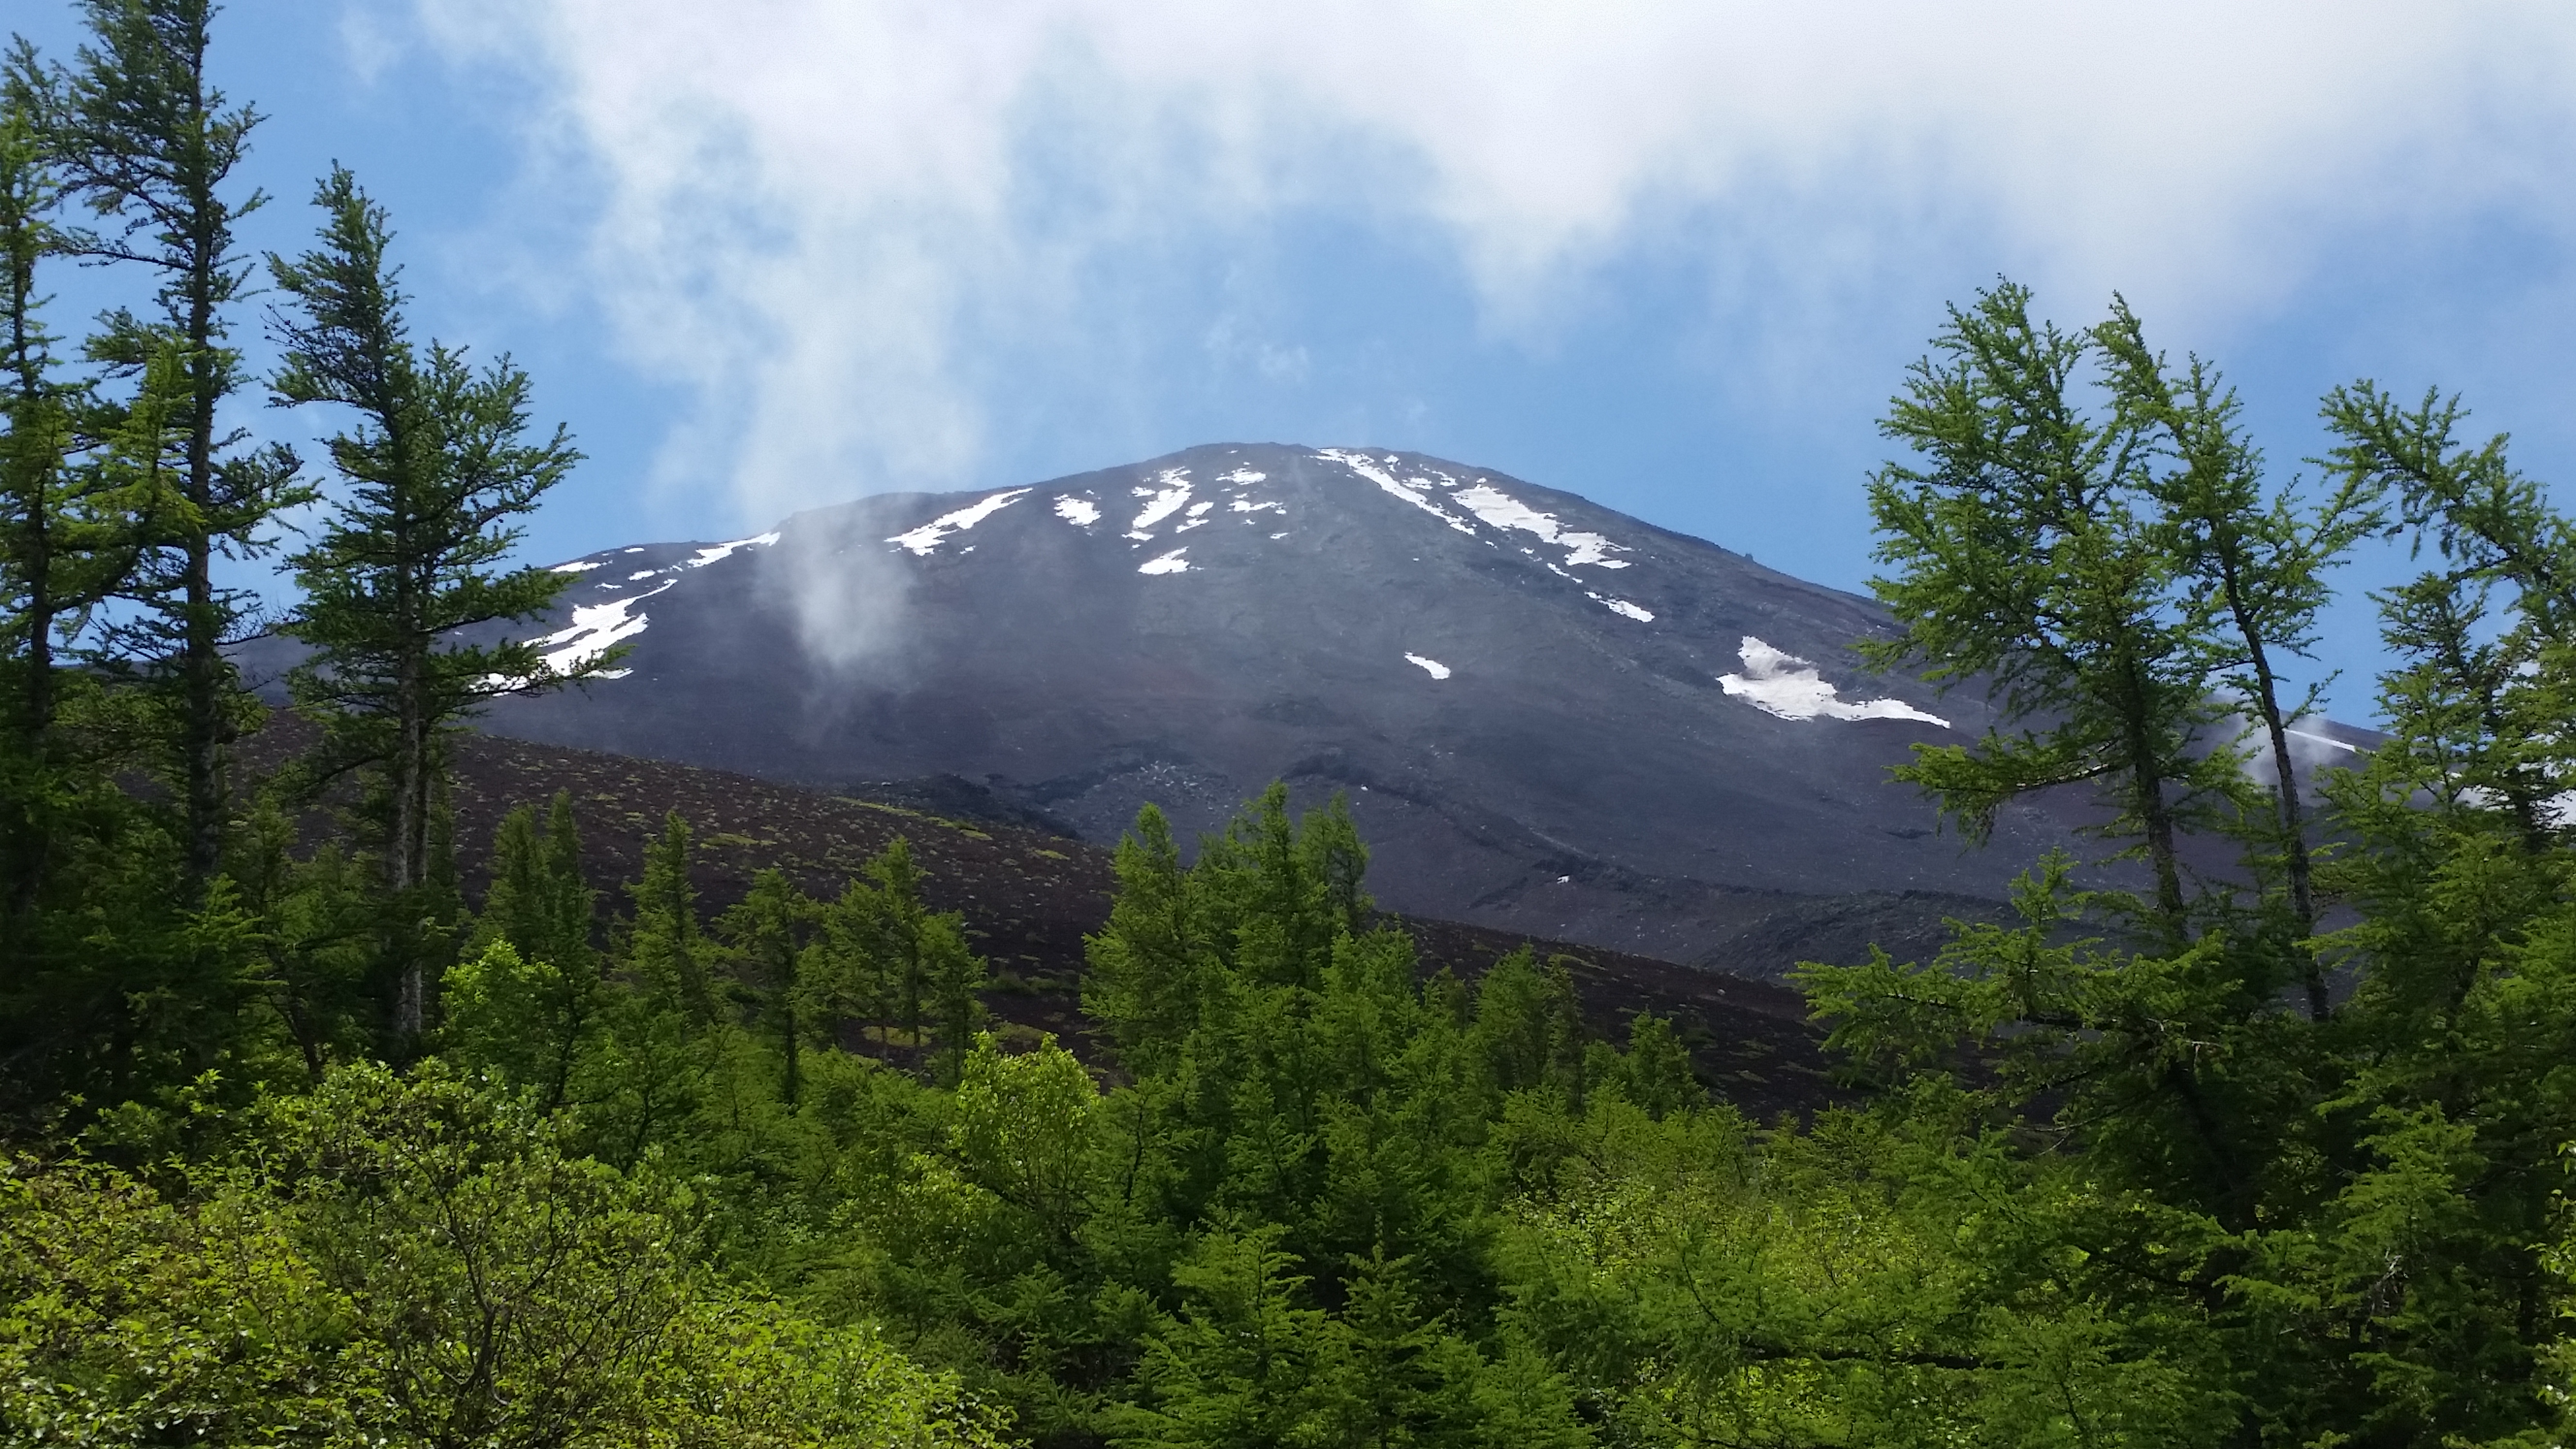
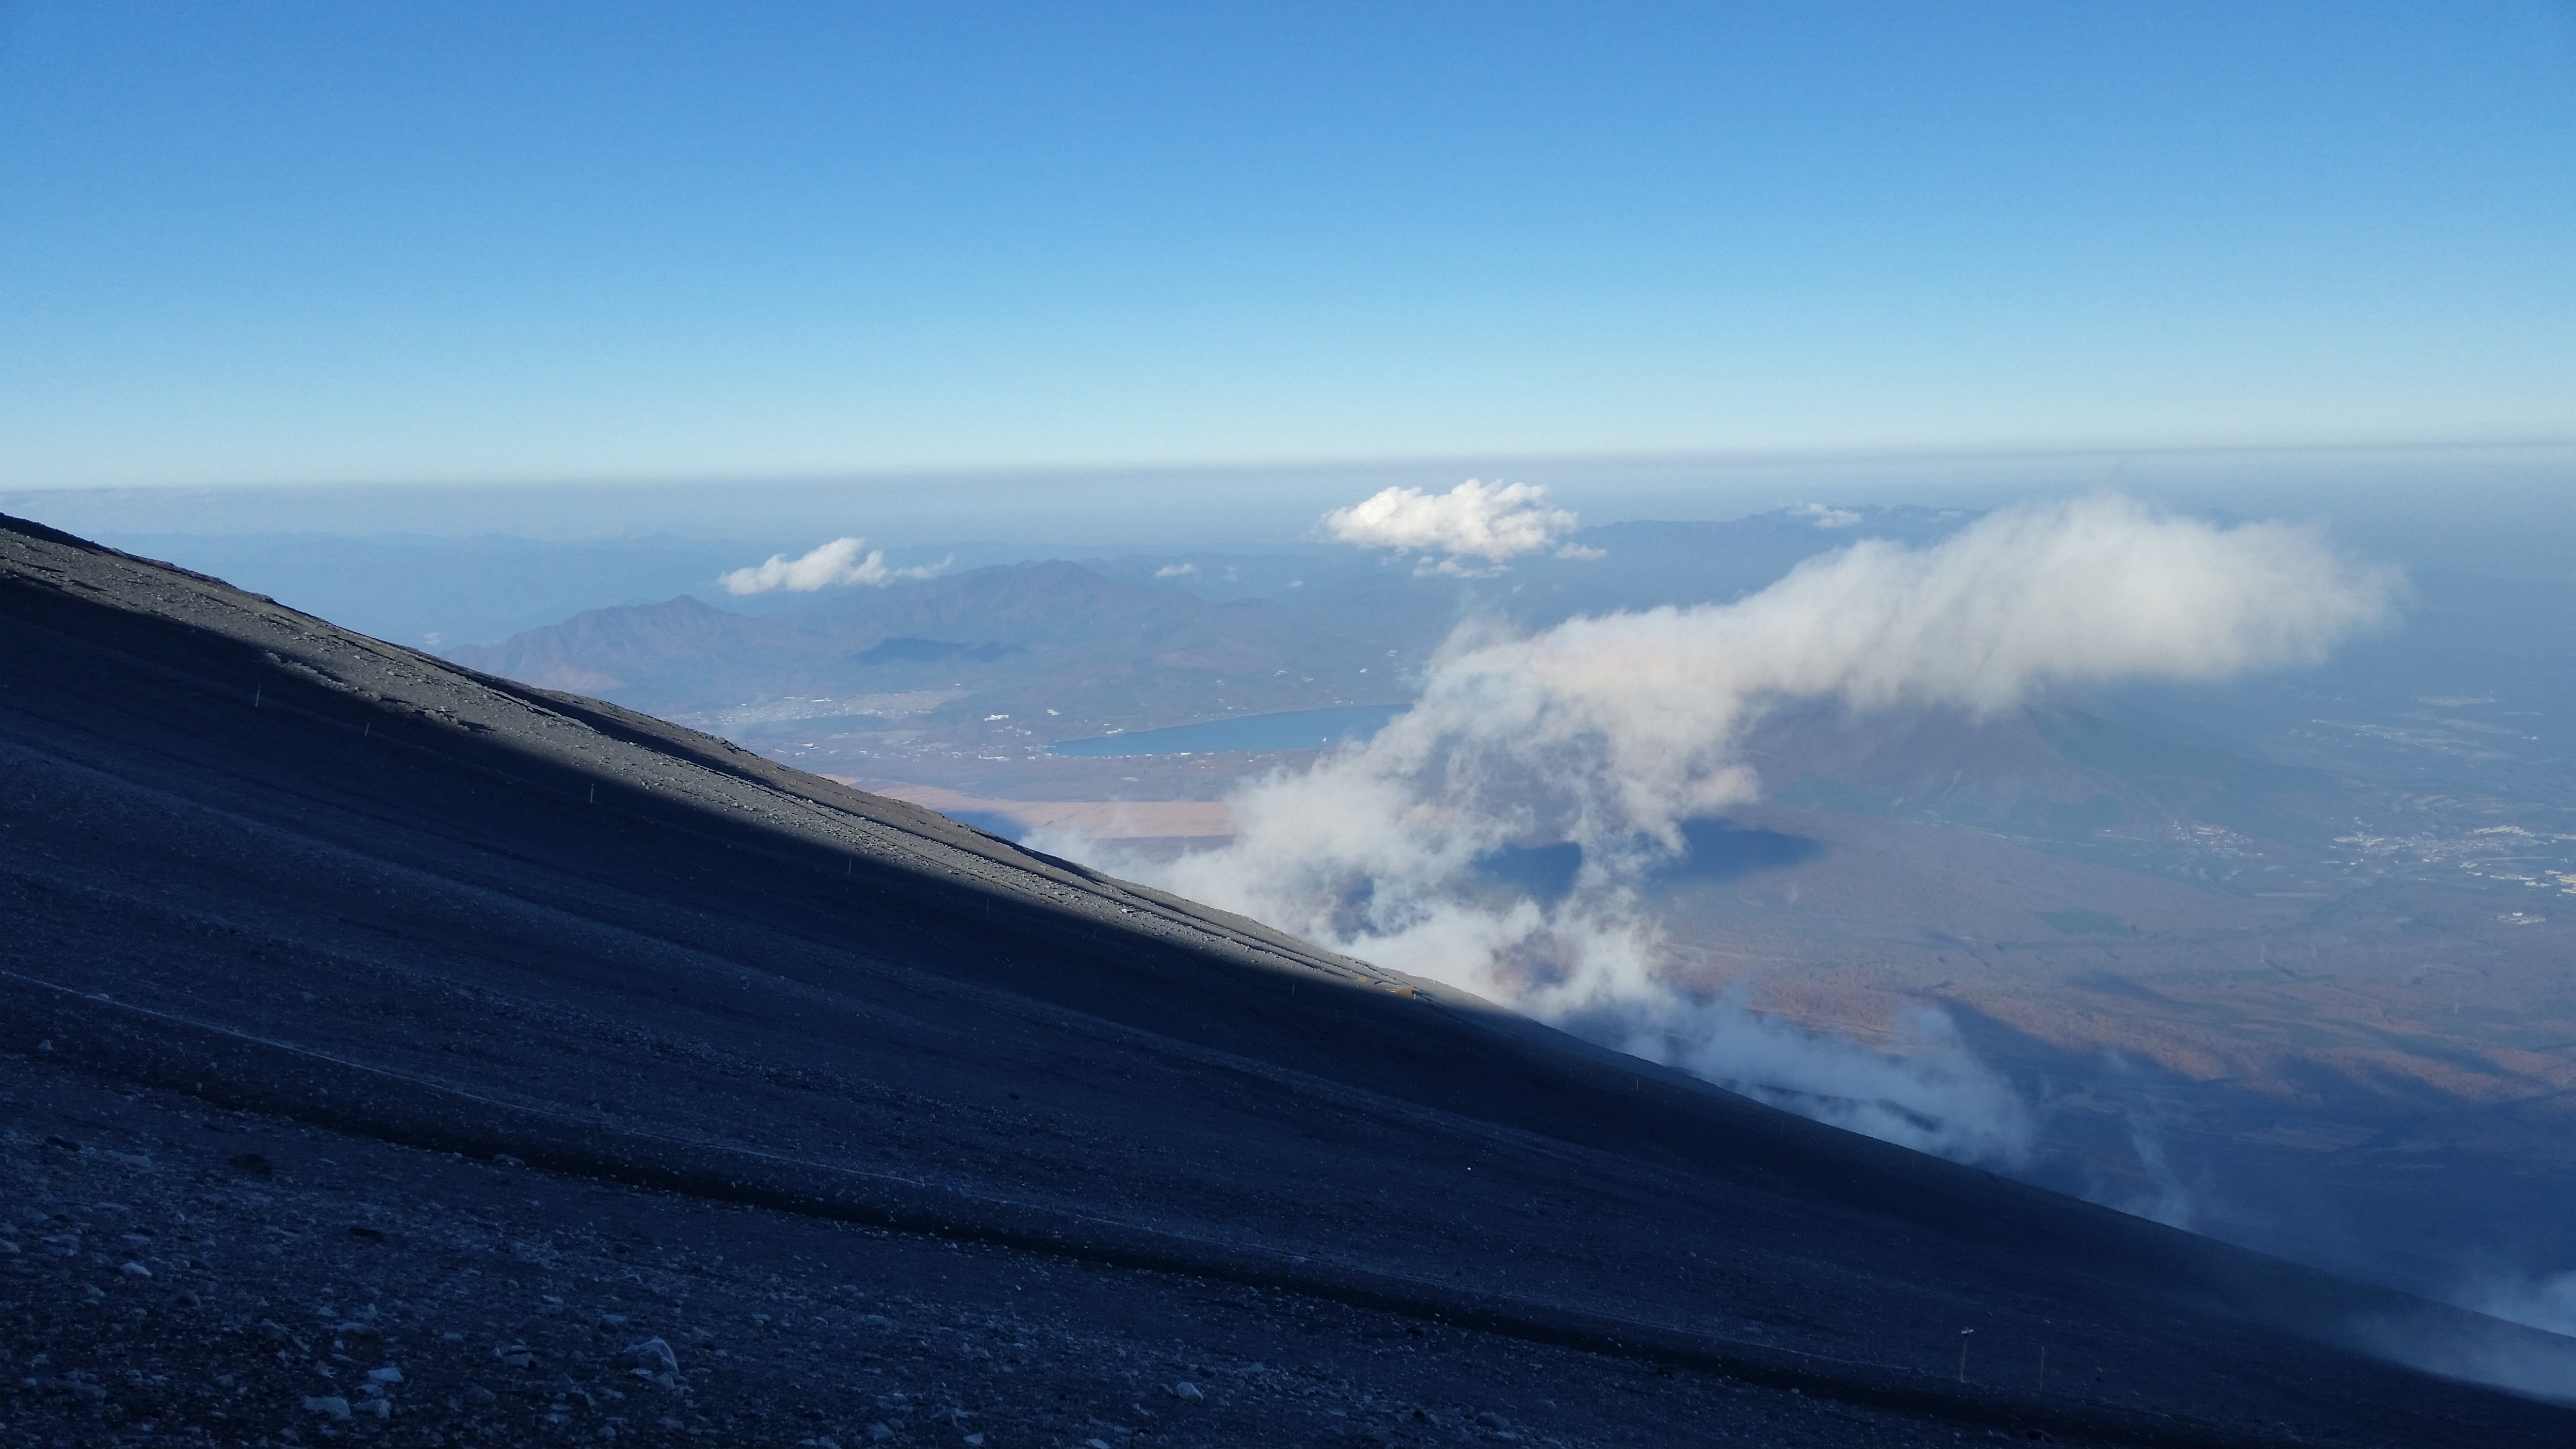
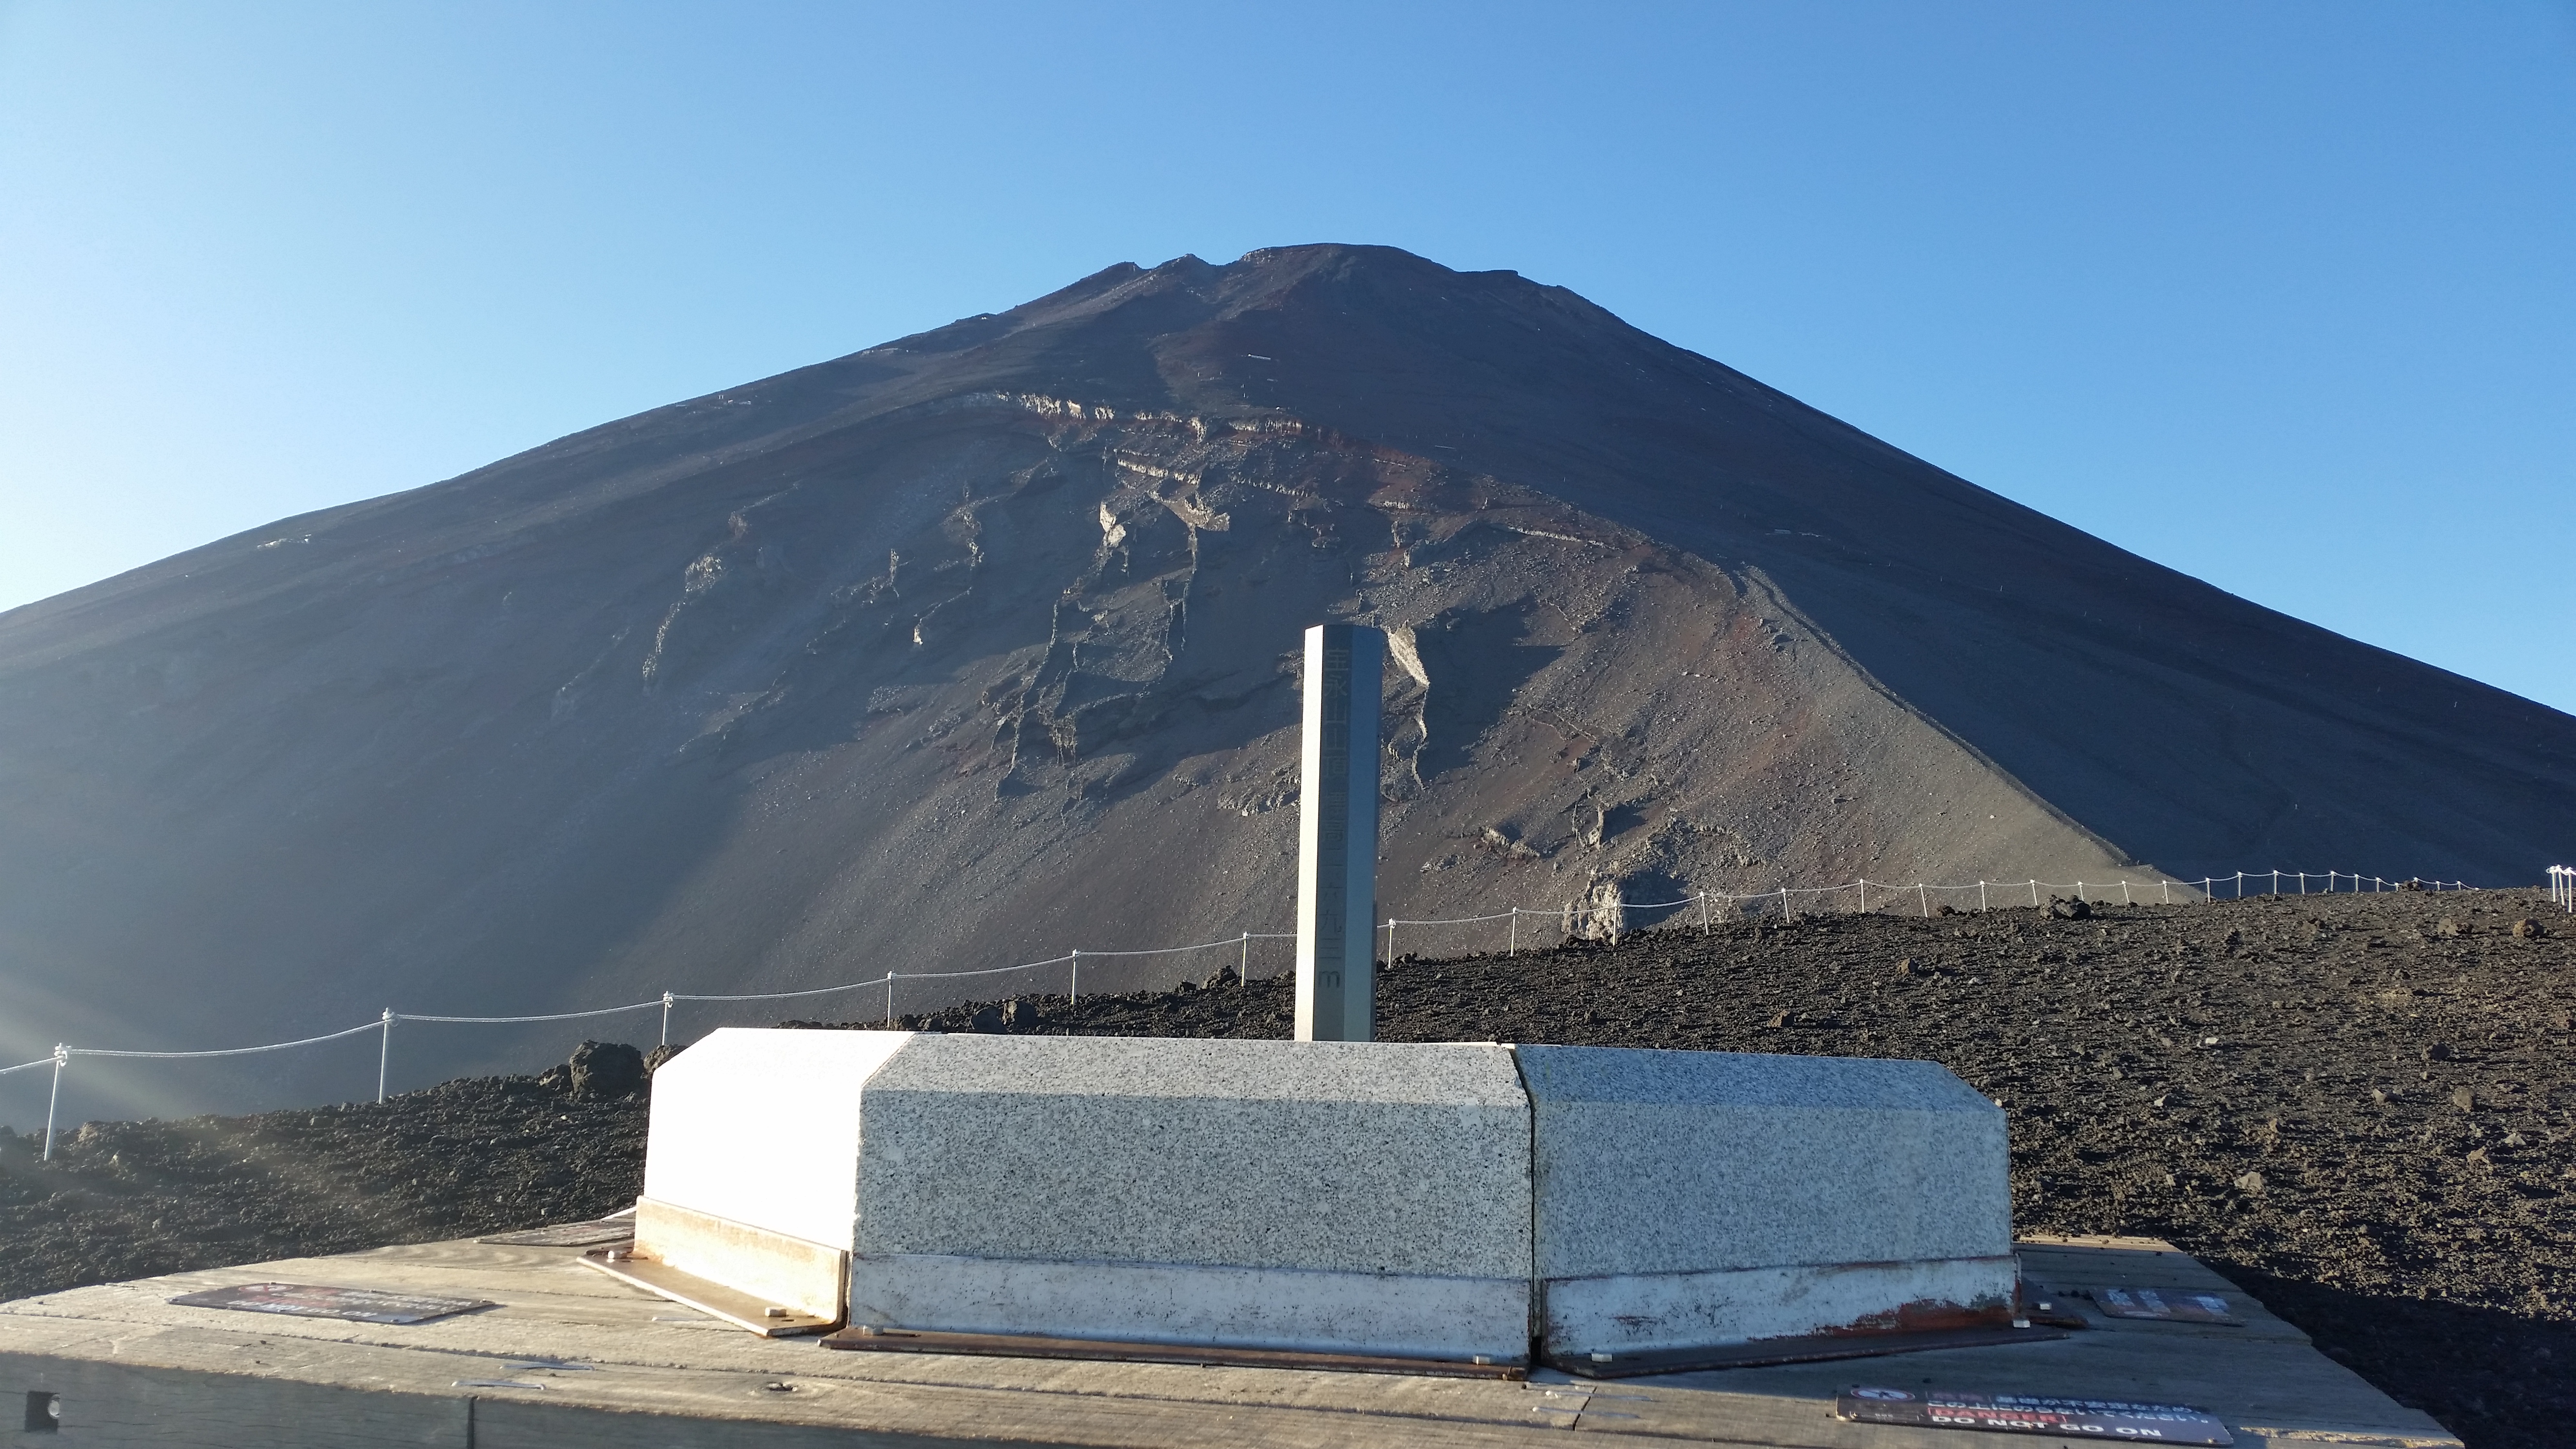
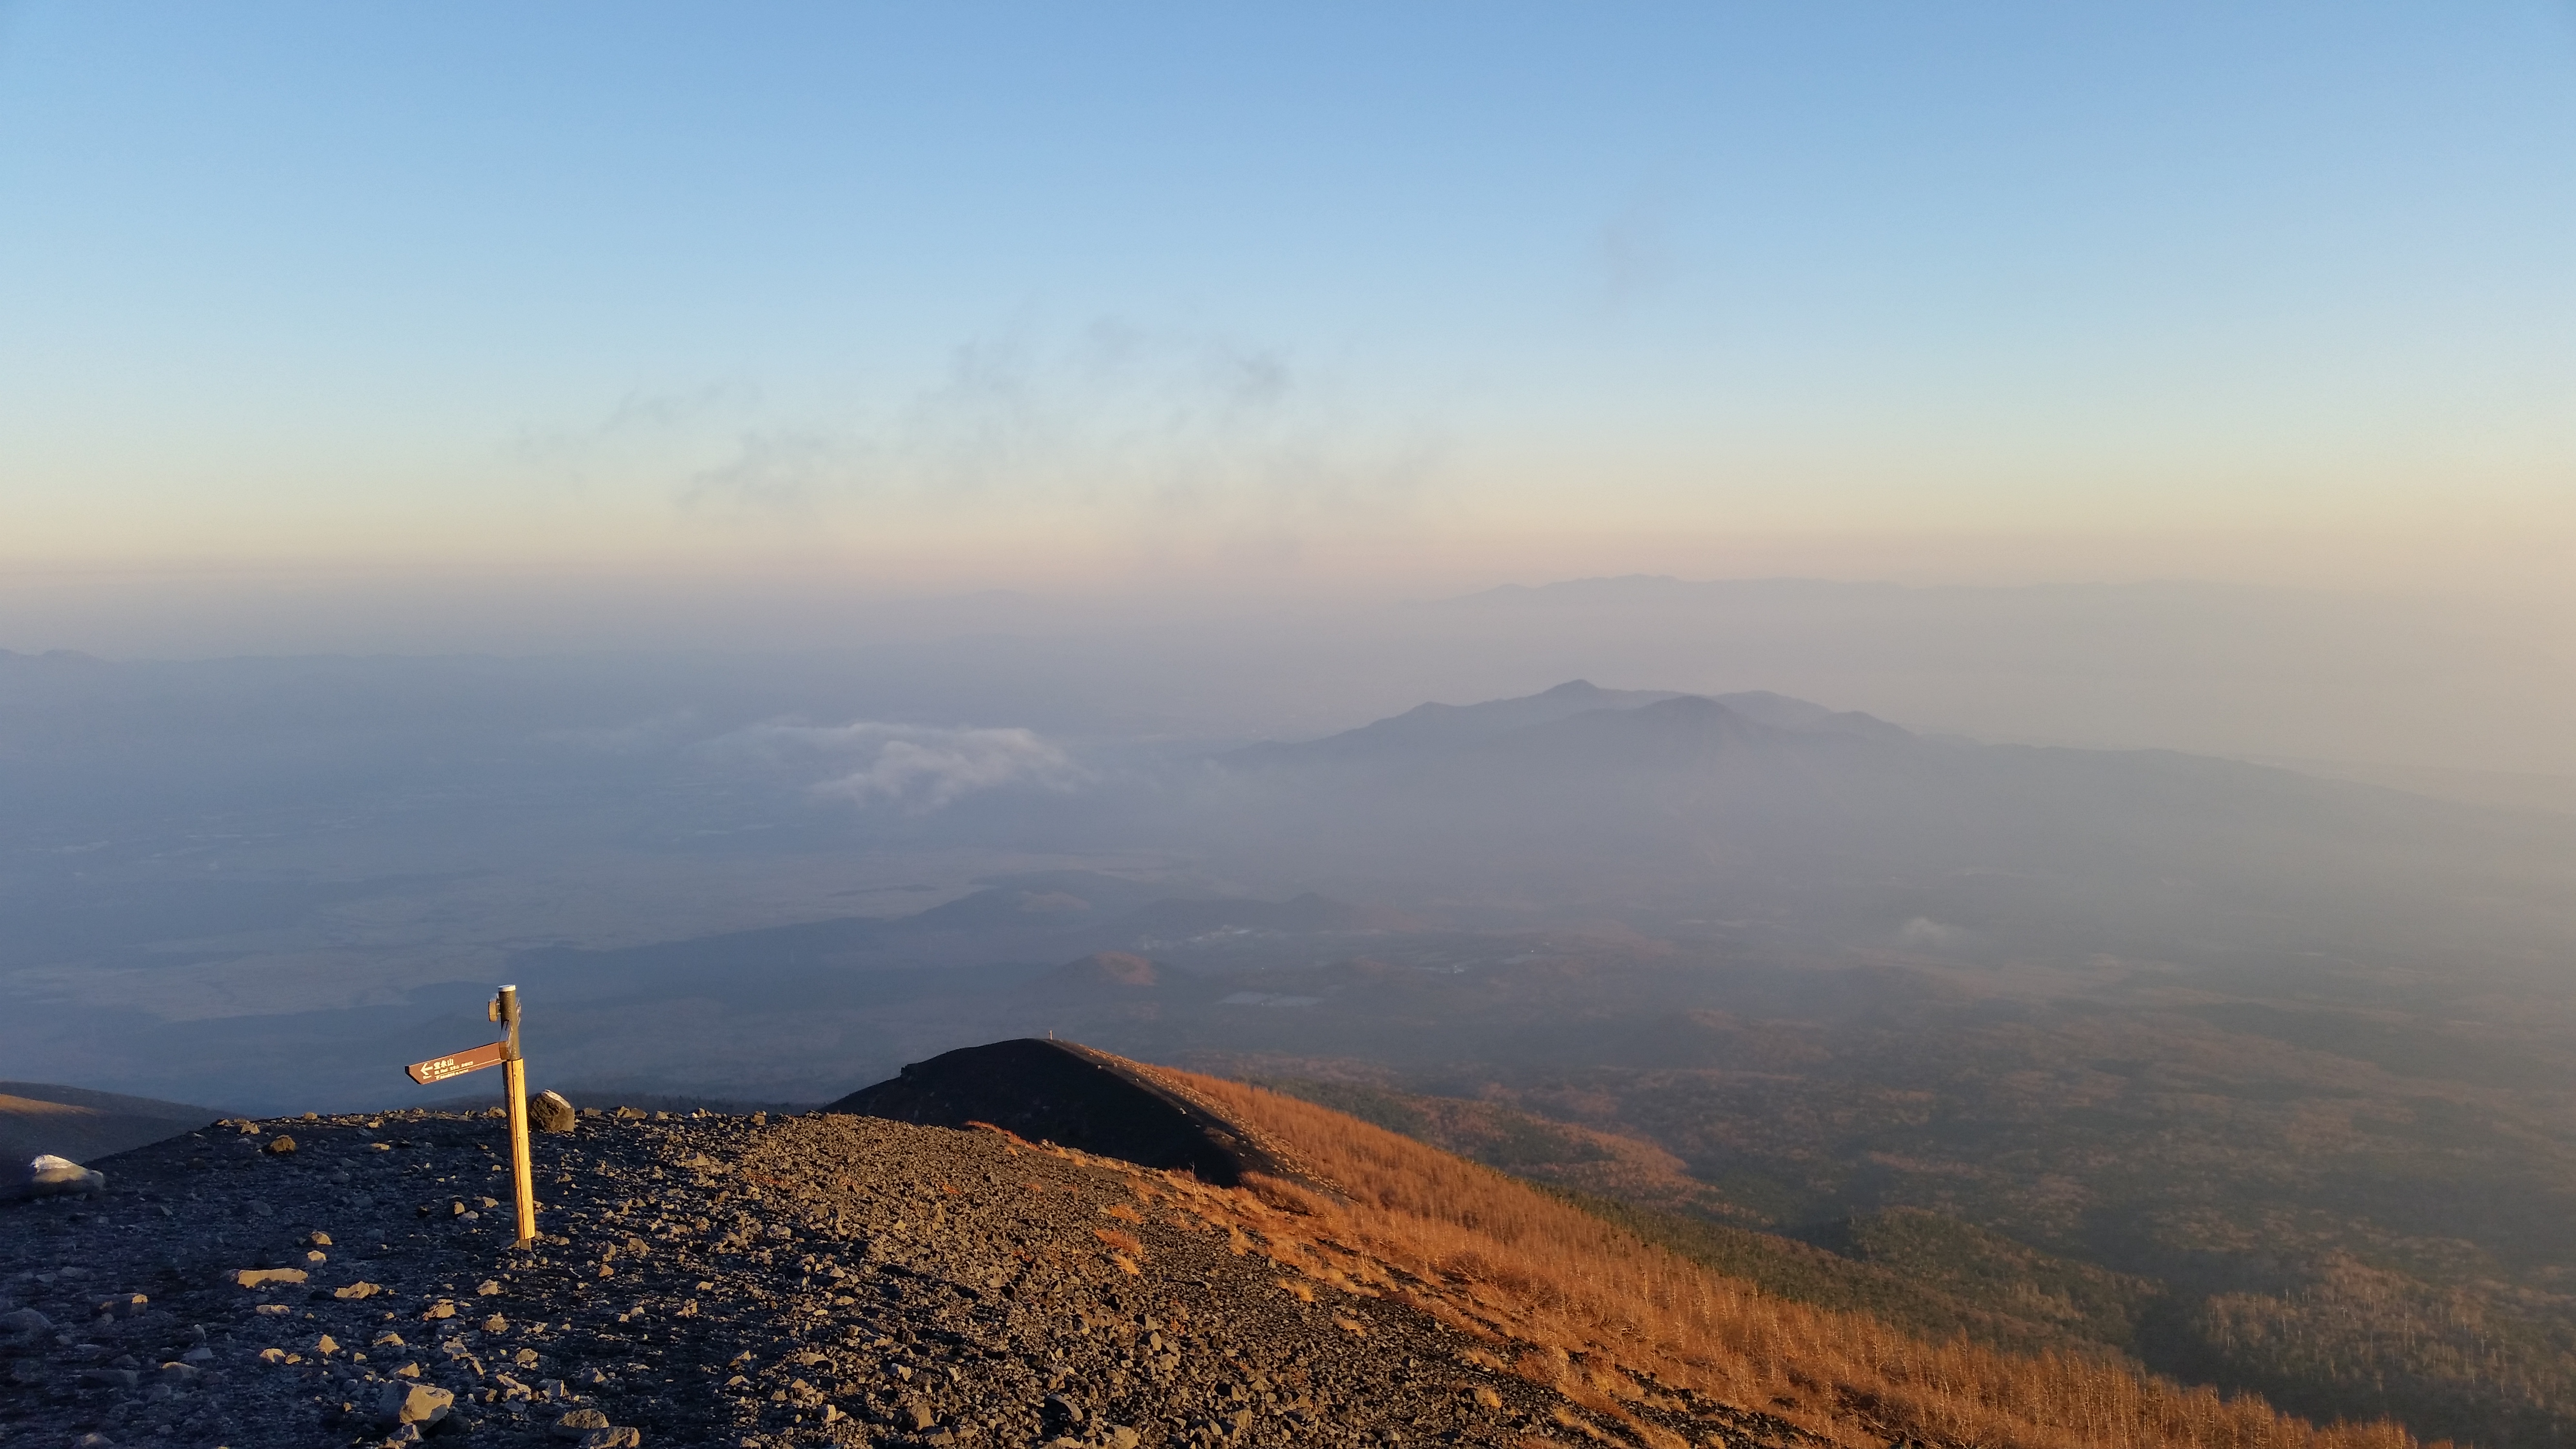
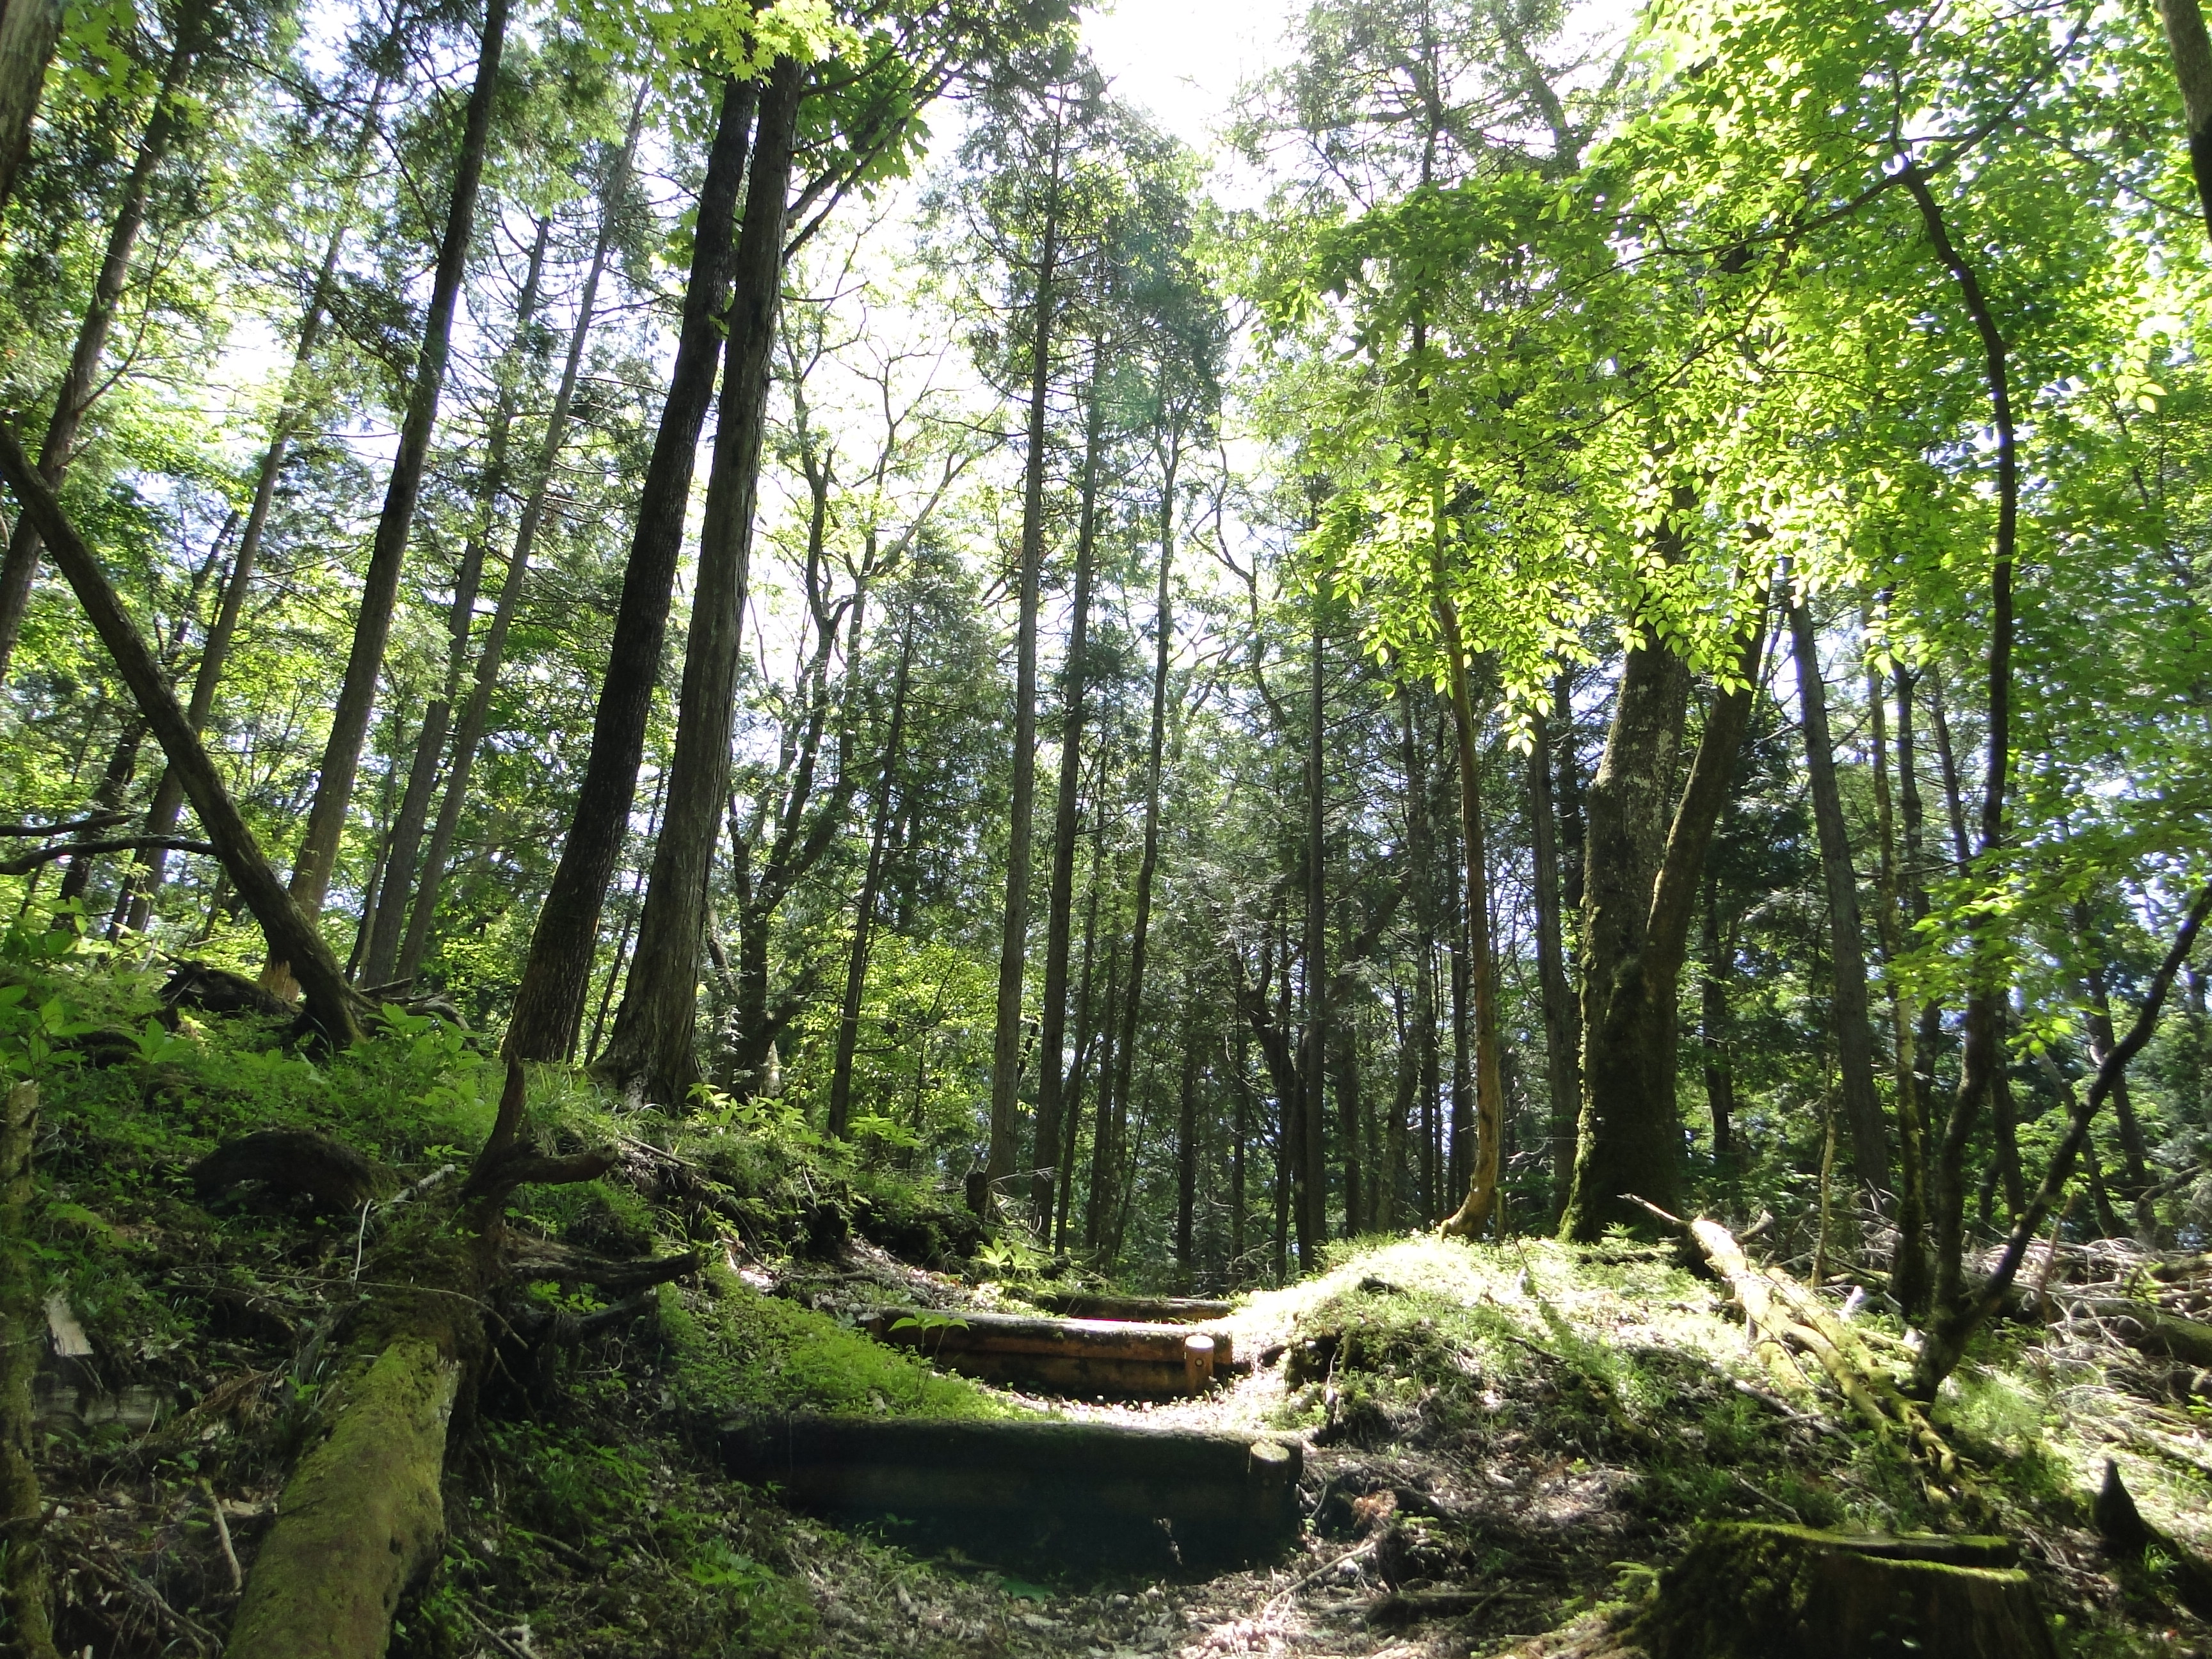
![Mt Zao (1841m), Yamagata City, Yamagata Prefecture, Friday, October 26, 2018 [Map Available]](https://hikingtokyo.com/wp-content/uploads/2022/09/img_20181026_113404.jpg?w=1024)


You must be logged in to post a comment.