Although I prefer to go on day trips as much as possible, I do enjoy staying the night of December 31st in a mountain hut and taking part in the Japanese tradition of “hatsuhinode” (初日の出) or seeing the first sunrise of the year on the 1st of January. There is something magical about spending the last hours of the old year and the first hours of the new year near the top of a mountain. In addition to the special year end food and drinks, seeing a beautiful sunrise is a great way to start the new year. The weather is usually excellent in this season, despite being cold, so you can also get in two days of solid hiking.
Here are three places which I recommend for doing hatsuhinode, with their pros and cons:
Hirugadake Lodge 1673m (Kanagawa)
Hirugadake sansou (蛭ヶ岳山荘) sits on top of Mt Hiru (蛭ヶ岳), the highest point of the the Tanzawa mountain range in Kanagawa prefecture, South of Tokyo. It is the hut that has the longest and toughest access, in terms of hiking time and elevation gain.
PROS: Less crowded than other huts, great view of Mt Fuji and night view of Tokyo, summit is just next to the hut
CONS: Early bedtime curfew (around 8pm), not much in terms of New Year celebrations, small snow layer possible
ACCESS: Take the Odakyu line from Shinjuku station to Shibusawa station. There are many buses that can take you to Okura (大倉), the trailhead for for Mt Tonodake, Mt Tanzawa and Mt Hiru (the first two also have lodges open over the New Year period).
Kumotori lodge around 1950m, Tokyo
Kumotori Lodge (雲取山荘) is located below the triangular summit of Mt Kumotori 2017m (雲取山), the highest mountain of Tokyo prefecture. It is the highest and largest of the 3 huts with a capacity of around 200 people.
PROS: “Amazake” (sweet sake) on the evening of the 31st, lively atmosphere and countdown at midnight, relatively comfortable lodge
CONS: Crowded on December 31st, summit is 30 minute from the lodge, some snow possible
ACCESS: If possible try to catch the direct train from Shinjuku station that goes all the way to Okutama station, otherwise you’ll need to transfer once in Ome. From there, it’s a 35 minute bus ride to Torizawa 鳥沢, the start of the trailhead for Mt Kumotori.
Nabewari Lodge 1272m, Kanagawa
Nabewari Lodge (鍋割山荘) is also located in the Tanzawa mountain range, near the top of Mt Nabewari (鍋割) overlooking Sagami Bay. It’s one of the friendliest lodges that I have ever stayed at during my time in Japan. It also has the shortest hiking time of the three.
PROS: “Zouni” (Japanese new year dish) and sake on the morning of the 1st, great view of Mt Fuji, summit is right next to the hut
CONS: The hike down is relatively short, located on a ridge so doesn’t feel like being on the top of a mountain
ACCESS: Same as for Mt Hiru, you’ll need to take the Odakyu line from Shinjuku station to Shibusawa station, and catch the bus for Okura (大倉). However, instead of going straight up, take the path that goes left.
Before you go, there are 3 things you should do before.
First get a map of the mountain so that you can plan your hiking route carefully.
Secondly, call the hut to make a reservation and ask about the trail conditions.
Finally, check the weather before your departure. Although the weather is usually stable around this time of the year, bad weather can always happen.
In any case, be sure to bring warm clothes because it will be very cold while waiting for the first sunrise on the 1st of January 2019!
A hike up Mt Aoba offers refreshing nature, breathtaking views, and some thrilling climbing sections between its Eastern and Western peaks. This sacred cone-shaped mountain is also known as Wakasa-Fuji, after the old name of Fukui prefecture’s scenic coastline. Well off the beaten trail, this five-hour loop hike up and down Takahama Town’s highest mountain can be done as a day trip from Kyoto or Osaka.
Find Japan Hiking Maps on Japanwilds and subscribe to our newsletter
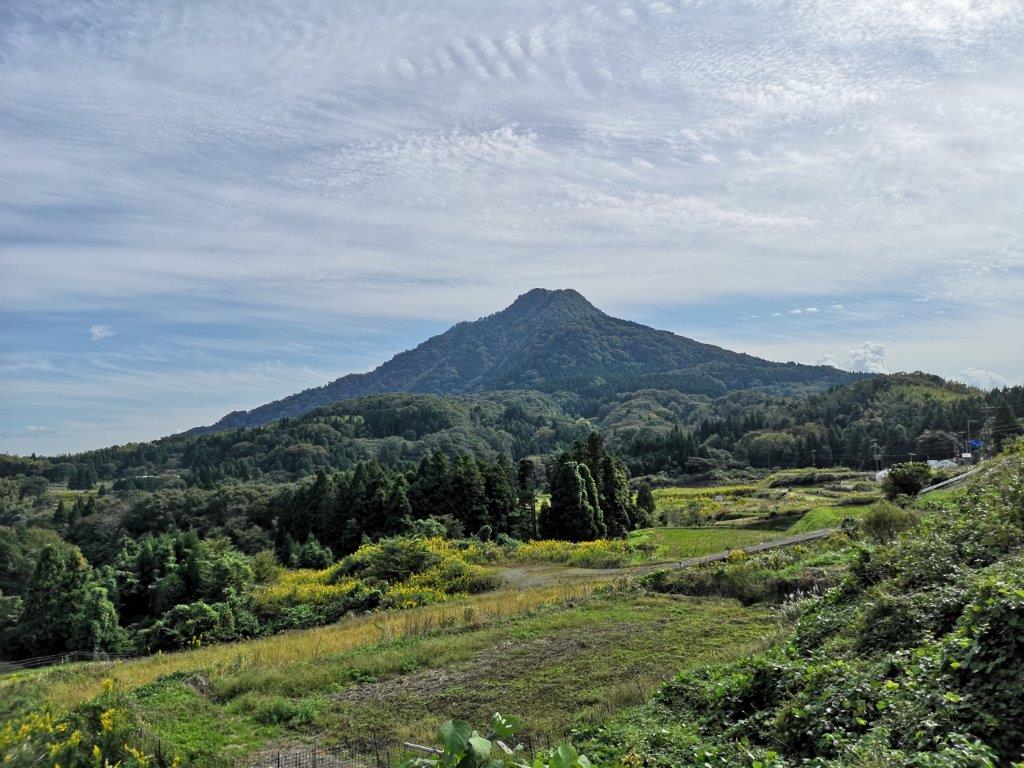
View of Mt Aoba from the East Side
View of Mt Aoba from the West Side
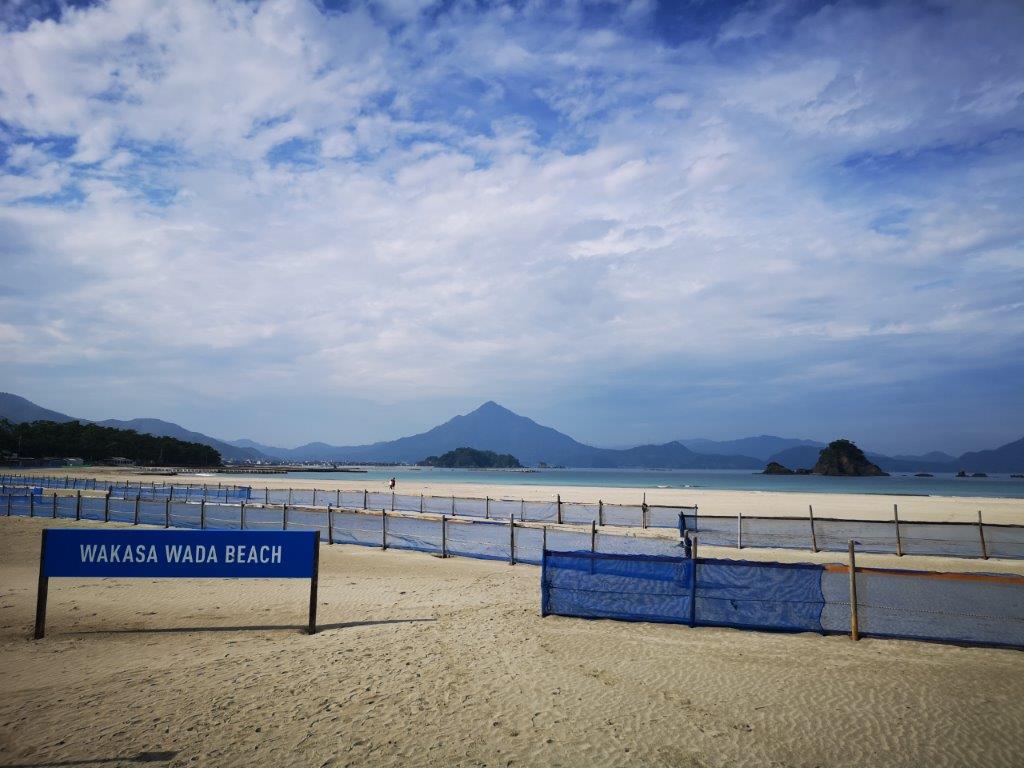
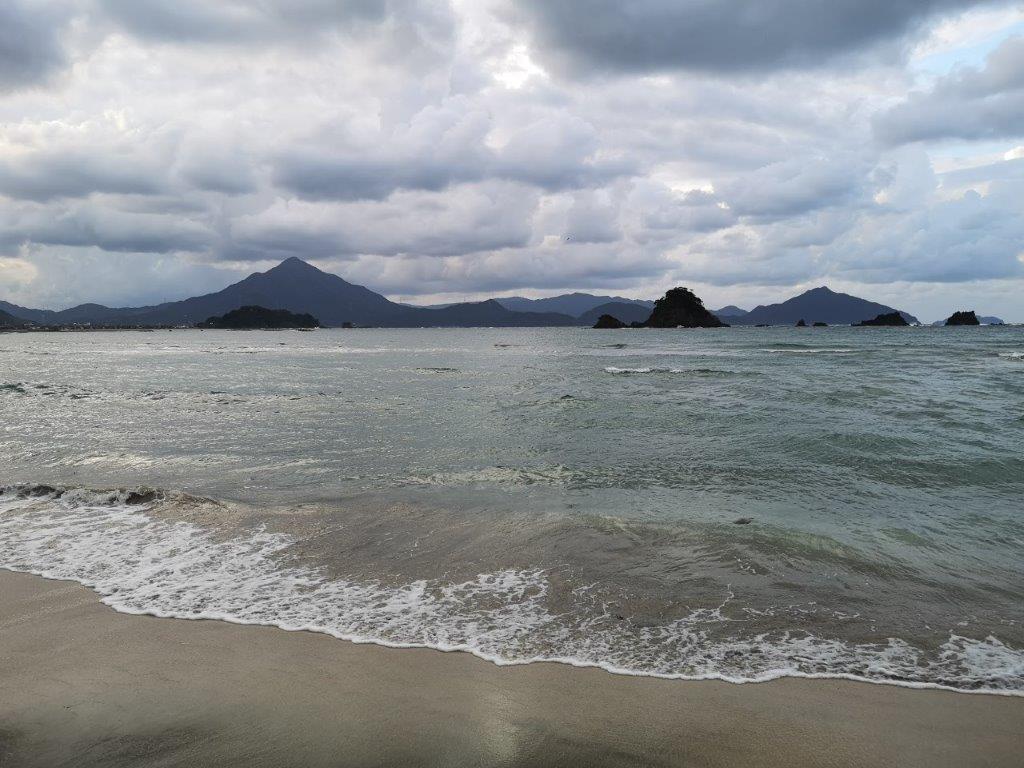
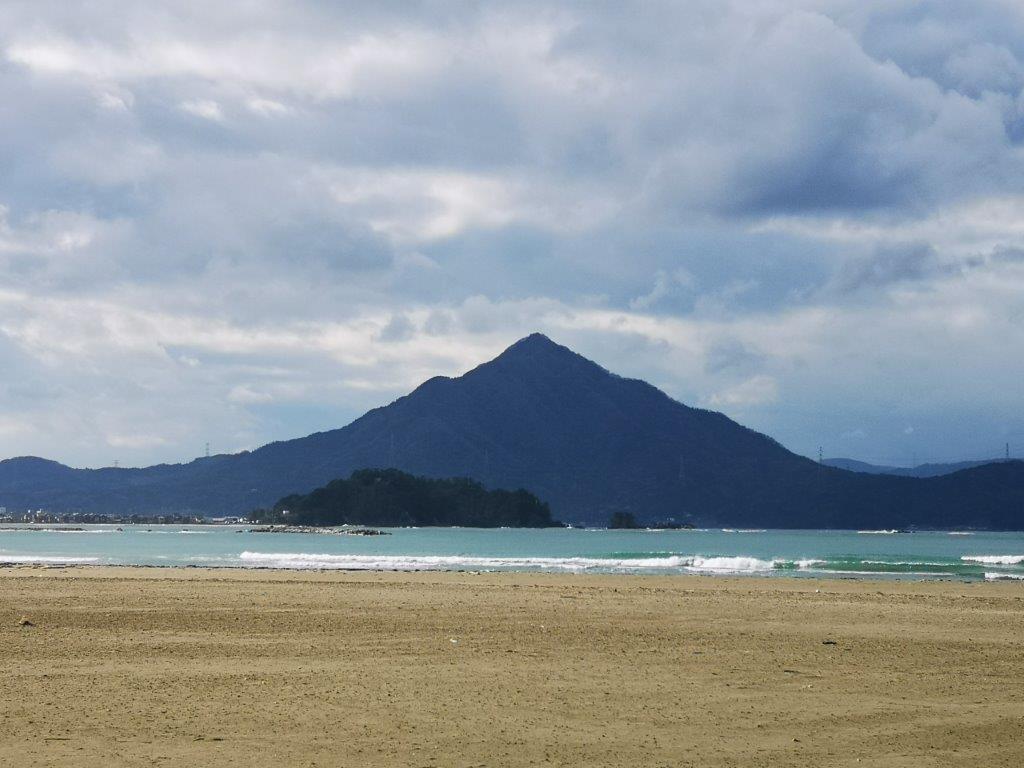
At 693m, Mt Aoba (Aobasan 青葉山) may seem like a relatively low peak. However, it’s important to keep in mind that you’re starting from about 100 meters above sea level, so some effort is required in order to overcome the nearly 600 meter elevation gain; furthermore, the comfortable temperatures at the base will turn chilly around the windswept summit areas. From Takahama’s Blue Flag beach, one look at the cone-shaped Mt Aoba rising straight from the sea, will make you realise this climb should not be underestimated. Its resemblance to Japan’s most famous volcano has earned it the nickname of “Wakasa-Fuji”; factoring in its picturesque location right on the coast, its inclusion in the Kansai 100 famous peaks (Kinkihyakumeizan 近畿百名山) is no surprise. Finally the mountain name means “Green Leaf” since the Japanese sometimes use the word blue to describe green colours.
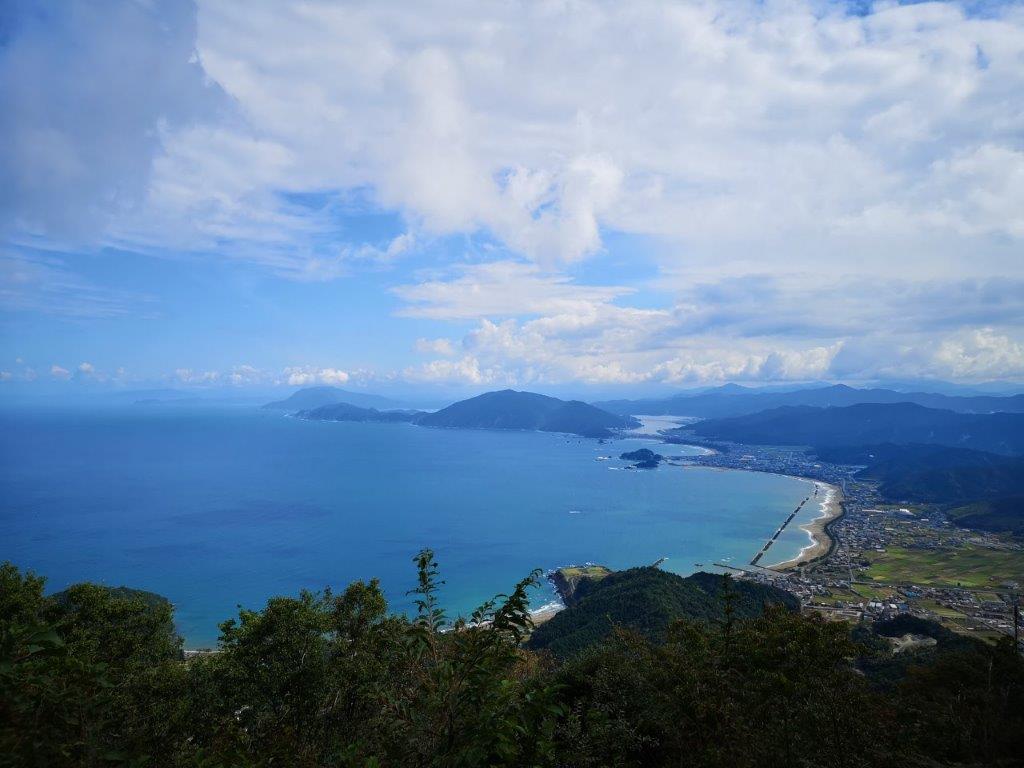
View of Takahama and Beach from the Lookout
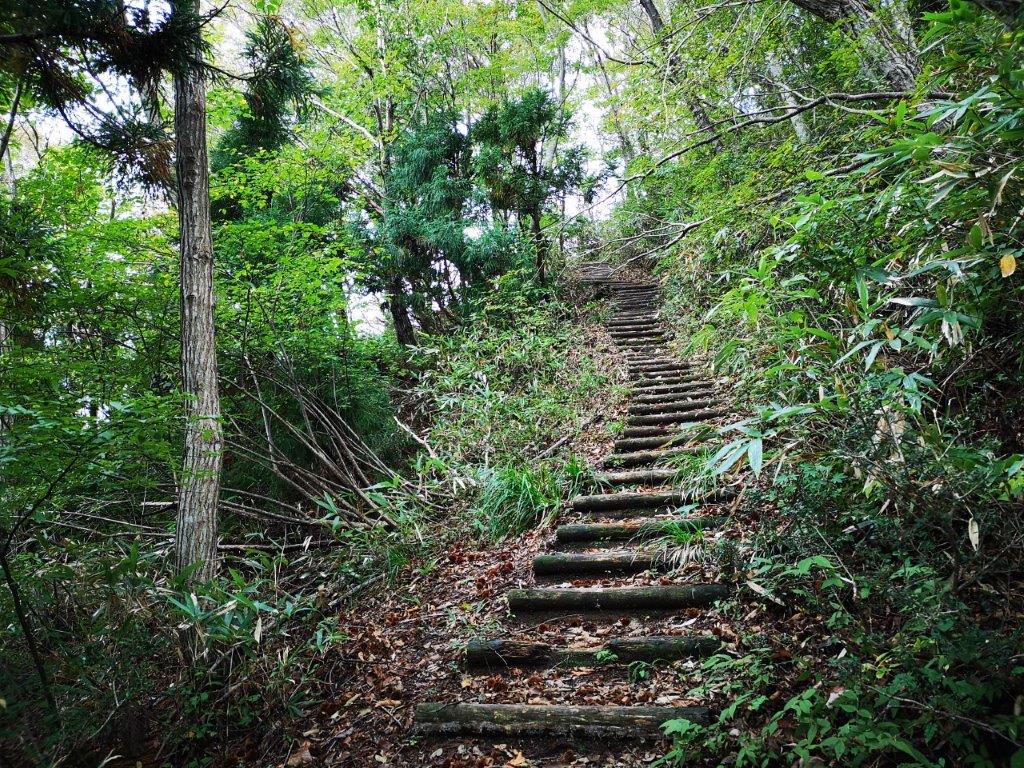
Log Staircase between the Lookout and the Eastern Peak
When viewed from a different angle, Mt Aoba reveals two separate peaks: the Eastern peak, (Higashimine 東峰) facing Takahama town, is the highest at 693m. The Western peak (Nishimine 西峯), visible from Uchiura bay is just one meter lower at 692m. Luckily, the path up the Eastern peak is relatively easy, so a round-trip to this summit will give you both a comfortable hike and the satisfaction of having climbed to the highest point; however, the best views are from the Western peak. Mt Aoba not only resembles Mt Fuji in shape – geologically it is also a volcano, albeit a dormant one: its last eruption was 4 million years ago. You really get a feel of this once you enter the part between the two peaks: many volcanic rocks and boulders are scattered on the trail, requiring ropes, chains and ladders. This section will take you nearly as long as the initial climb, and is another reason why a full hike up Mt Aoba shouldn’t be taken lightly.
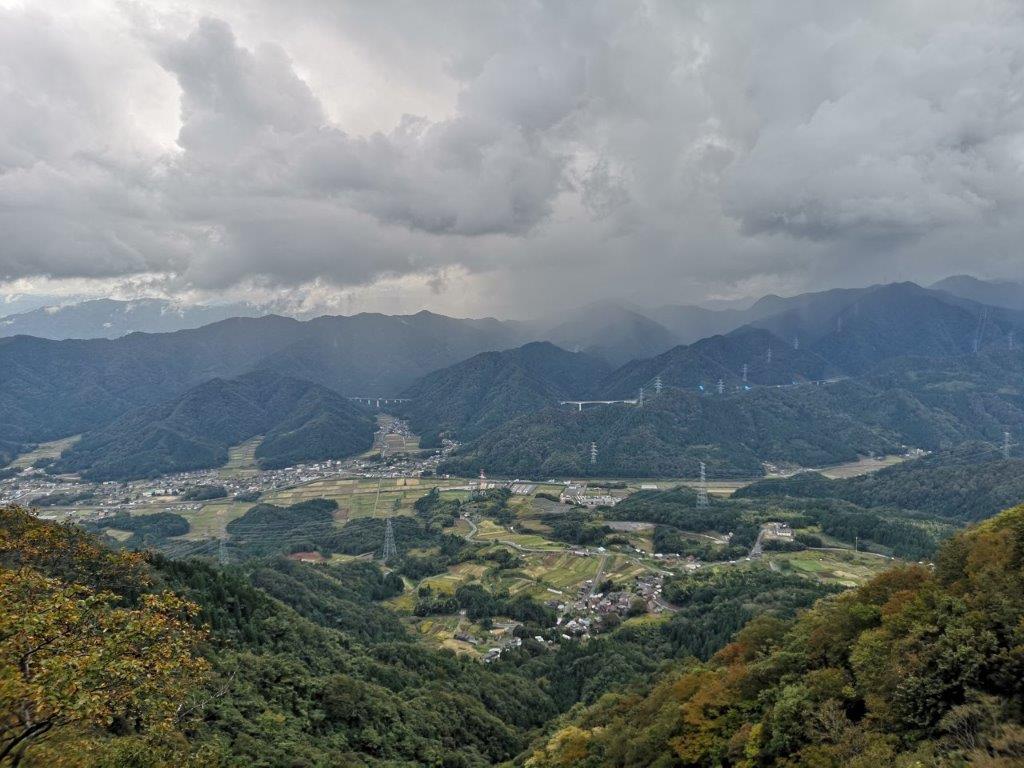
View of the Valley past Umanose
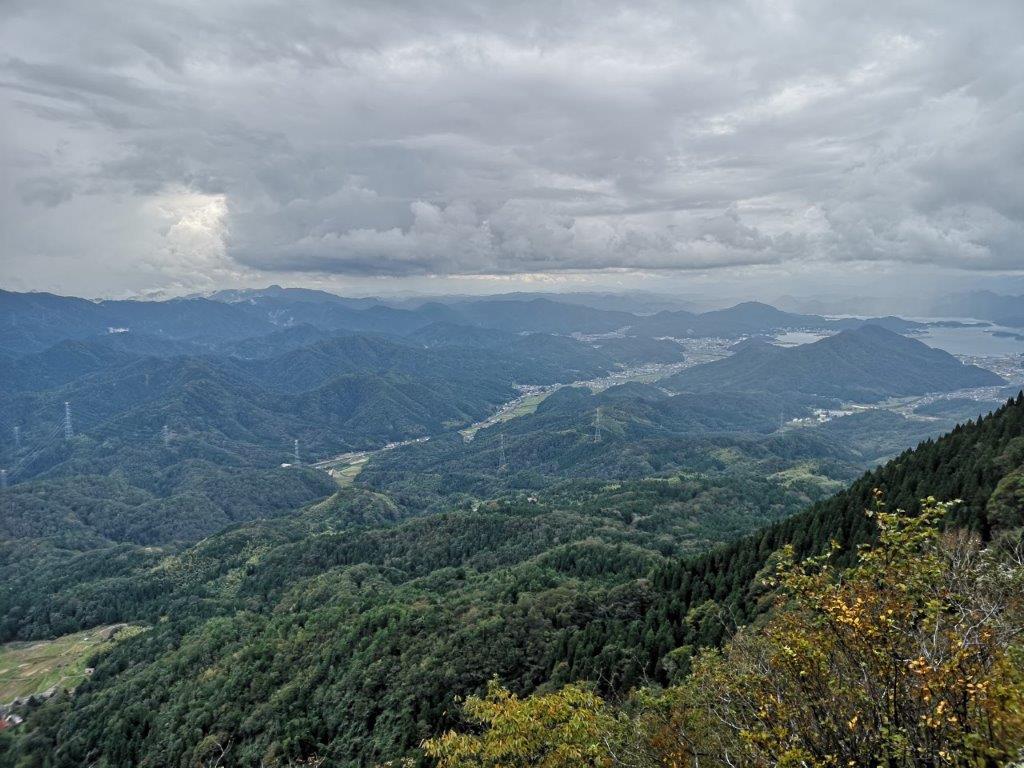
View North towards Kyoto
There are four starting points for climbing Mt Aoba. The path I describe here starts on the Eastern side, from Nakayama-guchi (中山口). The best way to get to the start of the trail is to take a taxi. Alternatively, you could rent a car – the tourist office located inside Wakasa-Takahama station can help you arrange the details, as well as provide you with a map of the hiking trails (with photos of the different sections). The trail starts on the right side of the road, a few hundred meters past the Aobayama Herbal Village (Aobasan Habarubireji 青葉山ハーバルビレッジ). The path for the Eastern peak is easy to follow with frequent signs indicating the distance in kilometers to the summit.
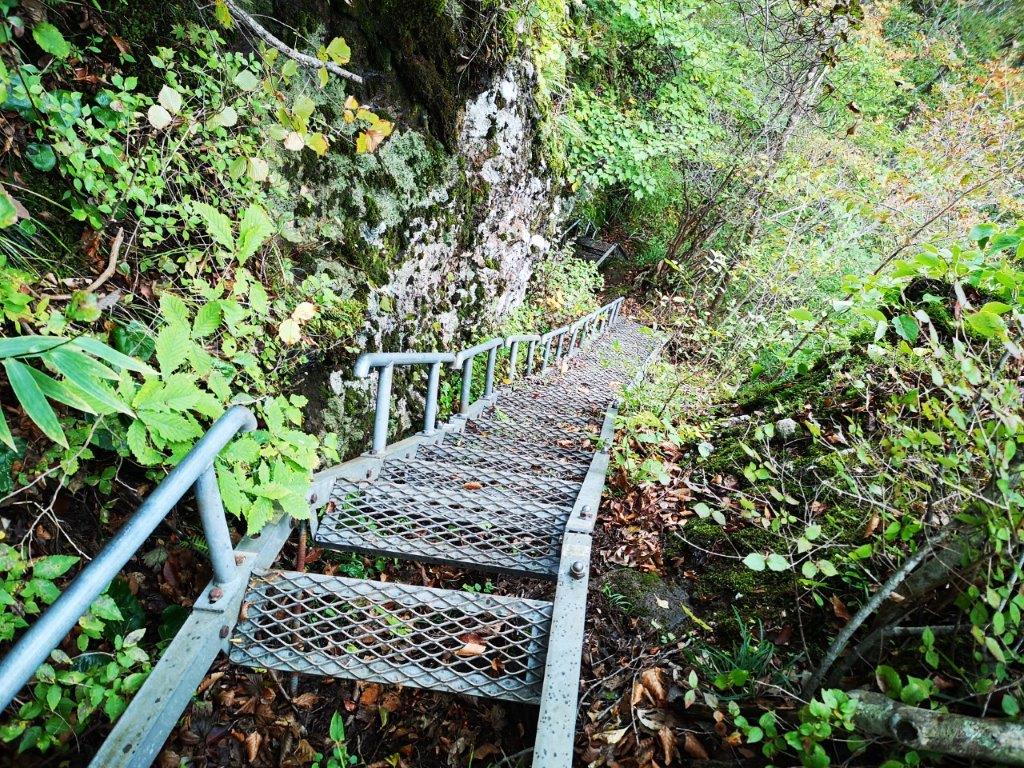
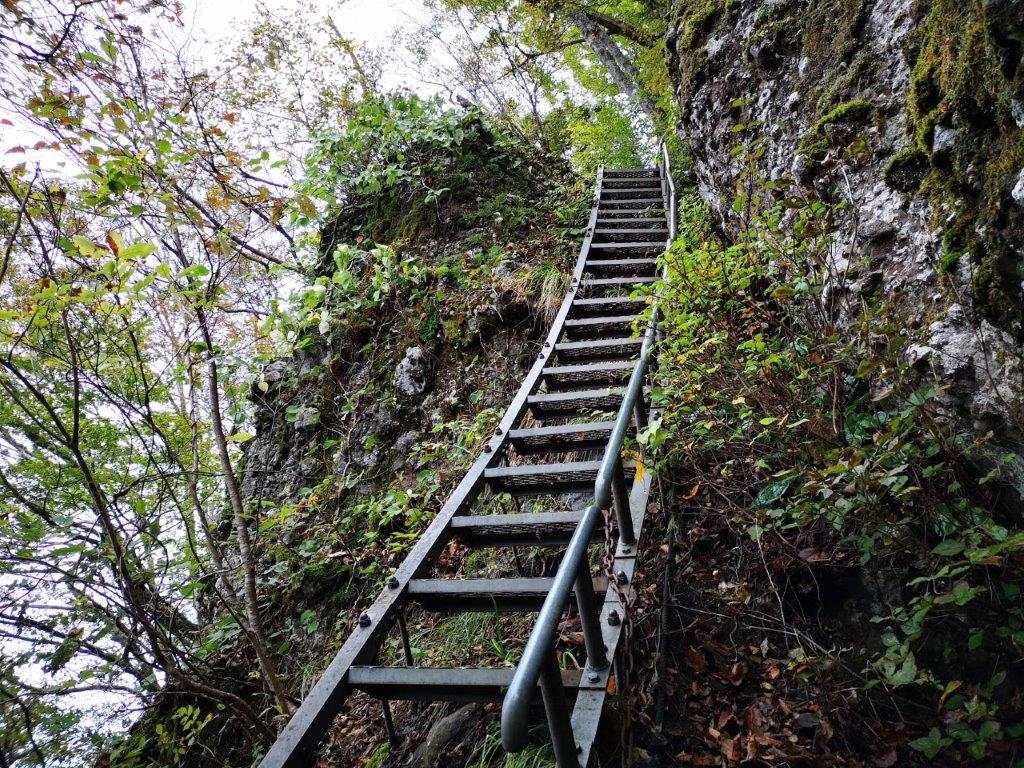
Looking Down the Staircase
Looking up the same Staircase
Very soon you’ll find yourself walking up the side of the volcano, along a switchback trail, surrounded by deep forest. After nearly an hour, you’ll reach a viewpoint of Takahama town and the Wakasa Wada Blue Flag beach. There is even a very small wooden lookout tower where you can sit in the shade and take a short break while taking in the view. The path continues up a little more before reaching a relatively flat part, from where you can see what looks like the top, but actually isn’t. This fake summit is reached by a staircase of wooden logs that heads straight up through the forest.
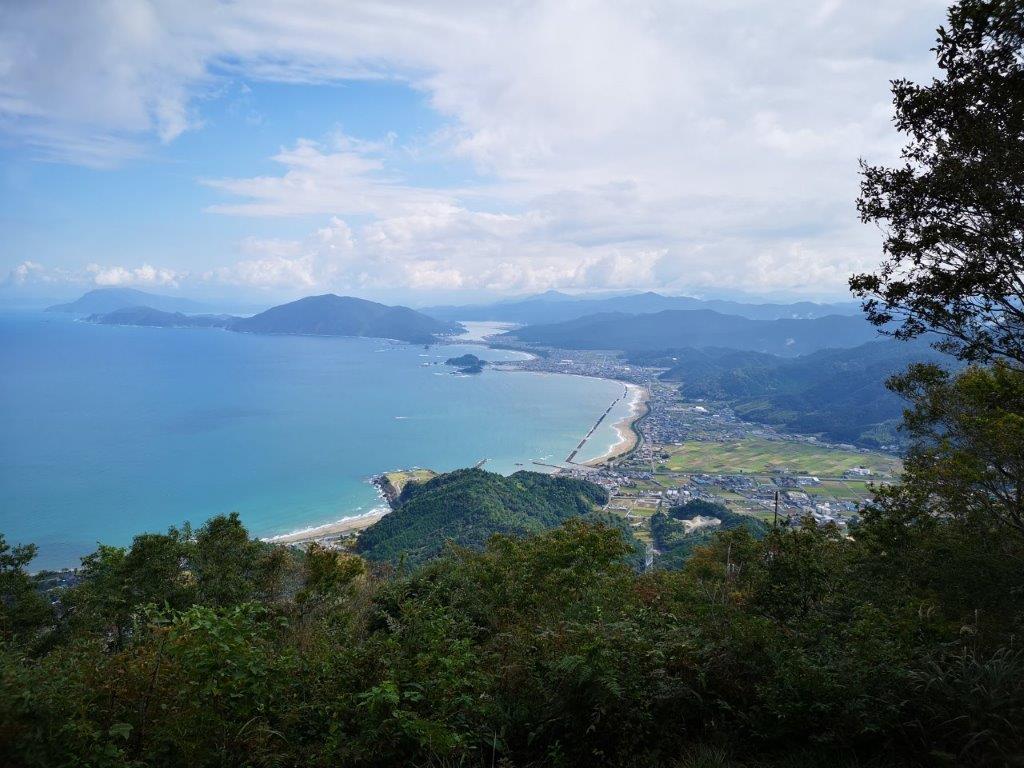
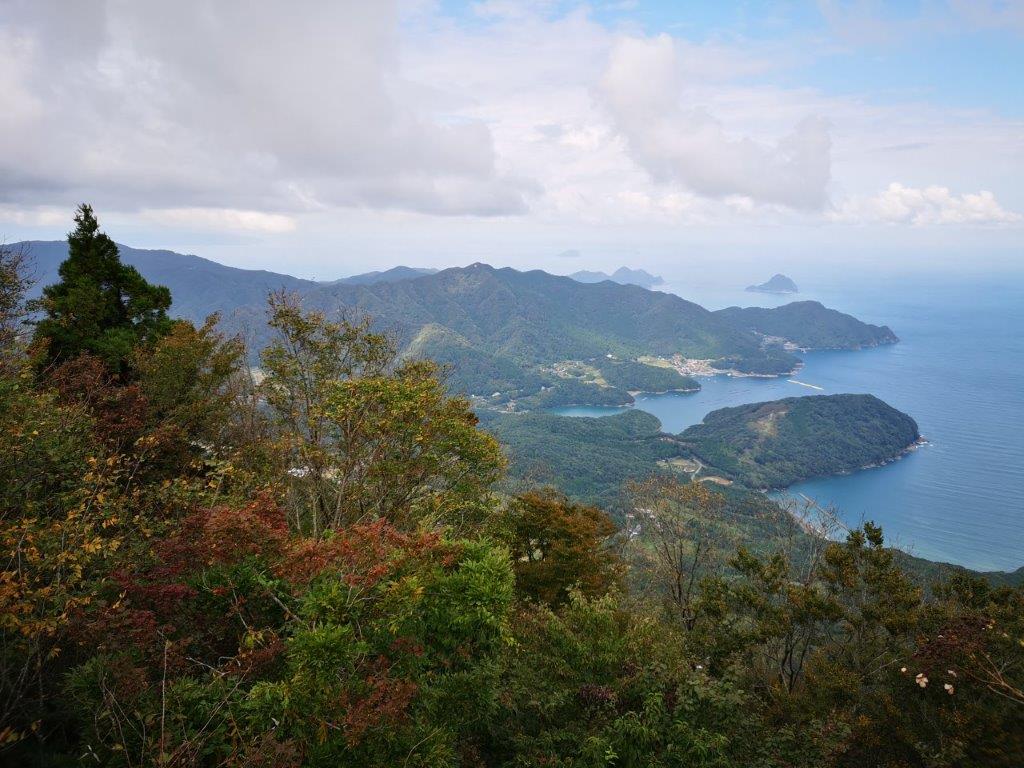
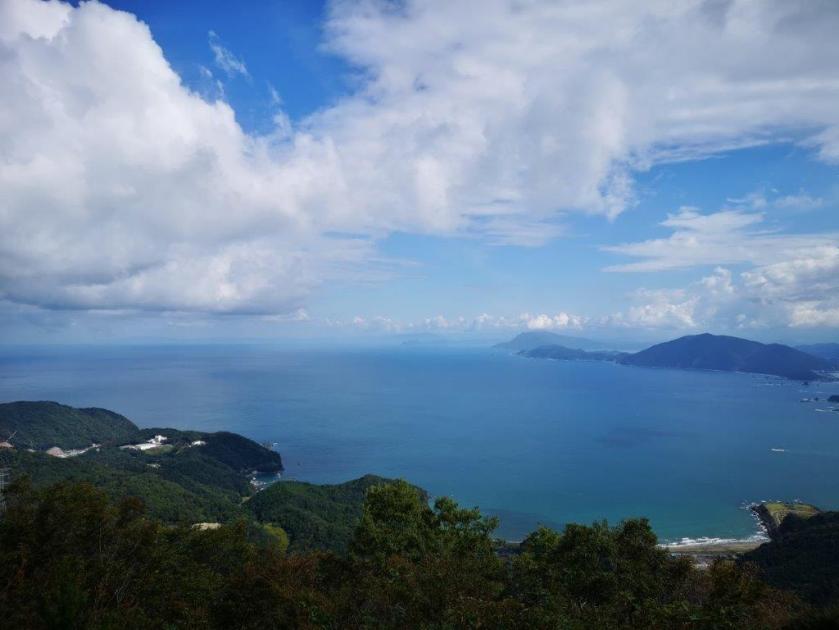
View of Wakasa Coast from the Western Peak
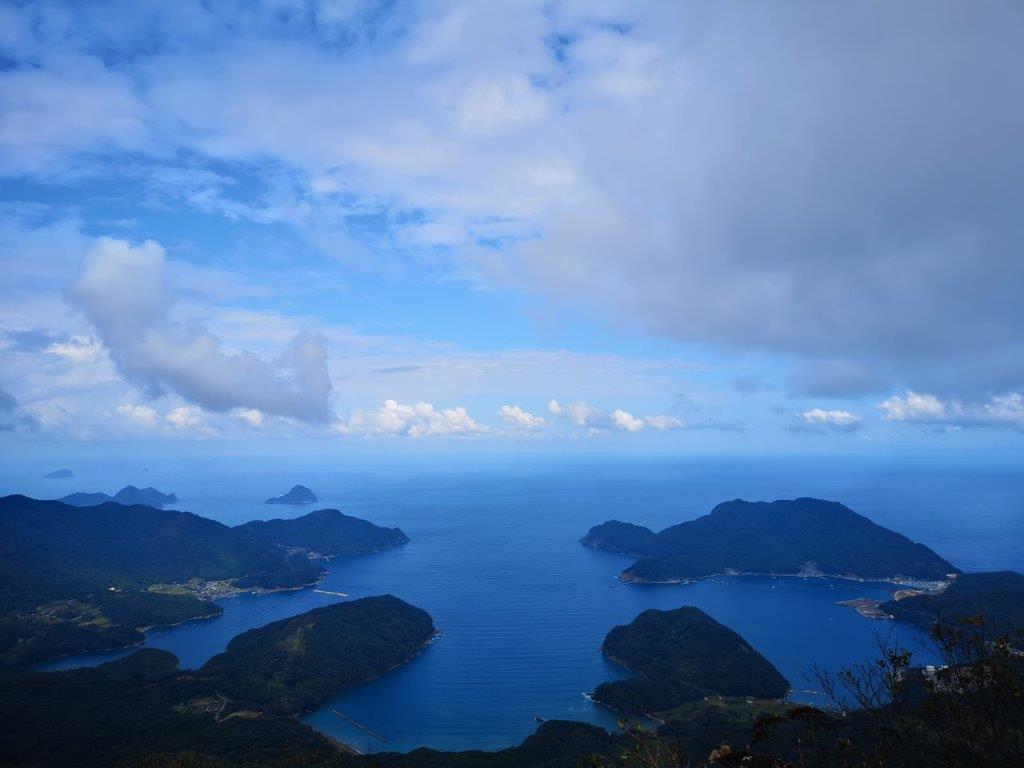
Uchiura Bay from the Western Peak
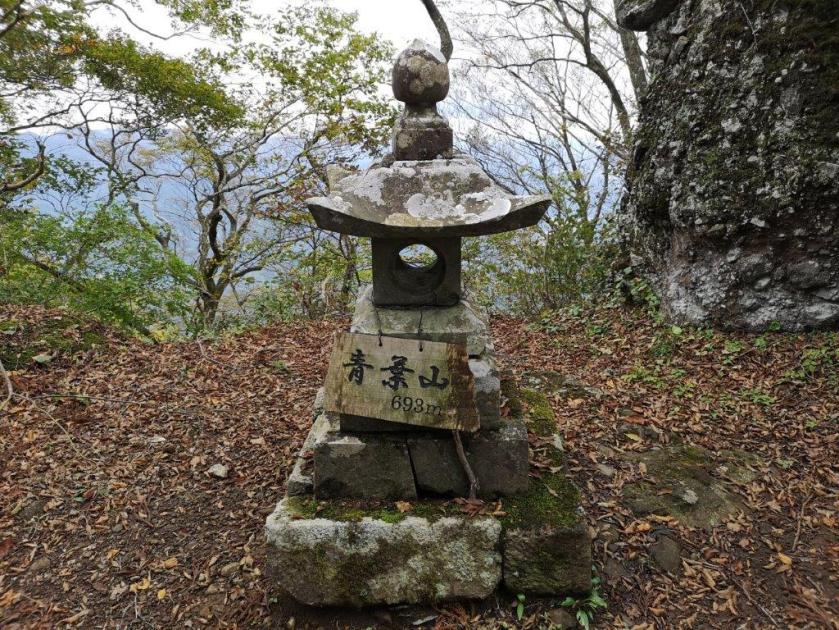
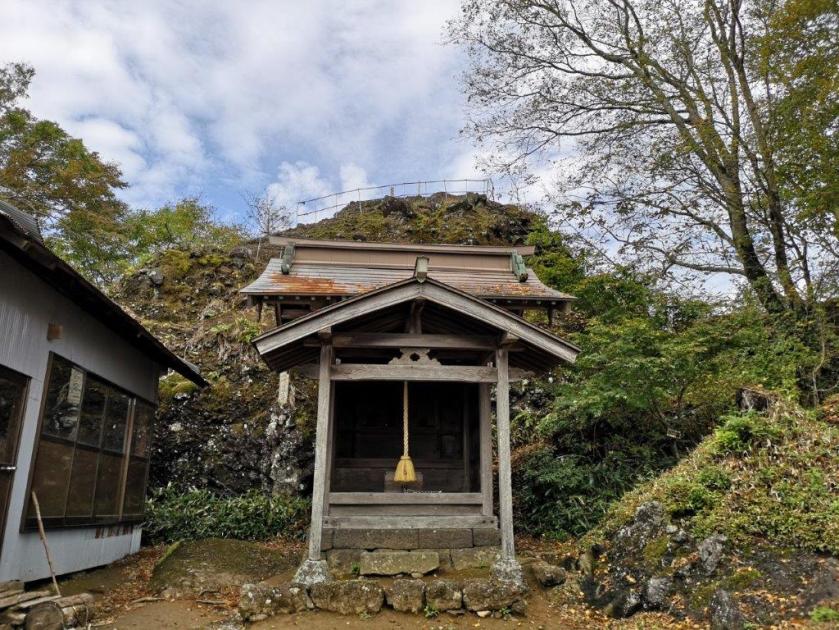
You’ll get a sweeping view of the valley and mountain ranges to the south at the top of a rocky outcrop called the Umanose (馬の背), meaning “the back of the horse”. If you are sure-footed, you can venture on to the horse’s back for a better view – just be careful of the big drop on the other side. Otherwise you can continue along its base. It should take about half an hour from the observation point to get here, and another 10 minutes to reach the true summit, the Eastern peak at 693m. You’ll get a bird eye’s view of the valley on the left, but make sure to stay behind the rope because you are at the top of a cliff. On the right is the summit marker, next to a small shrine.
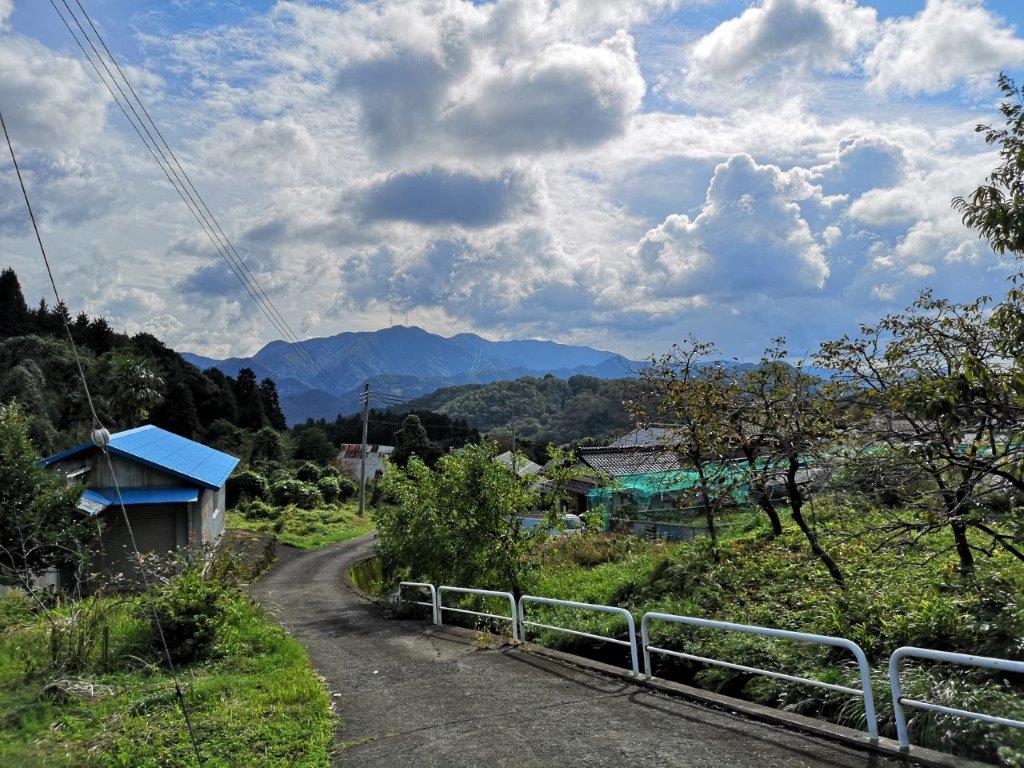
The last Part of the Hike along a Countryside Road
Walking through the Foothills of Mt Aoba
Those who are looking for a straightforward hike, can turn back here and go down the same way. The next part will require the use of hands and a good sense of balance. At first, the path will descend slightly, and after a few minutes, you’ll arrive at a short metal ladder. After reaching the top, you’ll need to navigate a cliff with the help of a rope, probably one of the trickiest parts of the hike. Next is a long descending metal staircase, at the bottom of which you’ll need to squeeze through a crack in a big boulder blocking the way, after which you’ll make the final ascent up the Western summit. There is another shrine and a good view towards the South. However, the best view is obtained by clambering to the top of a boulder fitted with chains just behind the shrine. Here you will be rewarded with a sweeping view of Uchiura bay.
Mt Aoba (left) from Wakasa Wada Beach
Called Wakasa-Fuji due it’s Cone Shape
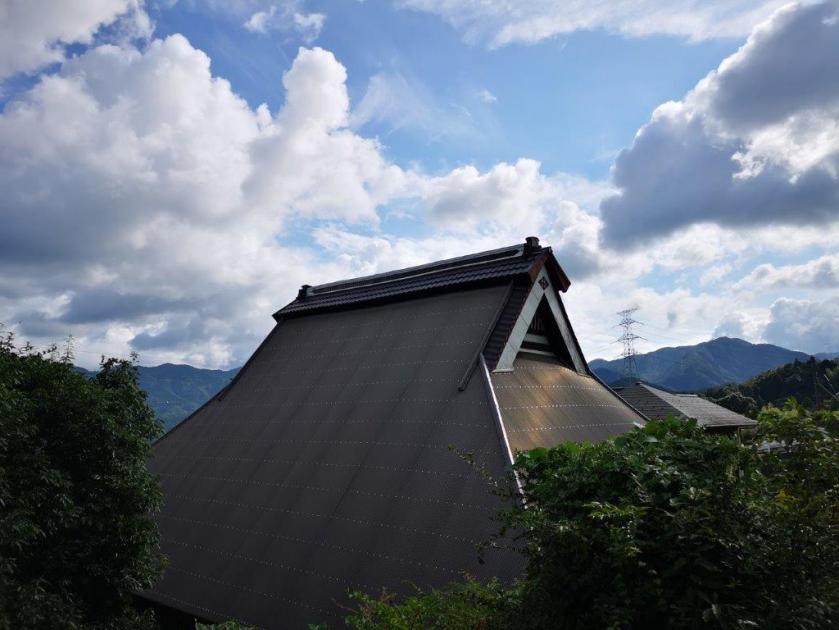
The descent is a relatively normal hiking path, a relief after the epic ridge crossing; however, the signage here is in poor condition so some trail-finding using a map or hiking app might be needed. First, continue along the path and take a left turn at the first junction. The path will descend quickly along a tight switchback. After a while, you’ll cross a forest road and shortly after that you’ll get to another junction – take the right branch. You’ll soon emerge onto an asphalt road which you can follow to a small village called Imadera (今寺). You can return to your starting point by following the small road on the left. Although it follows a road for most of the way, there are few cars, and the views of the valley are quite pretty; Takano (高野) village on the way, is especially nice. If you don’t have your own transport, then instead of walking all the way back to Aobasan Herbal village (one hour), you can head down to Aonogo (青郷) station on the Obama (小浜) line after crossing Takano village (also about an hour in total).
Now that the Mt Fuji climbing season is officially over, you may think that there is no point in going to Fuji-san anymore, and that it’s time to put away that Mt Fuji hiking map. Actually, there are number of good hiking courses that can be done “down” the mountain from the various 5th stations – as opposed to going up. The buses are still running so why not take advantage of them? hiking is hiking, it doesn’t matter if it’s up or down, as long as the scenery and views are beautiful. Also, it’s perfect if you need to get in shape for some more intensive hiking in the near future – the muscles will ache regardless of the inclination of the hike.
Before you go hiking I’d strongly recommend you get the Mt Fuji hiking map!
The tippy top of Fuji briefly visible through the clouds
So here is a quick description of several hikes that I’ve done up to now on the flanks of Japan’s highest volcano. There are several more that can be done, so consider this is a work in progress, but as you can see, there are a lot of good “lower altitude” hiking options. All of them, save a couple, were done from the top of the Subaru line, simply because the Fujinomiya side is a little bit far and expensive for a daytrip.
If you decide to go during the official hiking season (July to mid-September), you may be asked to pay 1000 yen. However this is only for people hiking up to the top – if you say that you are heading down instead, they won’t insist on the fee. Just make sure you know your route and/or final destination (as mentioned in this article) as they may ask you about it – I’m not sure what happens if you fail that question!
Ochudo 御中道 to Oniwa 御庭 – Middle path to the garden
The ochudo offers some easy walking – light footwear should be fine!
So let’s start with a short and easy one. To find the start of the Ochudo trail, look for the staircase going up to the right of the bus stop (when facing the mountain). This easy-to-walk path will take you clockwise around the side of Mt Fuji with only minor ups and downs, through some impressive volcanic landscape. On the way, and if the clouds are feeling generous, you might get some clear views of the summit, so keep checking to your left at every clearing. Most of the way, you are at the tree line limit, but occasionally you’ll also get some sweeping downward views to the right as well.
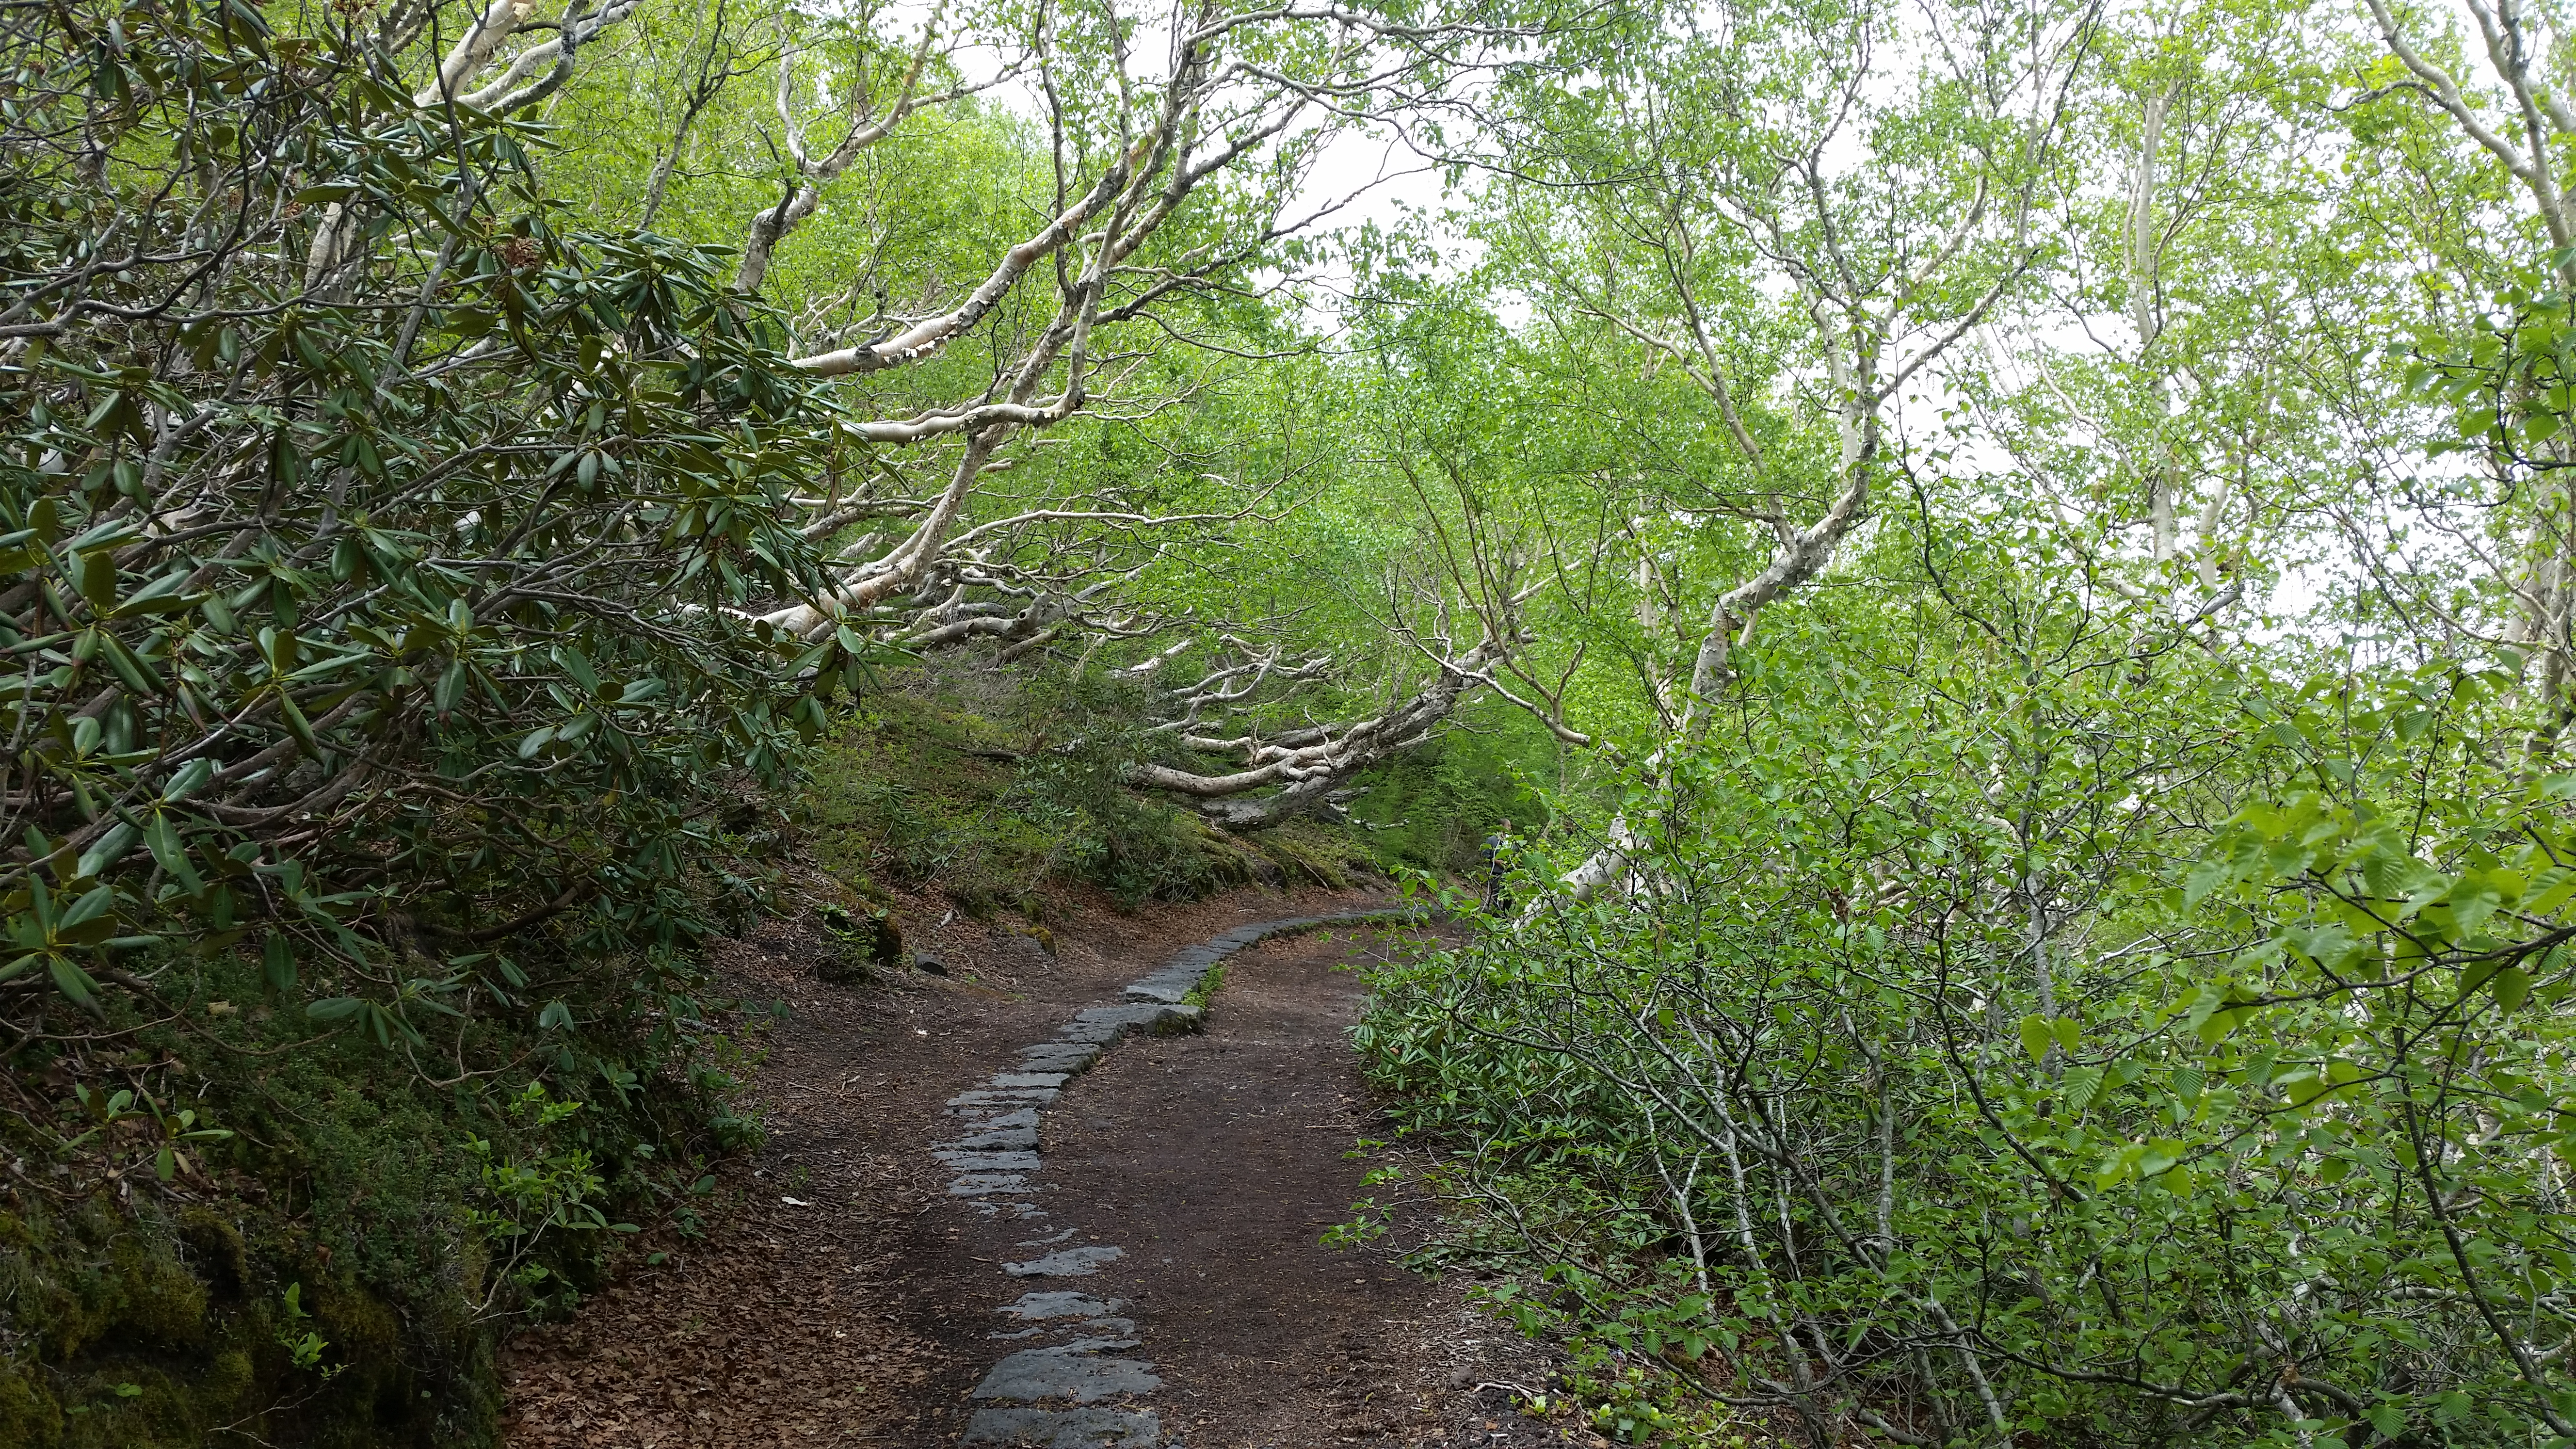
The first part of the trail is mostly through a wooded section
After about an hour or so, you’ll reach the end of the trail. It used to go further around the side of the volcano, but the part is now closed due to rockfall danger. It takes 20 minutes to walk to Oniwa 御庭 where you can catch a bus back to Fujisan station. Or, if the bus times don’t line up, you could head back along the Ochudo to your starting point, where you can get a bite to eat and browse the souvenir shops while waiting for the next bus back (they sell a great relief map of the Mt Fuji area). Another option would be to visit Okuniwa 奥庭 (inner garden) and / or hike down to the 3rd station – read the next section for more.
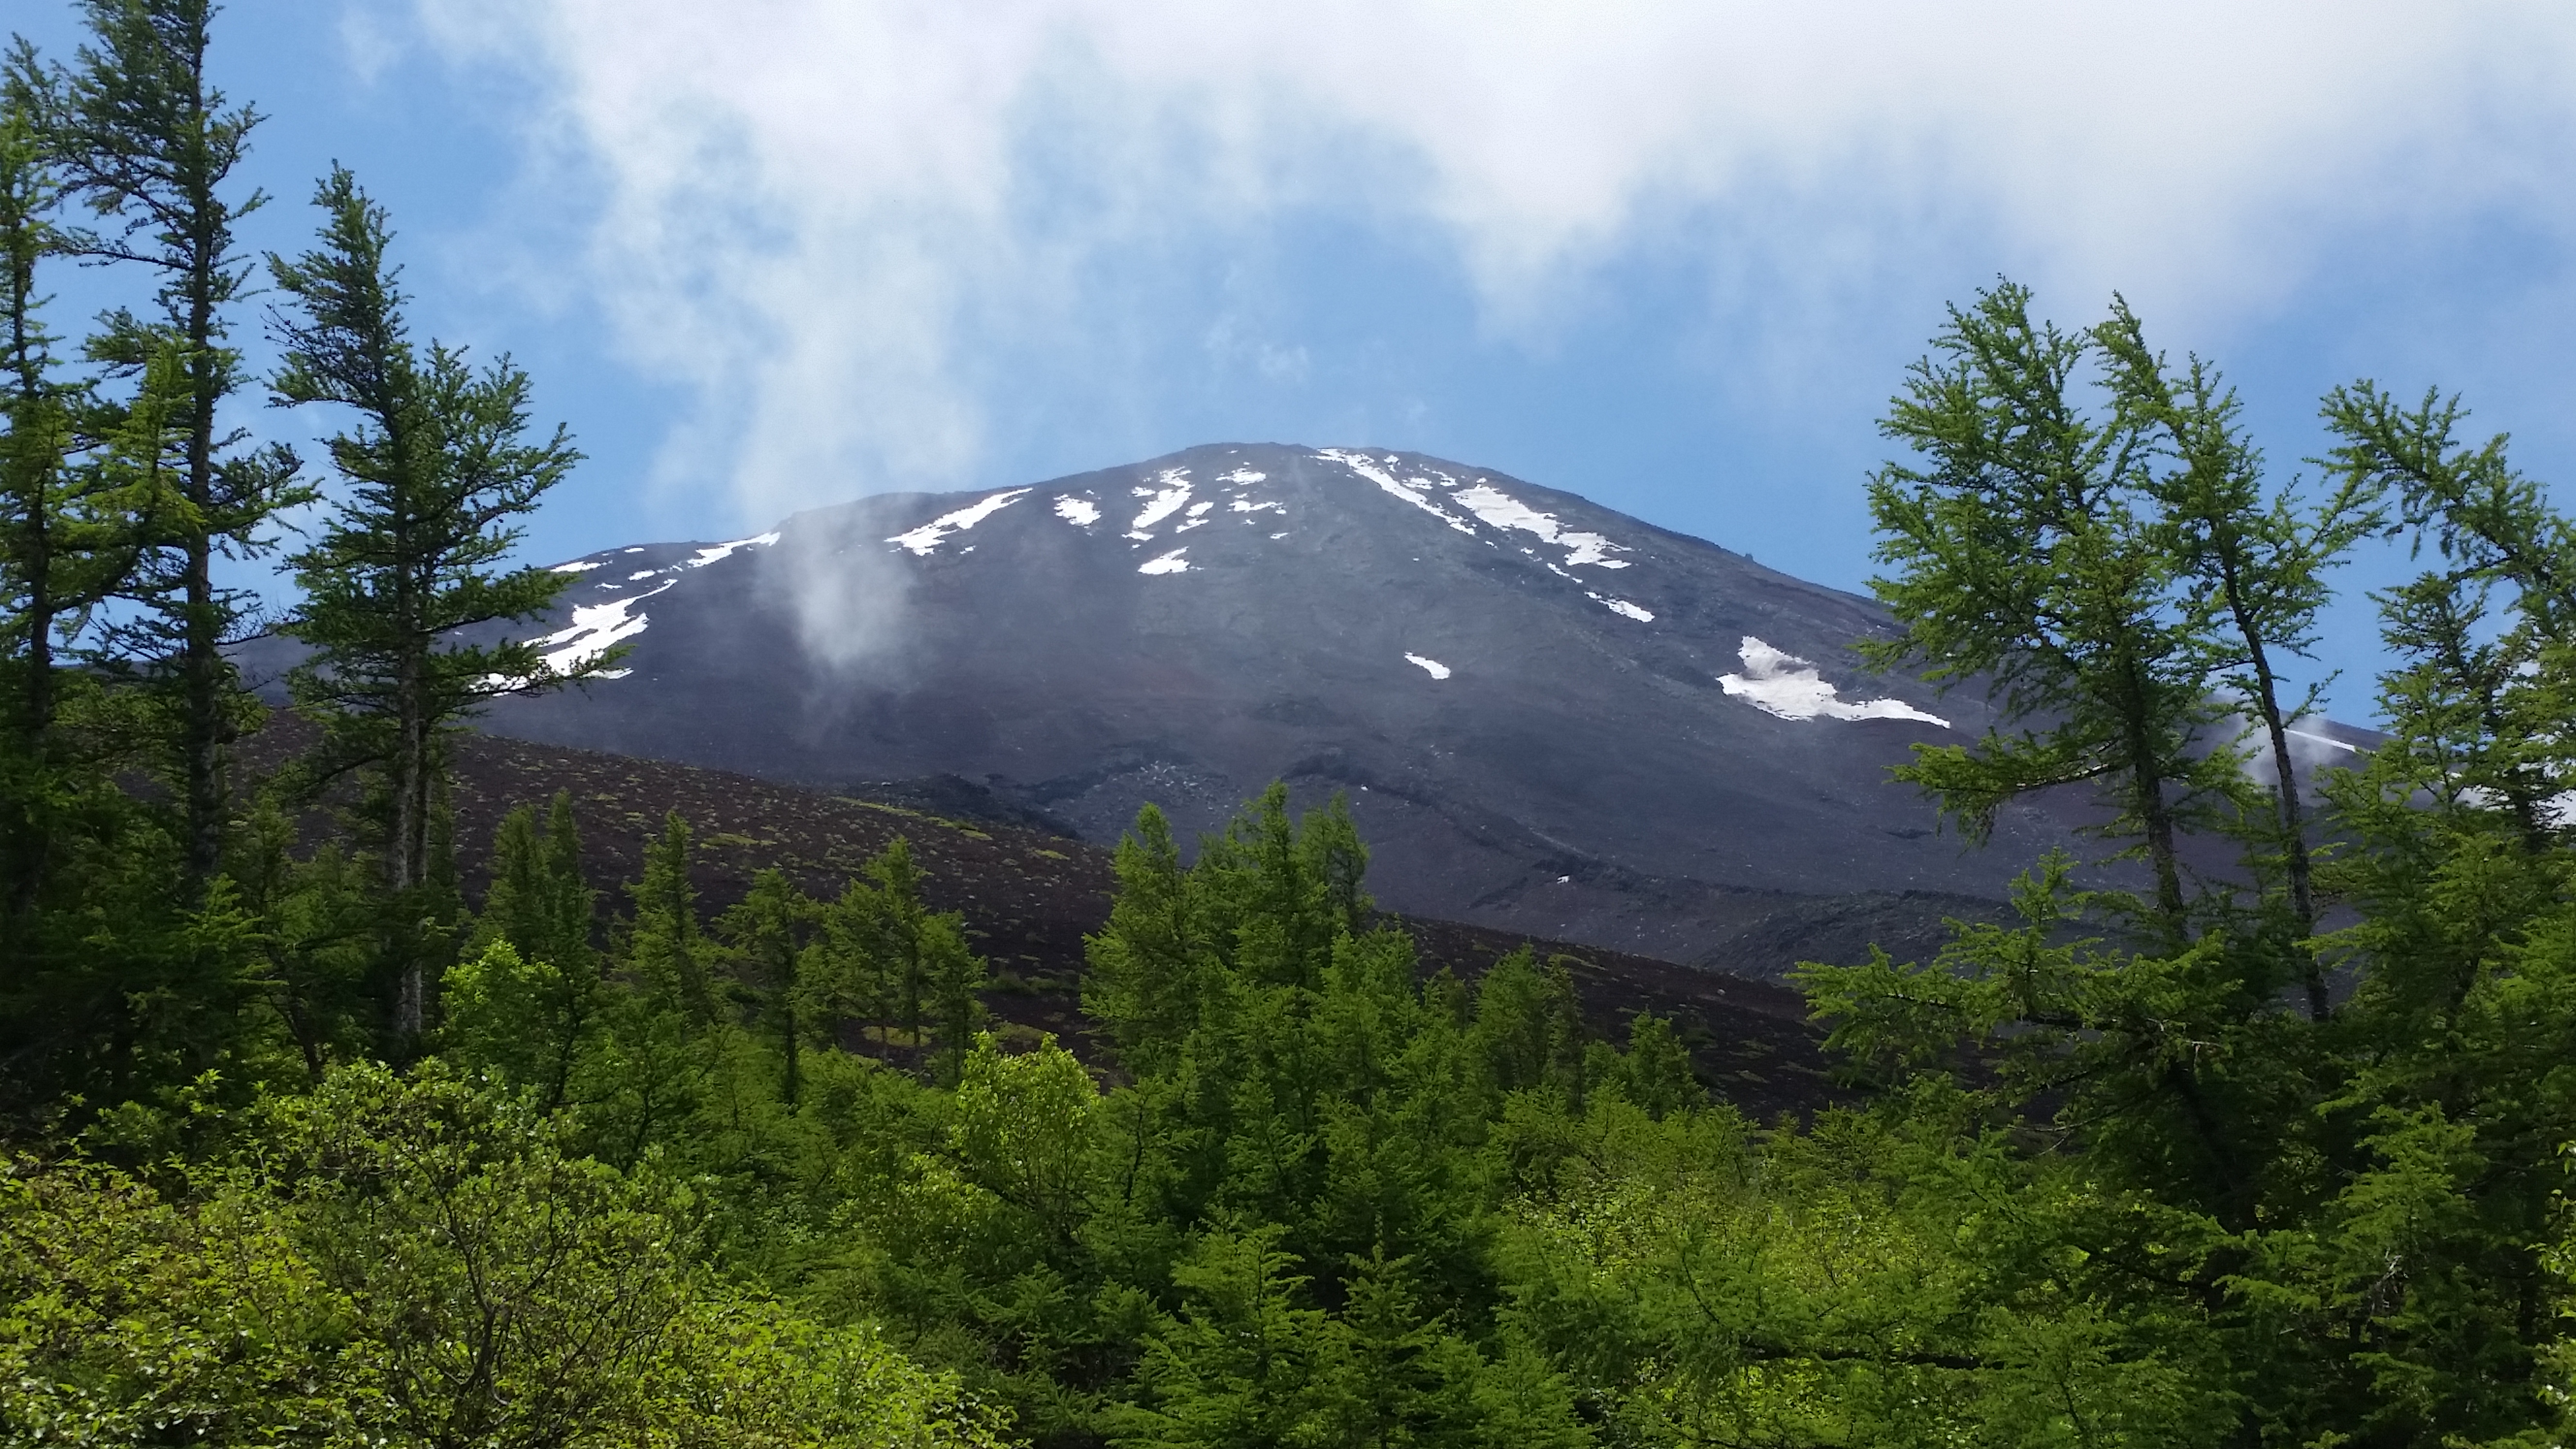
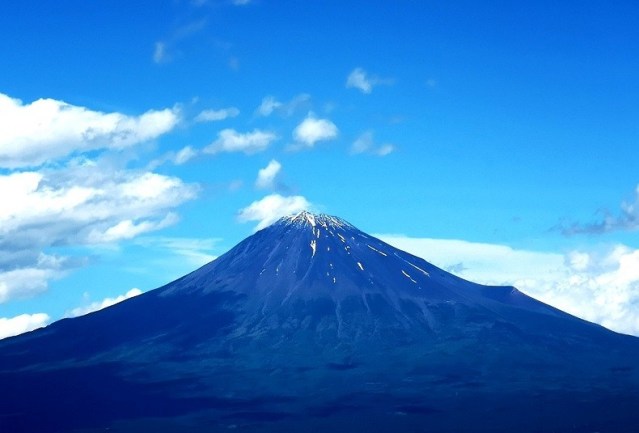
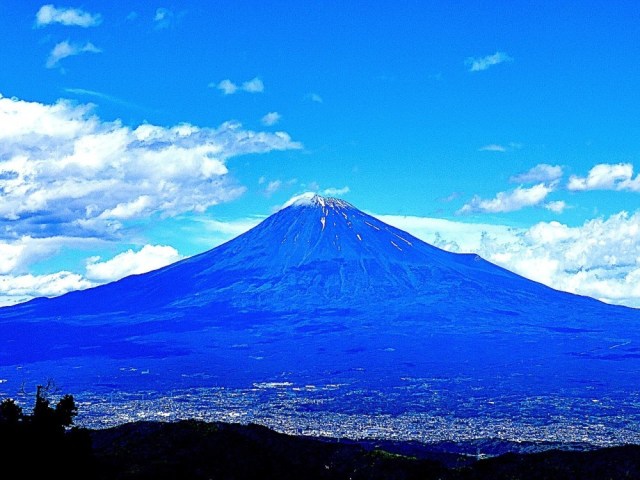
A good view of Mt Fuji with some snow remaining in June
Okuniwa 奥庭 to Fujiyama Onsen ふじやま温泉 via the Funatsu rindo 船津林道
You can connect this hike to the previous one if you want to make a long day out of it (like I did). Otherwise, you can just get off at the Oniwa bus stop 御庭 (the last one before the end) and walk down the short path to the Okuniwasou 奥庭荘. Out of season, it’s a good place to enjoy some local dishes, and check out their souvenirs. When I was there I got to sample some wood berries for free.
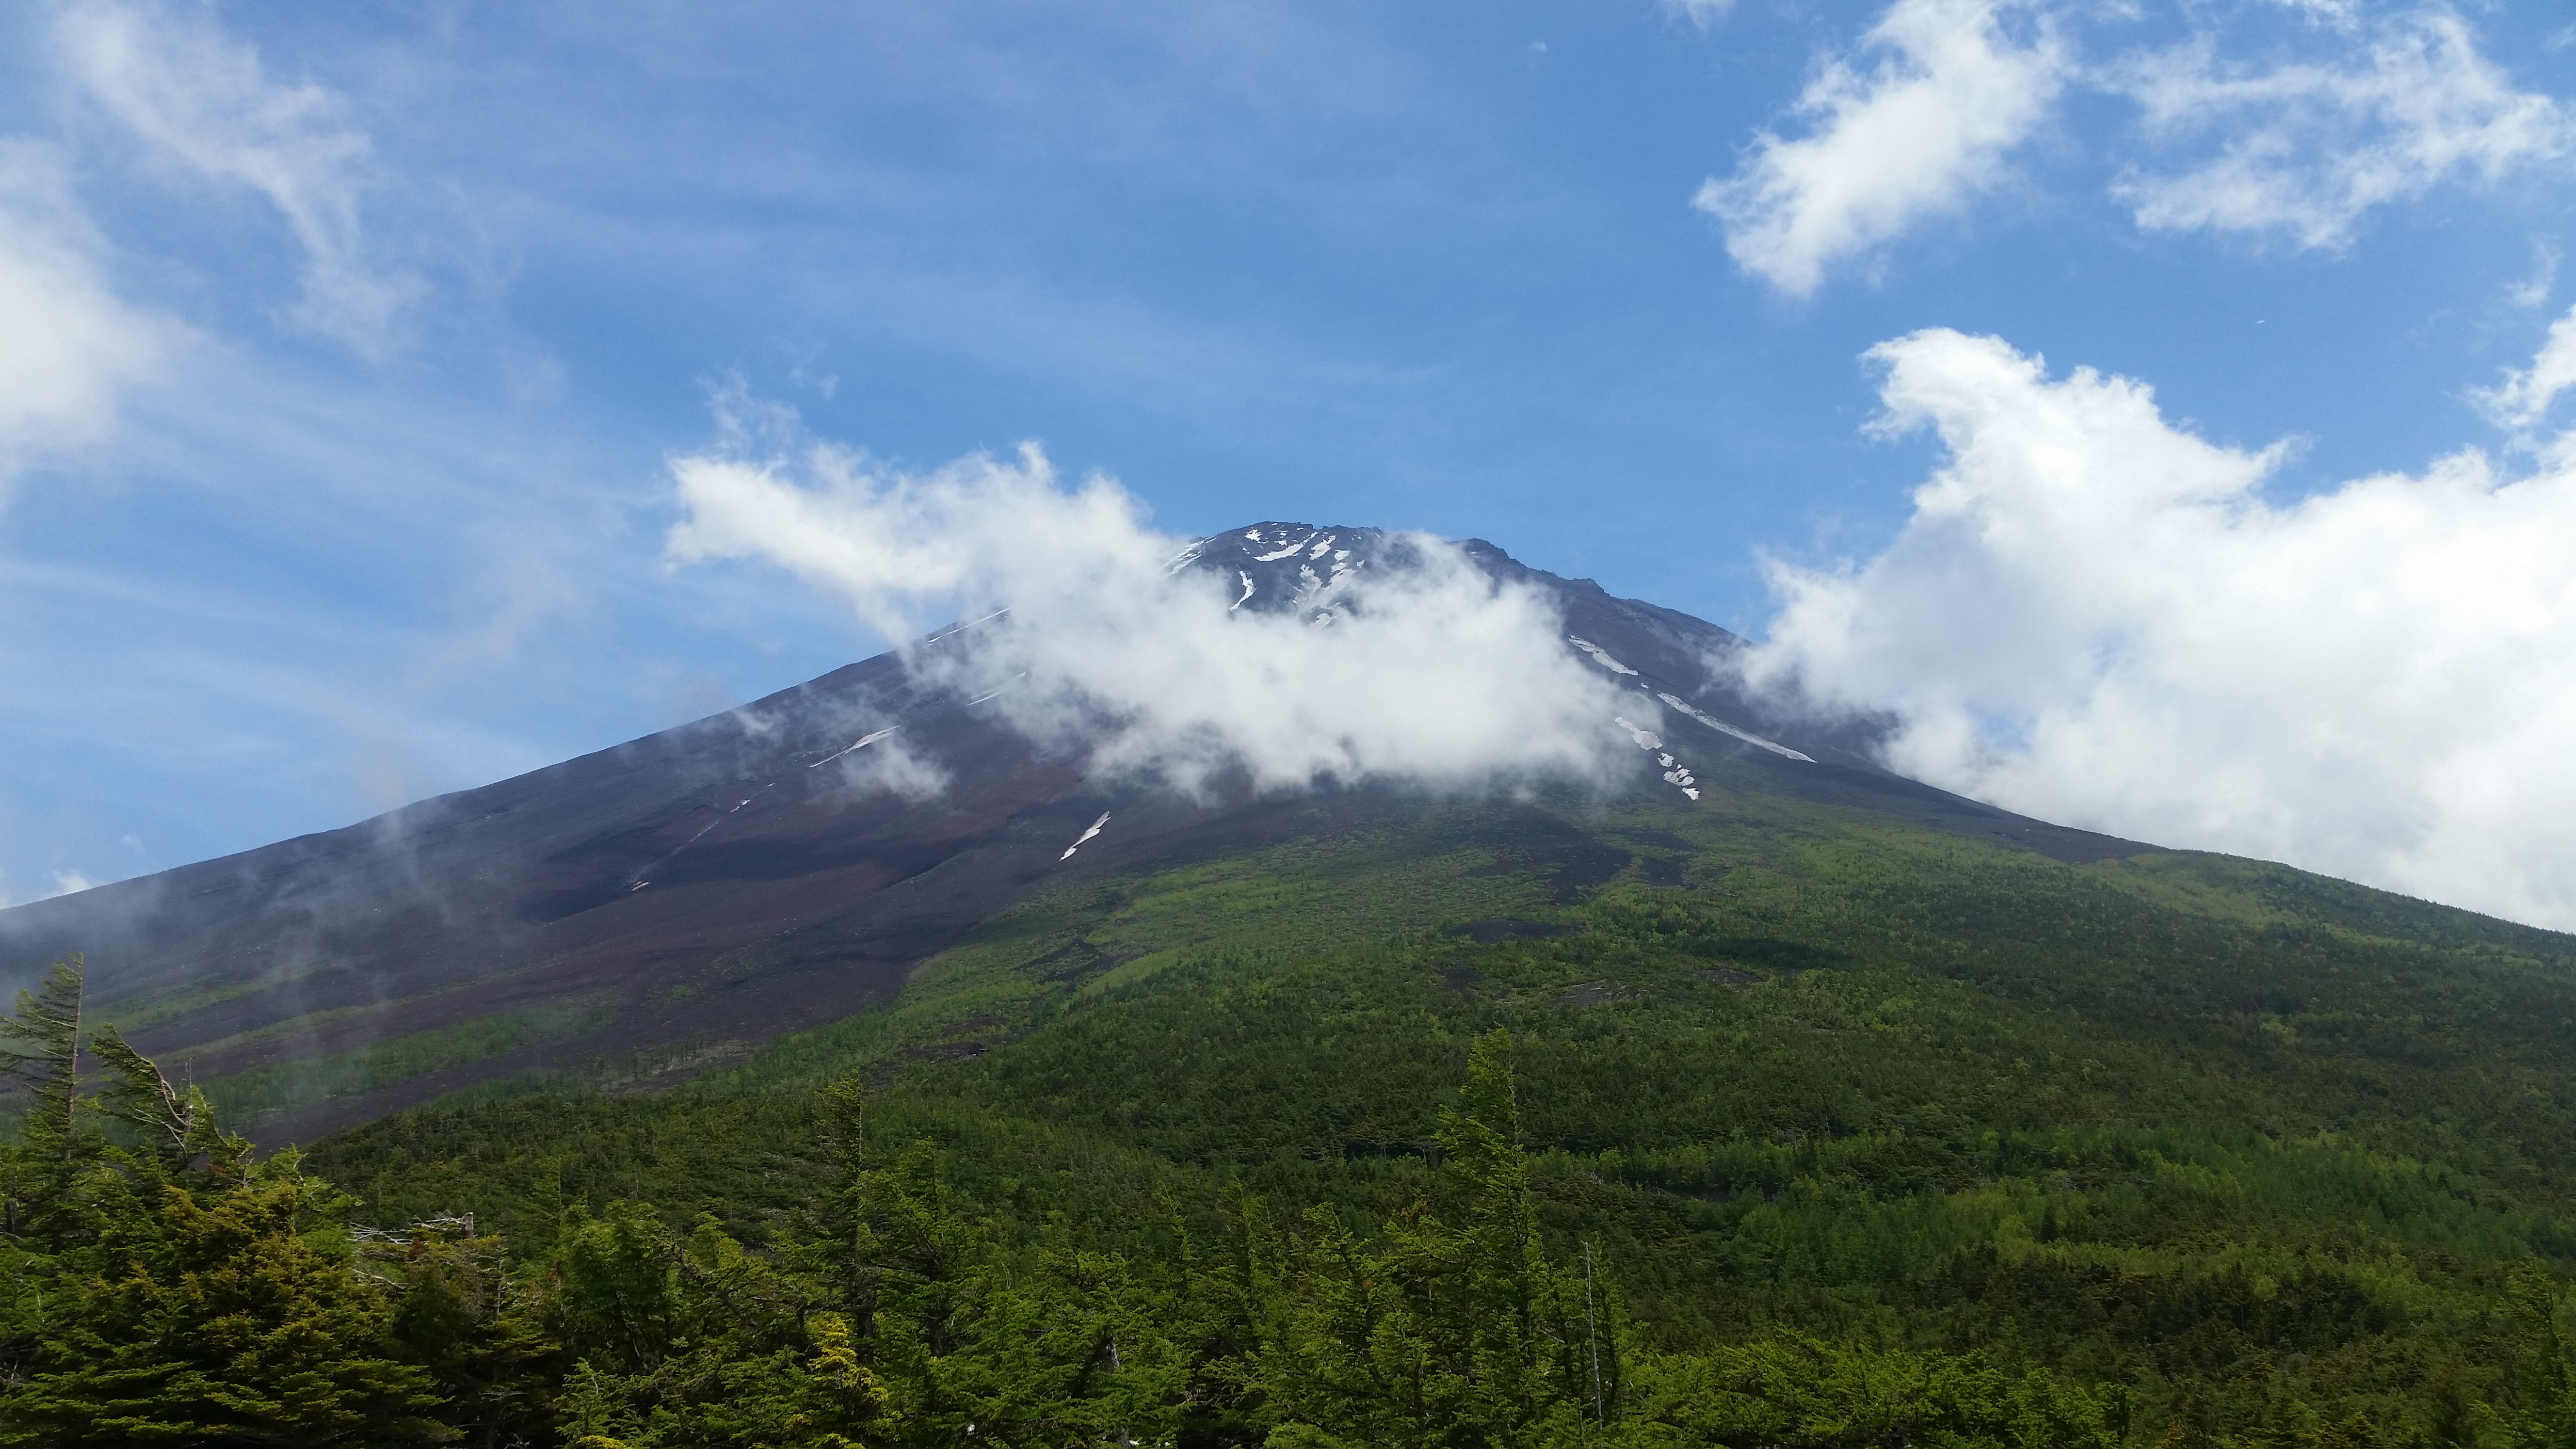
Despite a wisp of clouds, the summit was briefly visible
After checking out the hut, I’d recommend doing the short 20-minute loop that starts and end behind the hut, marked with a torii (red shinto gate). There is an excellent view point of Mt Fuji – if the clouds are being kind on the day you are there, After this short warm-up, head straight down the mountain through incredibly beautiful forest to the third station or sangome 三合目 – if you go out of season, you will most likely see few people – hard to believe on a mountain such as Fuji!
Thick forest above the third station
Eventually – just over an hour – you’ll pop out of the forest into a wide rocky clearing. Here there are two options – you can go straight and continue to the third station (see next section) or you can do a hard right and descend along the Funatsu Rindo (described here). The Funatsu rindo is an easy to walk, easy to follow path that will take you the forested parts on the lower flanks of Mt Fuji. When I walked it, I saw absolutely no one. Perfect for some deep pondering. After an hour you’ll need to cross the Subaru line (near the 2nd station) and then there is at least another 90 minutes of solitary forest walking till you emerge onto a paved road. At one point there are some good views of Kawaguchiko town and lake.
A view of Kawaguchi lake from the Funatsu forest path
From there, it is a bit of a slog (another 90 minutes) along a fairly straight paved road till you get to Fujiyama Onsen. You’ll need to turn right at one point – just use Google maps to point the way out for you – it’s smack next to the Fujikyu Highland theme park (you could also just follow the screams from the roller coaster). If hot springs aren’t your thing then continue straight – you’ll eventually get to Kawaguchiko station.
Subaru Line gogome (5th station) スバルライン五合目 to Shojiko Lake 精進湖 through Aokigahara jukai forest 青木ヶ原樹海
Another amazing hike is the one that through that goes through the heart of Aokigahara forest. If you live in Japan, you’ve probably heard of it before. It is also known as suicide forest, since it’s famous for people going there to end their lives. However there is almost no chance of encountering anything upsetting along a well-established hiking path. On the other hand you’ll get a great opportunity to cross an interesting forest that is growing on top of an ancient lava field.
Spectacular view of the Kawaguchi area from near the third station
This hike starts along a path below the Subaru Line 5th station. Unfortunately it’s a bit worn out and hard to walk at times. After about an hour you’ll emerge into the same rocky clearing as in the section above. Continue straight in the direction of lake Shoji. After another fifteen minutes you’ll go under the Subaru line via a small tunnel – this is the third station. If you have time, I’d suggest making your way up to the road and walking down it a few minutes – there is an excellent view point next to the road, where you can even see Mt Fuji.
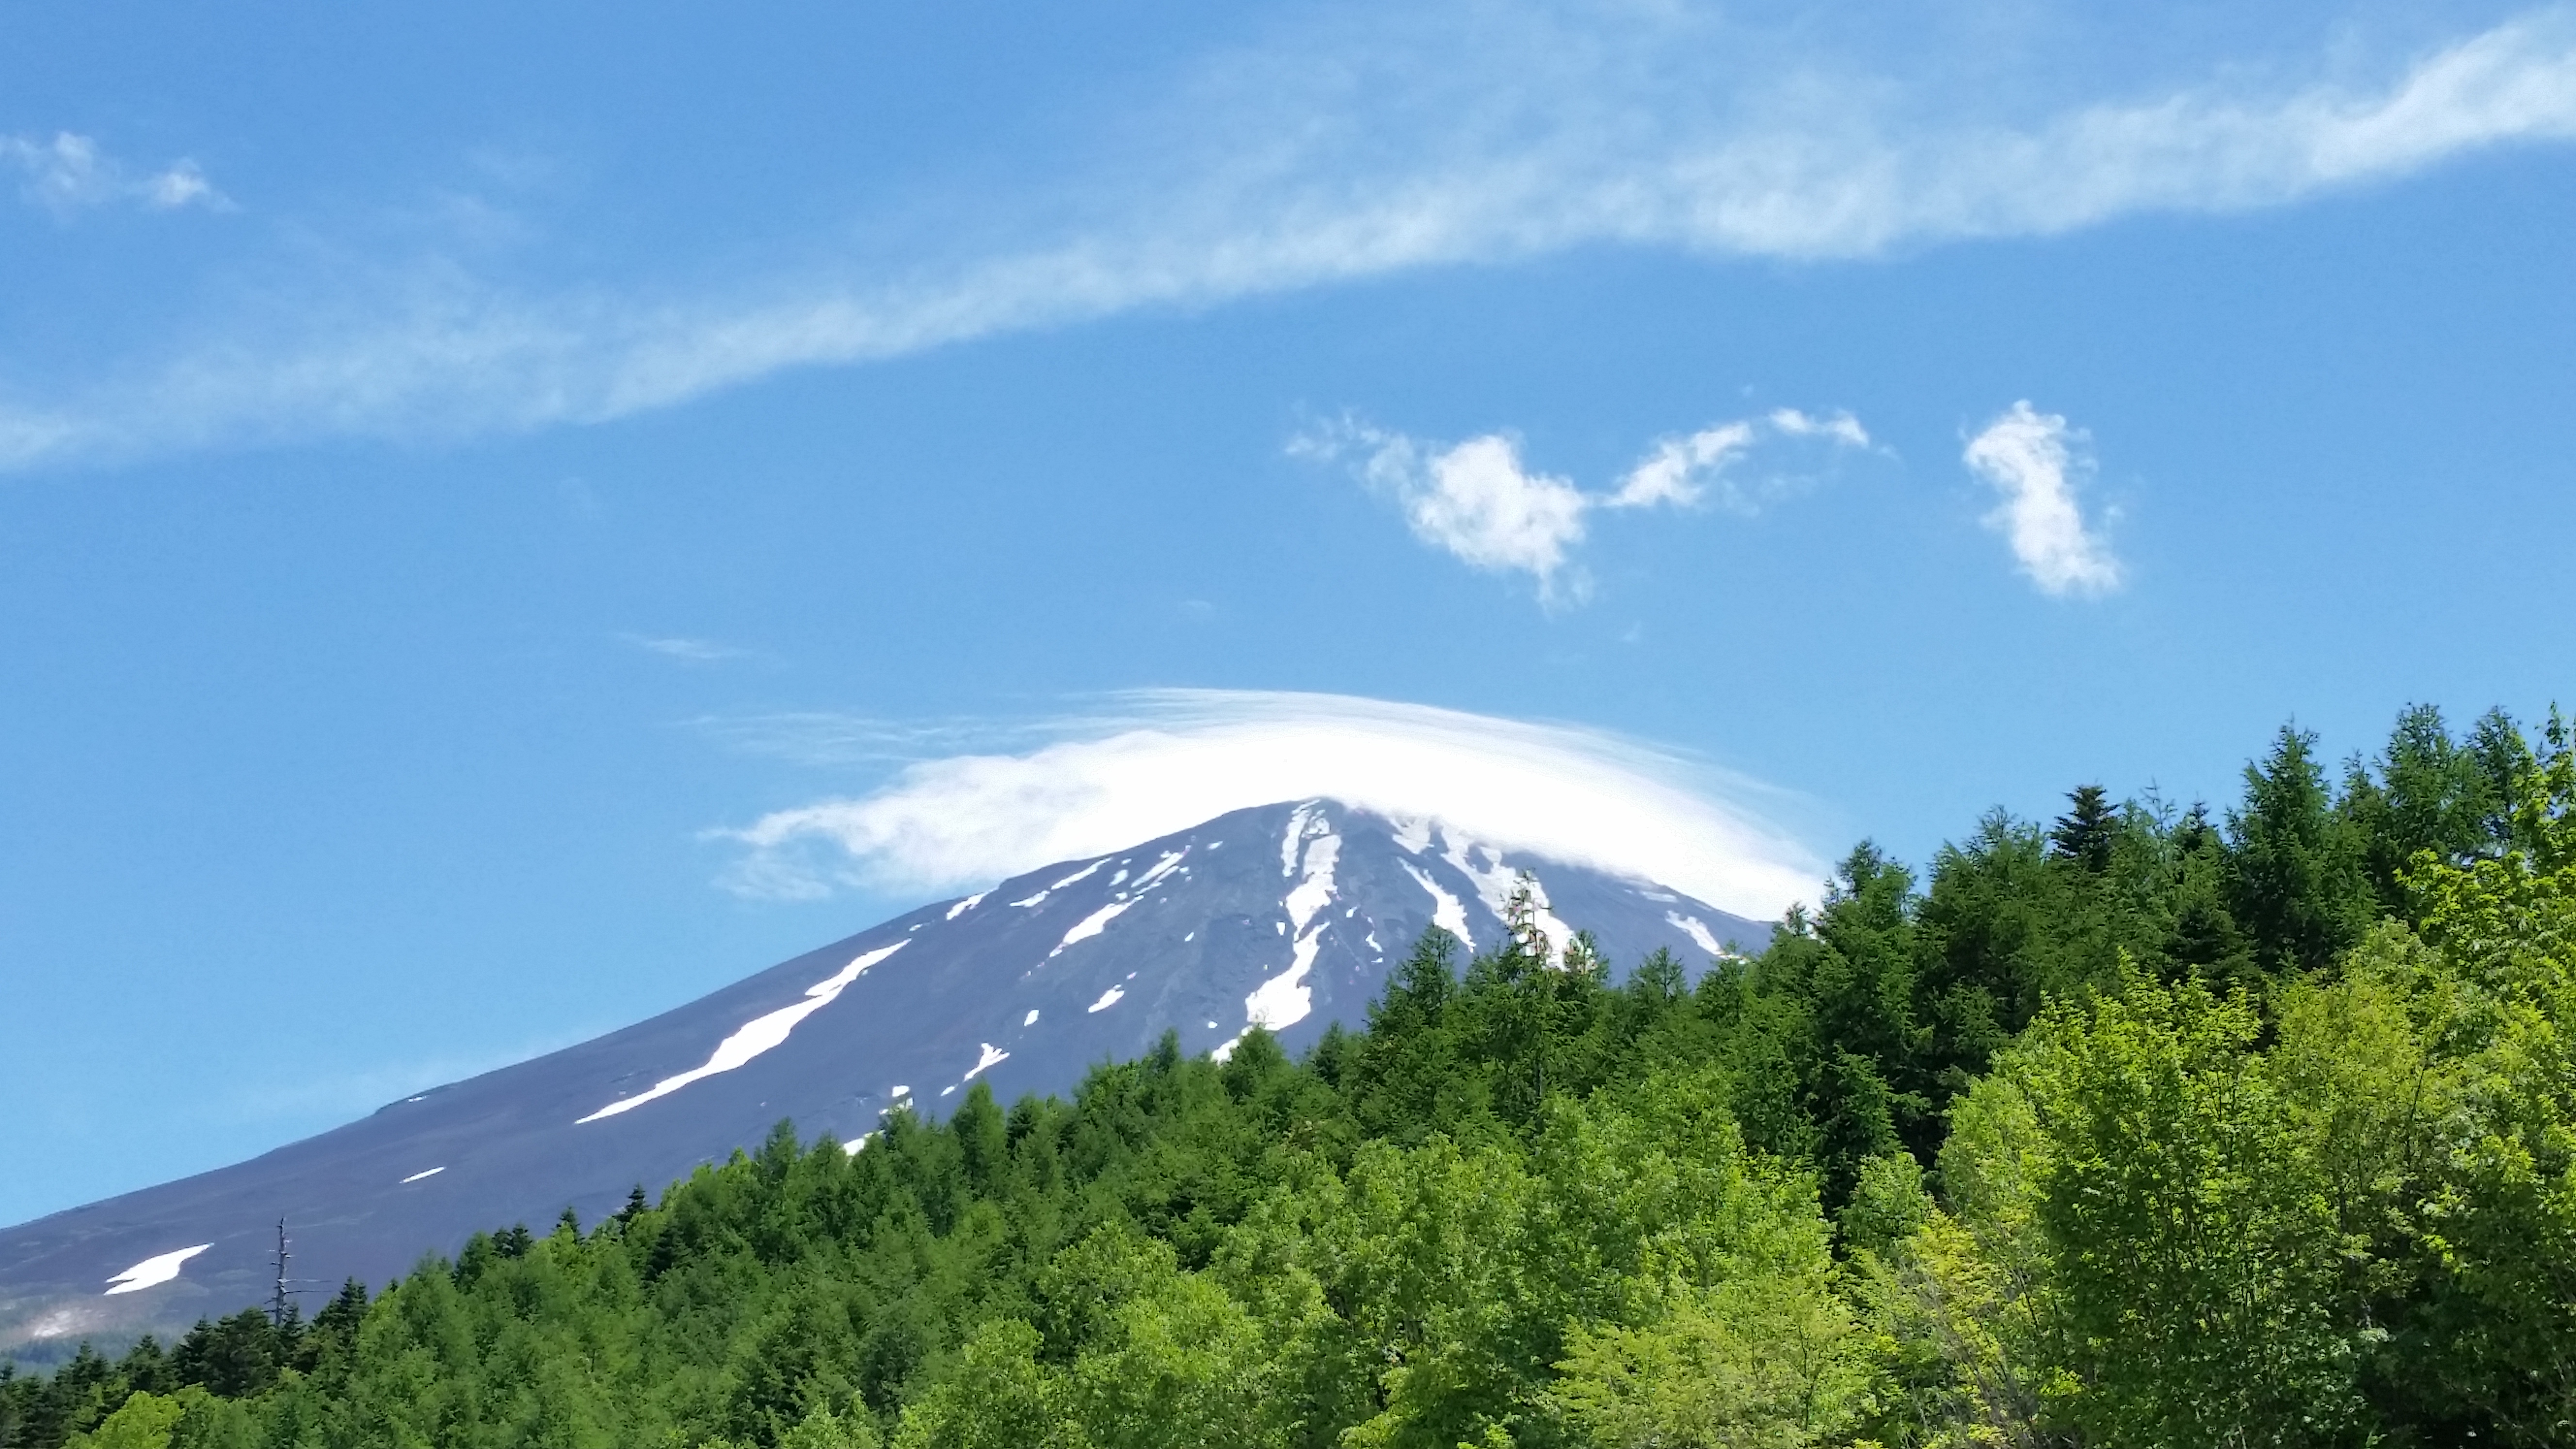
Mt Fuji with its cloud umbrella or kumogasa 雲傘, from the Subaru line near the 3rd station
Beyond that is a three to four slog through Aokigahara forest. I say slog because it’s a relatively straight path through forest that pretty much looks the same all along the way. However don’t let that discourage you – it feels awesome to be walking through such a vast forest. As before, you’ll probably encounter few people. The last portion is through regular forest. Finally you’ll pop out onto the road that goes circles Mt Fuji – there is a bus stop, right on Shoji lake to your right called Akaji 赤地, that will take you back to Kawaguchiko station.
The last part of the hike is through a nice forested area
Subaru Line gogome (5th station) スバルライン五合目 to Sengen jinga Shrine 浅間神社 via the Yoshida route trail 吉田ルート
This is the classic route up and down Mt Fuji, when starting below the 5th station. There are a number of descriptions of this path on other sites, and it was also recommended to me by staff working at the 5th station. Consequently, you will pass many people, mainly going up. It is also the second shortest of all the hikes described here, after the Ochudo). This is the one route where you will certainly be approached for the 1000 yen donation – just tell them you are headed for “umagaeshi” 馬返し (there is a small parking lot there) or Sengenjinja shrine 浅間神社, where there is a bus stop.
Big climbing sign with rocky backdrop
Head East (away from the end of the Subaru line), between the souvenir shops – the start of this hike is the same as the one that goes up the mountain. During the daytime you’ll get to see exhausted, bedraggled climbers returning from a night spent on the mountain. Luckily, you won’t be going up but down. At first the path is pretty flat but after a short while you’ll get to a split – take the branch heading down (not the climbing route). Shortly, you’ll get to another split – take the descending one again, which passes below a hut. Look to your left for the start of the Yoshida route, a small trail that disappears into the forest. This part should take less than half an hour.
The Yoshida trail has one of the better maintained paths
The Yoshida route is probably the best maintained trail of the lot. On the way, you’ll pass a number of historical landmarks with signs in Japanese and English. This path was used in ancient times to climb Mt Fuji, before there were proper roads to various 5th stations. A lot of the landmarks are in ruin (or becoming ruins) but the old photos from the Meji area are worthwhile checking out.
View of Kawaguchi lake
There are also several viewpoints towards the Kawaguchiko area. As with the other paths, the surrounding forest, especially at a higher altitude is awe-inspiring. The various stations are well indicated as well as the ever decreasing altitude. After a short hour, you should reach a tori (shinto gate) made of stone. This is ichigome 一合目. There is a small hut just below, which functions as a resting spot or 休憩所 (kyukeijo). I was actively encouraged to take a break there while passing in front. I was offered free tea, miso soup and pickles, since it was the last official hiking day on Mt Fuji. I was surprised to get such a warm and friendly welcome – I guess they don’t that many people climbing up the lower parts of Mt Fuji, compared to the higher ones.
Approaching Umagaeshi
A few minutes below the resting spot, there is a car park – this is the aforementioned Umegaeshi. Here you need to be careful – don’t take the road but instead go to the back of the car park, You’ll find a small path that heads into the forest. It mostly runs parallel to the road but it is way nicer than road-walking. The final bit before reaching Nakanochaya 中の茶屋 (the teahouse in the middle) is especially pretty. It will take you an hour to reach the teahouse. It was another very friendly resting spot – they invited to sit inside and have some tea, again totally free.
Lovely forest walking at the end of the Yoshida trail
As I was leaving they pointed out there was a shuttle bus that was about to leave for Fujisan station. The next bit was a guaranteed one hour of asphalt-road walking, and I was starting to have a strange pain in my ankle, so I decided to take advantage of this unexpected transportation opportunity – I hadn’t expected anything till Sengen shrine. Since I did want to stop by the Fujiyama onsen before getting on the train, the driver kindly offered to drop me off at the closest corner. One drawback of doing this is that I completely missed Sengen shrine so I will need to come back one day.
Fujinomiya gogome (5th station) 富士宮五合目 to Mt Hoei 宝永山 and back
This is a good one to do if you have a JR Rail pass because it requires you to take a shinkansen to Shinfuji 新富士 station on the Tokaido line. You will be able to ascend to nearly 2700m – pretty impressive for a day trip from Tokyo. This is possibly the highest you can get on any mountain in Japan, without having to spend the night in a hut. In addition, most of the hike is above the tree line, so if the clouds are busy elsewhere, fantastic views are guaranteed.
On the flanks of Japan highest mountain
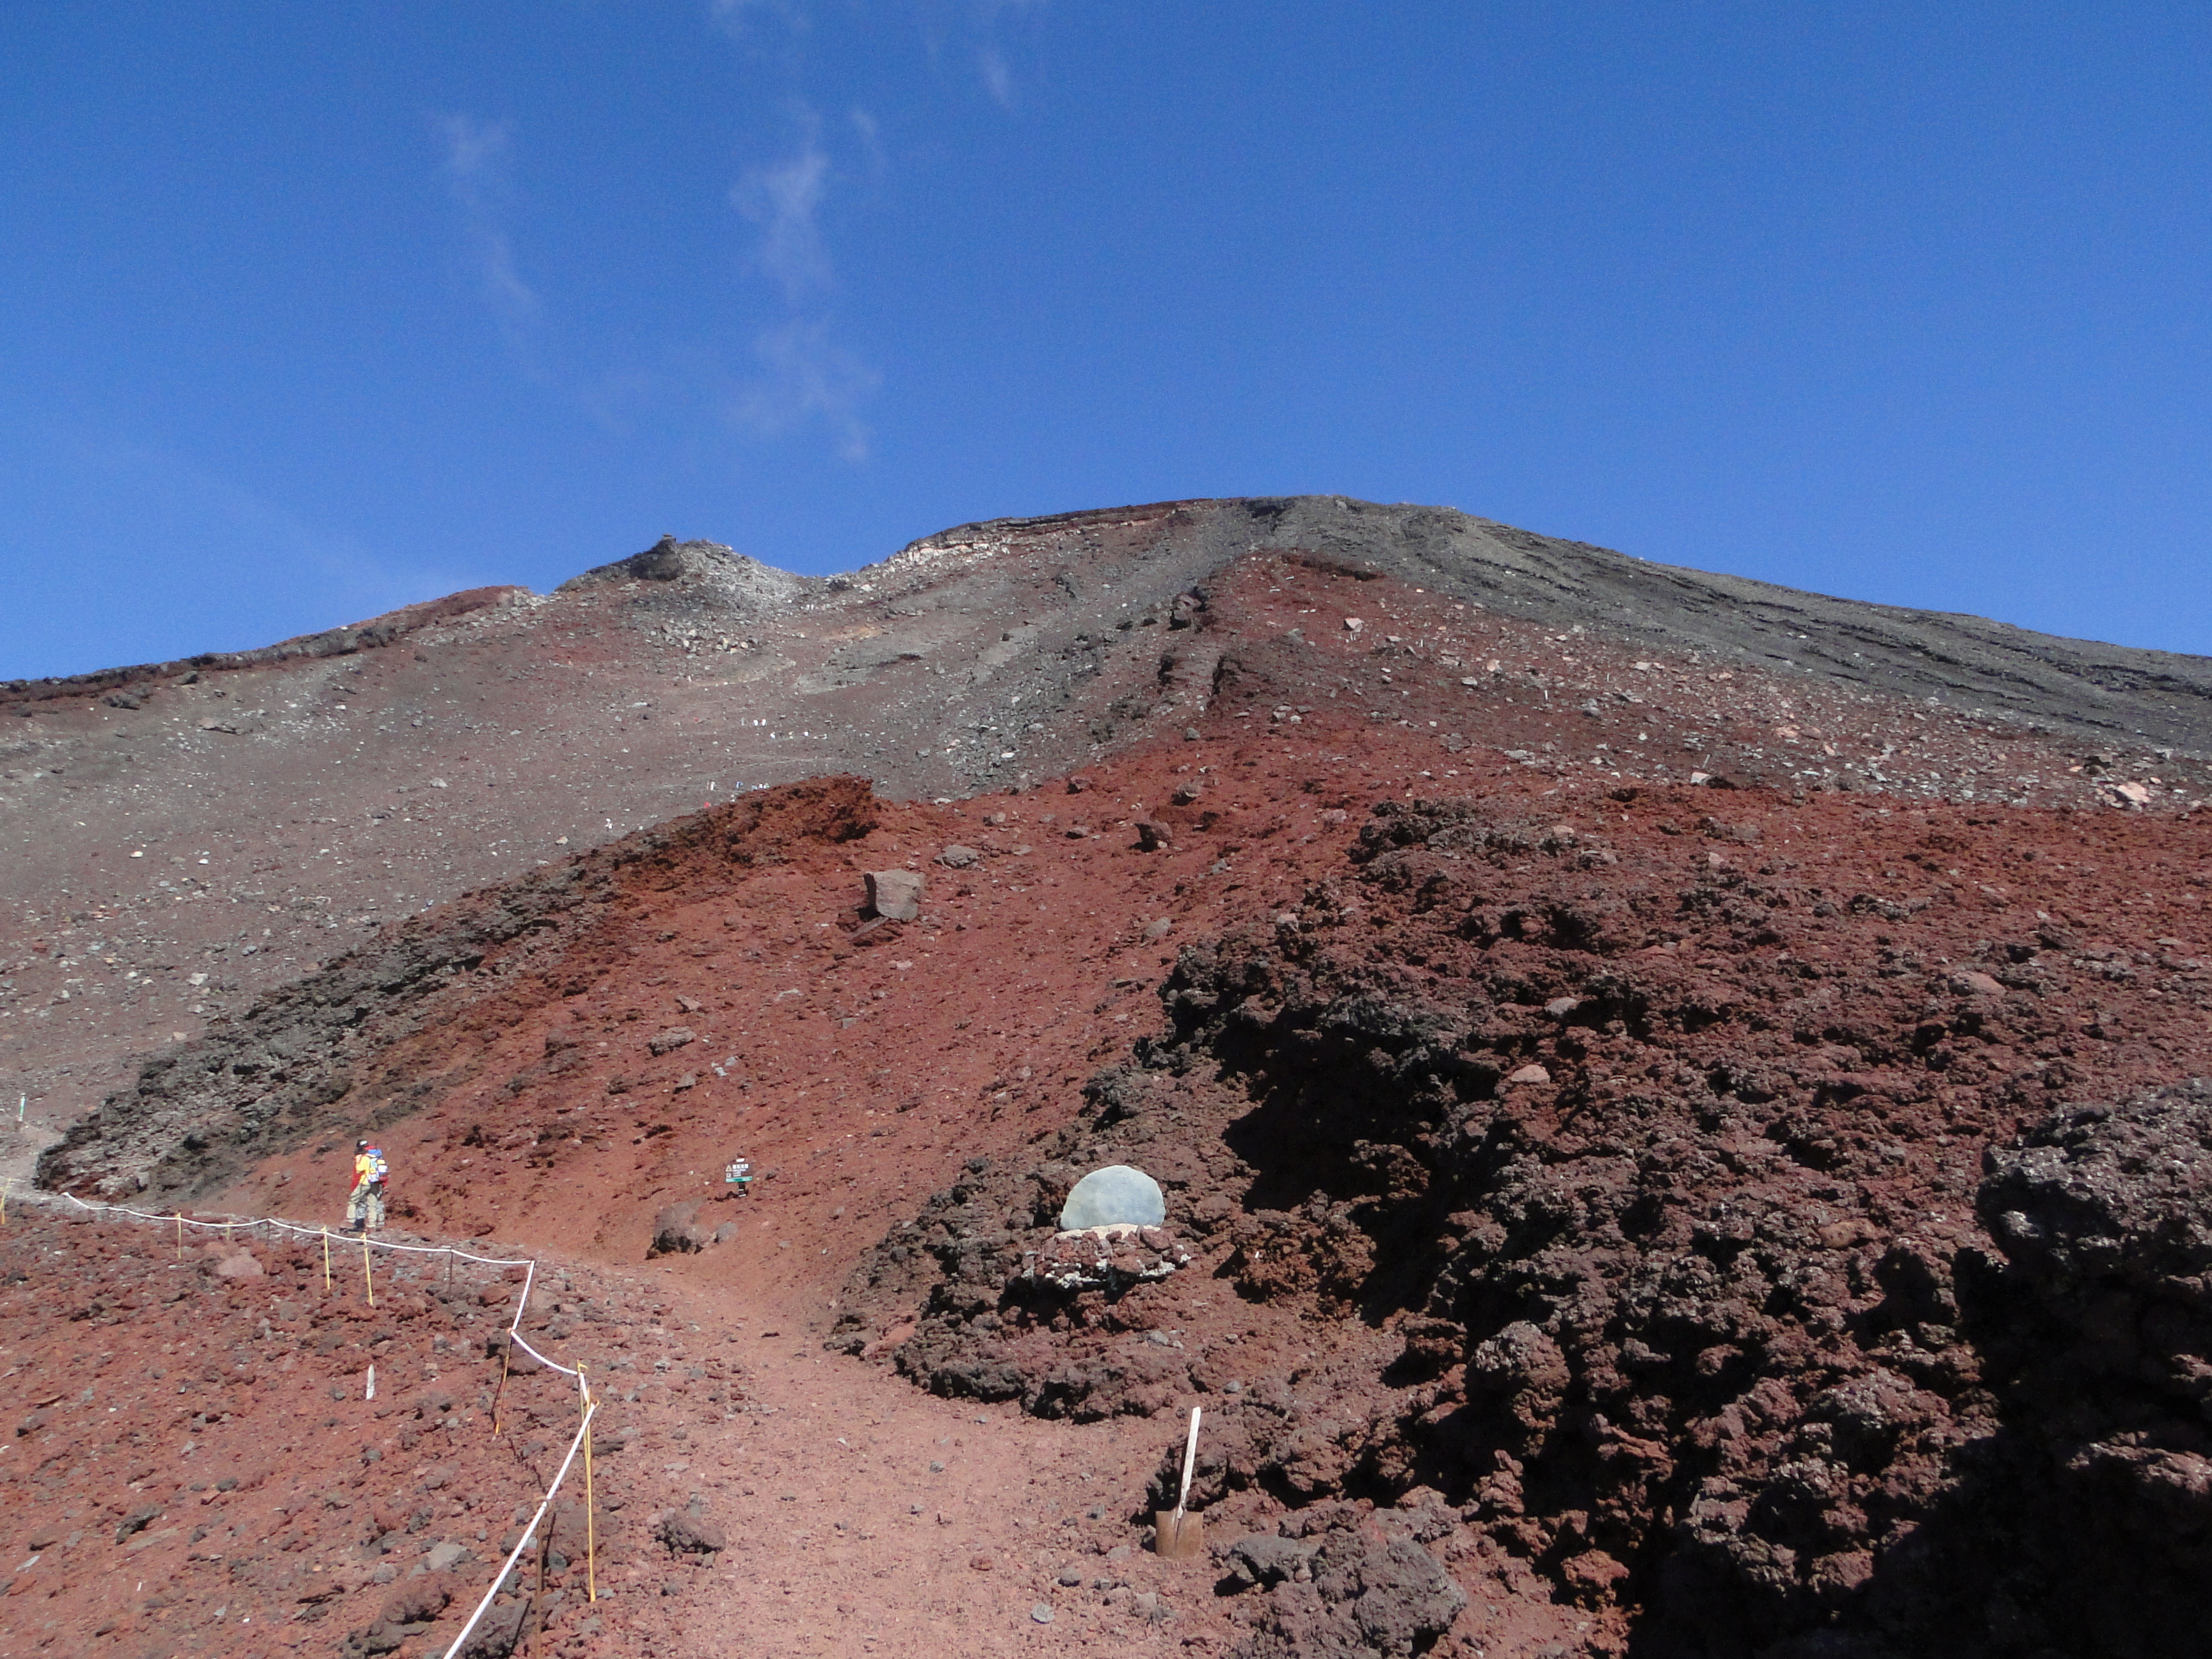
The 5th station “gogome” of Fujinomiya-guchi 富士宮口 五合目 2380m is a lot less busy than the Subaru Line 5th station. In fact, when I was there in early November, there was only a handful of other cars. To get to the start of the trail for Mt Hoei 宝永山 2693m about 20 minutes away, you’ll need to go to the 6th station or “rokugome” 六合目, above the car park. Outside the official climbing season, you’ll need to clamber over the gate barring access to the Mt Fuji climbing trail. It’s pretty easy, there is a gap on the side – don’t let the “no climbing” sign deter you.
Mt Hoei’s crater
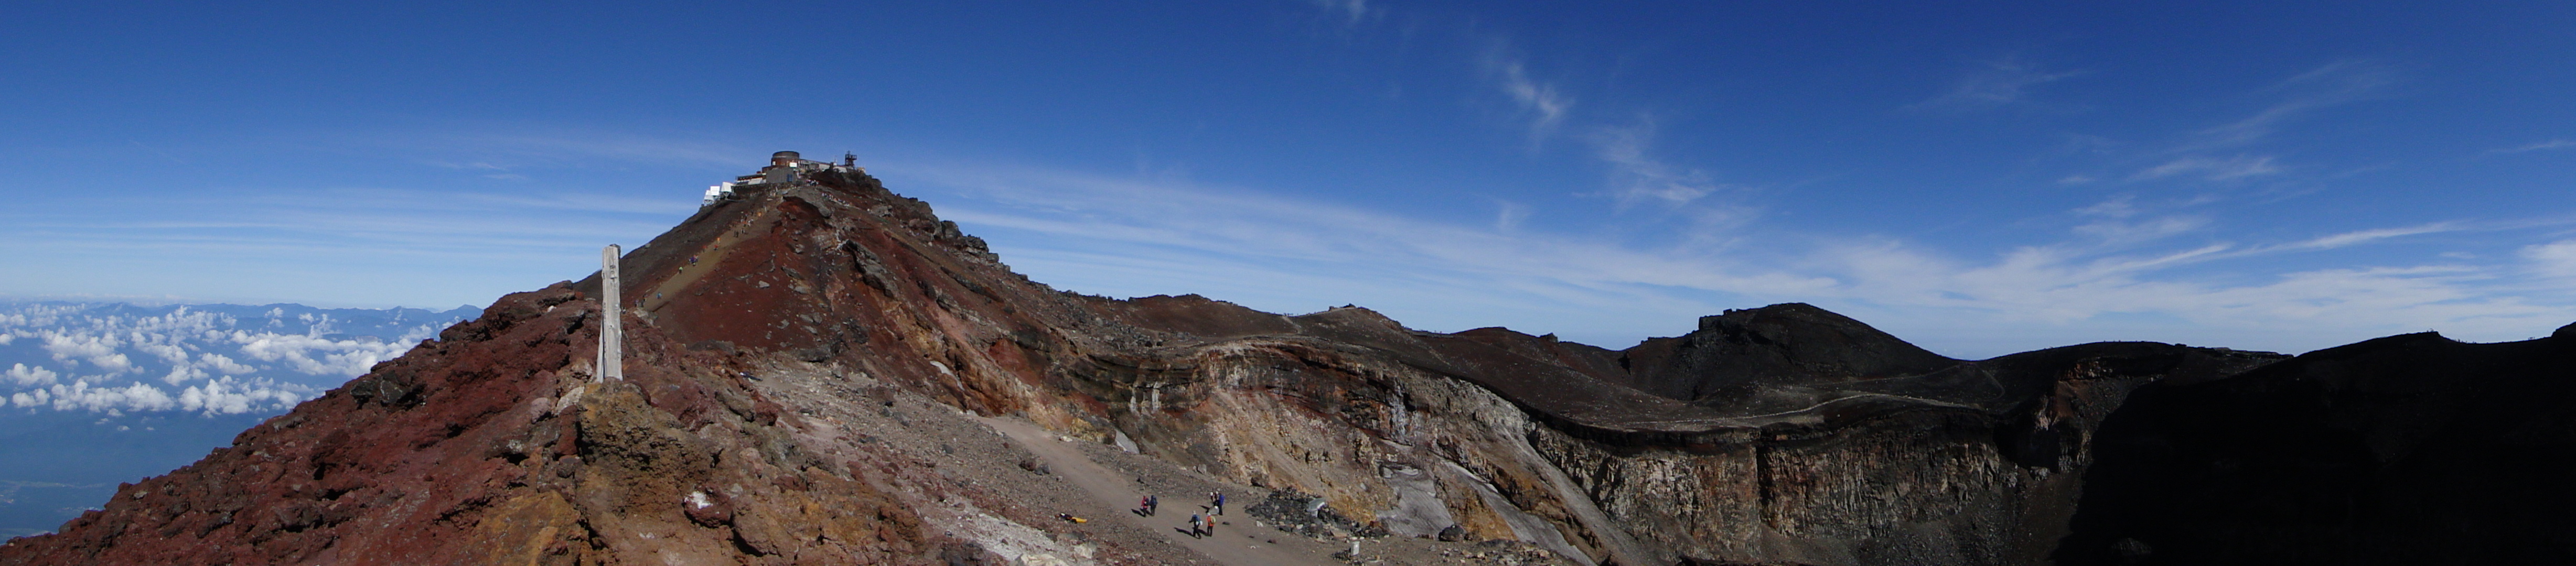
At the 6th station, turn right and just follow the signs for Mt Hoei. The first part is mostly flat and above the treeline. In less than 20 minutes. you will be inside a semicircular bowl – Hoei’s crater (Mt Hoei was formed during the last eruption of Mt Fuji at the start of the 18th century). From here it’s an hour zigzag till the rim. Then turn right – the last ten minutes are straight and flat. If the weather is clear you’ll get some great views. Turn around and you should also be able to see the summit of Mt Fuji looking tantalizingly near (it isn’t).
Looking back towards the summit of Mt Fuji from the top of Mt Hoei
Afterwards, the easiest option is the go back the way you came – no zigzagging needed here, just go straight down. It should take a little over an hour. If you want to do something longer, and that isn’t a loop, go down the other side of Hoei’s crater (turn right at the sign) and after a few minutes you’ll reach the big sand run “osunabashiri” 大砂走 that goes all way down to Gotemba guchi gogome (fifth station) 御殿場口五合目 where you can catch a bus down to Gotemba station. Map time for this part says 75 minutes but you should be able to do it much faster if you run down through the sand – give it a try!
The Hoei’s crater path intersection
Another option is to head down the mountain at the first intersection you reach after passing the crater. This will take you down the mountain through beautiful forest. It should take a couple of hours to reach the road, where a bus stop is never too far away. This is a more adventurous route – there are many other paths criss-crossing the side of the mountain – so I definitely recommend having a map of the mountain if you choose this option. And of course check all the bus timetables in advance. You can also reach the Gotemba fifth station but I think the sand run is by far the better route.
Nishisuzuka 西臼塚 to Gotemba gogome (5th station) 御殿場五合目
This is perhaps the only route that involves some uphill. It is also the lowest of all the hikes, starting at around 1200m and finishing at 1450m – most of the course is in the forest. Finally it is the most difficult to follow, so I definitely recommend having a good map. Here you’ll need to get off the bus much sooner – at the Nishisuzuka 西臼塚 parking lot, about 45 minutes from Shin-Fuji 新富士 station.
Take the path leading into the forest on your left. The path is in a pretty bad state – the center part has kind of collapsed so the first five or ten minute is hard-going but it will soon get better. In less than 20 minutes you’ll reach an intersection – go right. The original path loops around back to the road. Soon after, turn right, and you’ll find yourself climbing straight up the side of the mountain…for almost an hour to 90 minutes depending on how fit you are. You’ll cross a forest road one third of the way up.
Forest trail on the lower reaches of Mt Fuji
Finally you’ll emerge into a parking area on the road that goes all the way up to the fifth station. You have reached 1600m. If you want to cut out the climbing bit (and shorten the hike considerably), you can get off at the next next bus stop (Takabachi 高鉢) – you’ll need to walk back along the road for twenty minutes to read the parking. Take a break, and the continue along the road on the opposite side of the road.
This is arguably the most best part of the hike. It’s mostly flat, there are relatively few people, and the surrounding forest is beautiful. This is the Takabachi Course 高鉢コース. Keep straight at the next intersection, and after that always take the higher path. After about a couple of hours, you should a point that is around the height of the second station, and which is called “goten niwa shita” 御殿庭下. This is the high point of the hike, nearly 2000m – the surrounding vegetation, mostly pine, screams alpine, a far cry from the forested parts at the start of the hike.
Hiking on side of Mt Fuji – what a pleasure!
If you have energy to spare you could continue straight up to Mt Hoei and the Fujinomiya fifth station (see above hike). Otherwise, turn left here, go straight for a bit and then head down at the next intersection. In under an hour you’ll get to another intersection – looking at the map you’ll see that this side of the mountain literally has a web of trails. Both paths will take you to the Gotemba 5th station – the one I did and describe here is the higher one.
Mt Futago comes into view
This path will take you between two small protuberances on Fuji’s side – Futatsuzuka 二ッ塚 (1929m) to the left, and Mt Futago (twin mountain) 双子山 1804m to the right – if the weather is still clear you could quickly run up and check out the view from the top of Mt Futago. It should take about an hour to reach the Gotemba 5th station and a bus stop, at the bottom of the sand run. This final section of the hike, in contrast with the initial part, offers lots of good views since it crosses an ancient lava flow and so is mostly rocky with few trees. You’ll get some excellent views of Mt Ashitaka 愛鷹山 1504m, a two-hundred famous mountain, just South of Mt Fuji.
Famous for its brand of sake, Mt Hakkai is a sacred peak and one of the three Echigo Mountains. The summit ridge has several summits, the highest ones being rated as dangerous.
Find Japan Hiking Maps on Japanwilds and subscribe to our newsletter
View South from the Top of the Ropeway
This one broke the record for the furthest day hike from Tokyo – 175 km! I was less than 50 km from the Sea of Japan although I couldn’t see that far because of the poor visibility. I arrived in Niigata prefecture under the sun but the clouds rolled in with surprising speed and most of the day was spent under grey skies. Even the ragged top of Mt Hakkai (八海山 はっかいさん hakkai-san), a 200 famous mountain of Japan, soon disappeared in the mist.
View North of the Mountains of Niigata
After taking the shinkansen to Echigo-Yuzawa, I boarded a local train to Muikamachi station. The town is fairly rundown and would benefit from a facelift. I got on a bus to the Mt Hakkai ropeway – I was the only passenger. Even the parking lot was depressingly empty. We were perhaps a dozen people to board the ropeway. I was pretty relieved that I didn’t have to wait in line. The view from the wooden viewing platform (1120m) was quite impressive – I guess the lack of people was due to the poor weather forecast, although it never rained.
View Northeast of Mt Echigokoma
The hike itself wasn’t anything special – up and down the same path, alternating flat and climbing bits. There were some good views East of Mt Echigokoma, and Mt Tanigawa to the North. There wasn’t enough time to go all the way to the highest point (入道岳 1778m). Perhaps it was a good thing because it is rated as somewhat dangerous on my map – lots of steep bits with chains and ladders. Before turning around, I had a glimpse of Senbonhinoki Hut (千本檜小屋), perched just below the main summit ridge, through a gap in the mist.
Senbonhinoki Hut through the Mists
The clouds blocked most views from my turning back point, the top of Mt Yakushi (薬師岳 やくしだけ yakushi-dake) but there was a consolation prize in the form of some early autumn colours. I also saw three snakes which is always exciting. On the way back, I had a quick hot spring bath and bought some local sake, both inside Echigo-Yuzawa station, before hopping on the shinkansen for the ride back to Tokyo.
The official Mt Fuji climbing season only lasts two months a year. From early July to early September, you can safely climb to the top of Japan’s highest peak, 3776m high! If you’ve been mulling it over, but not quite sure where to begin with your preparations, here are 10 simple tips to get you started.
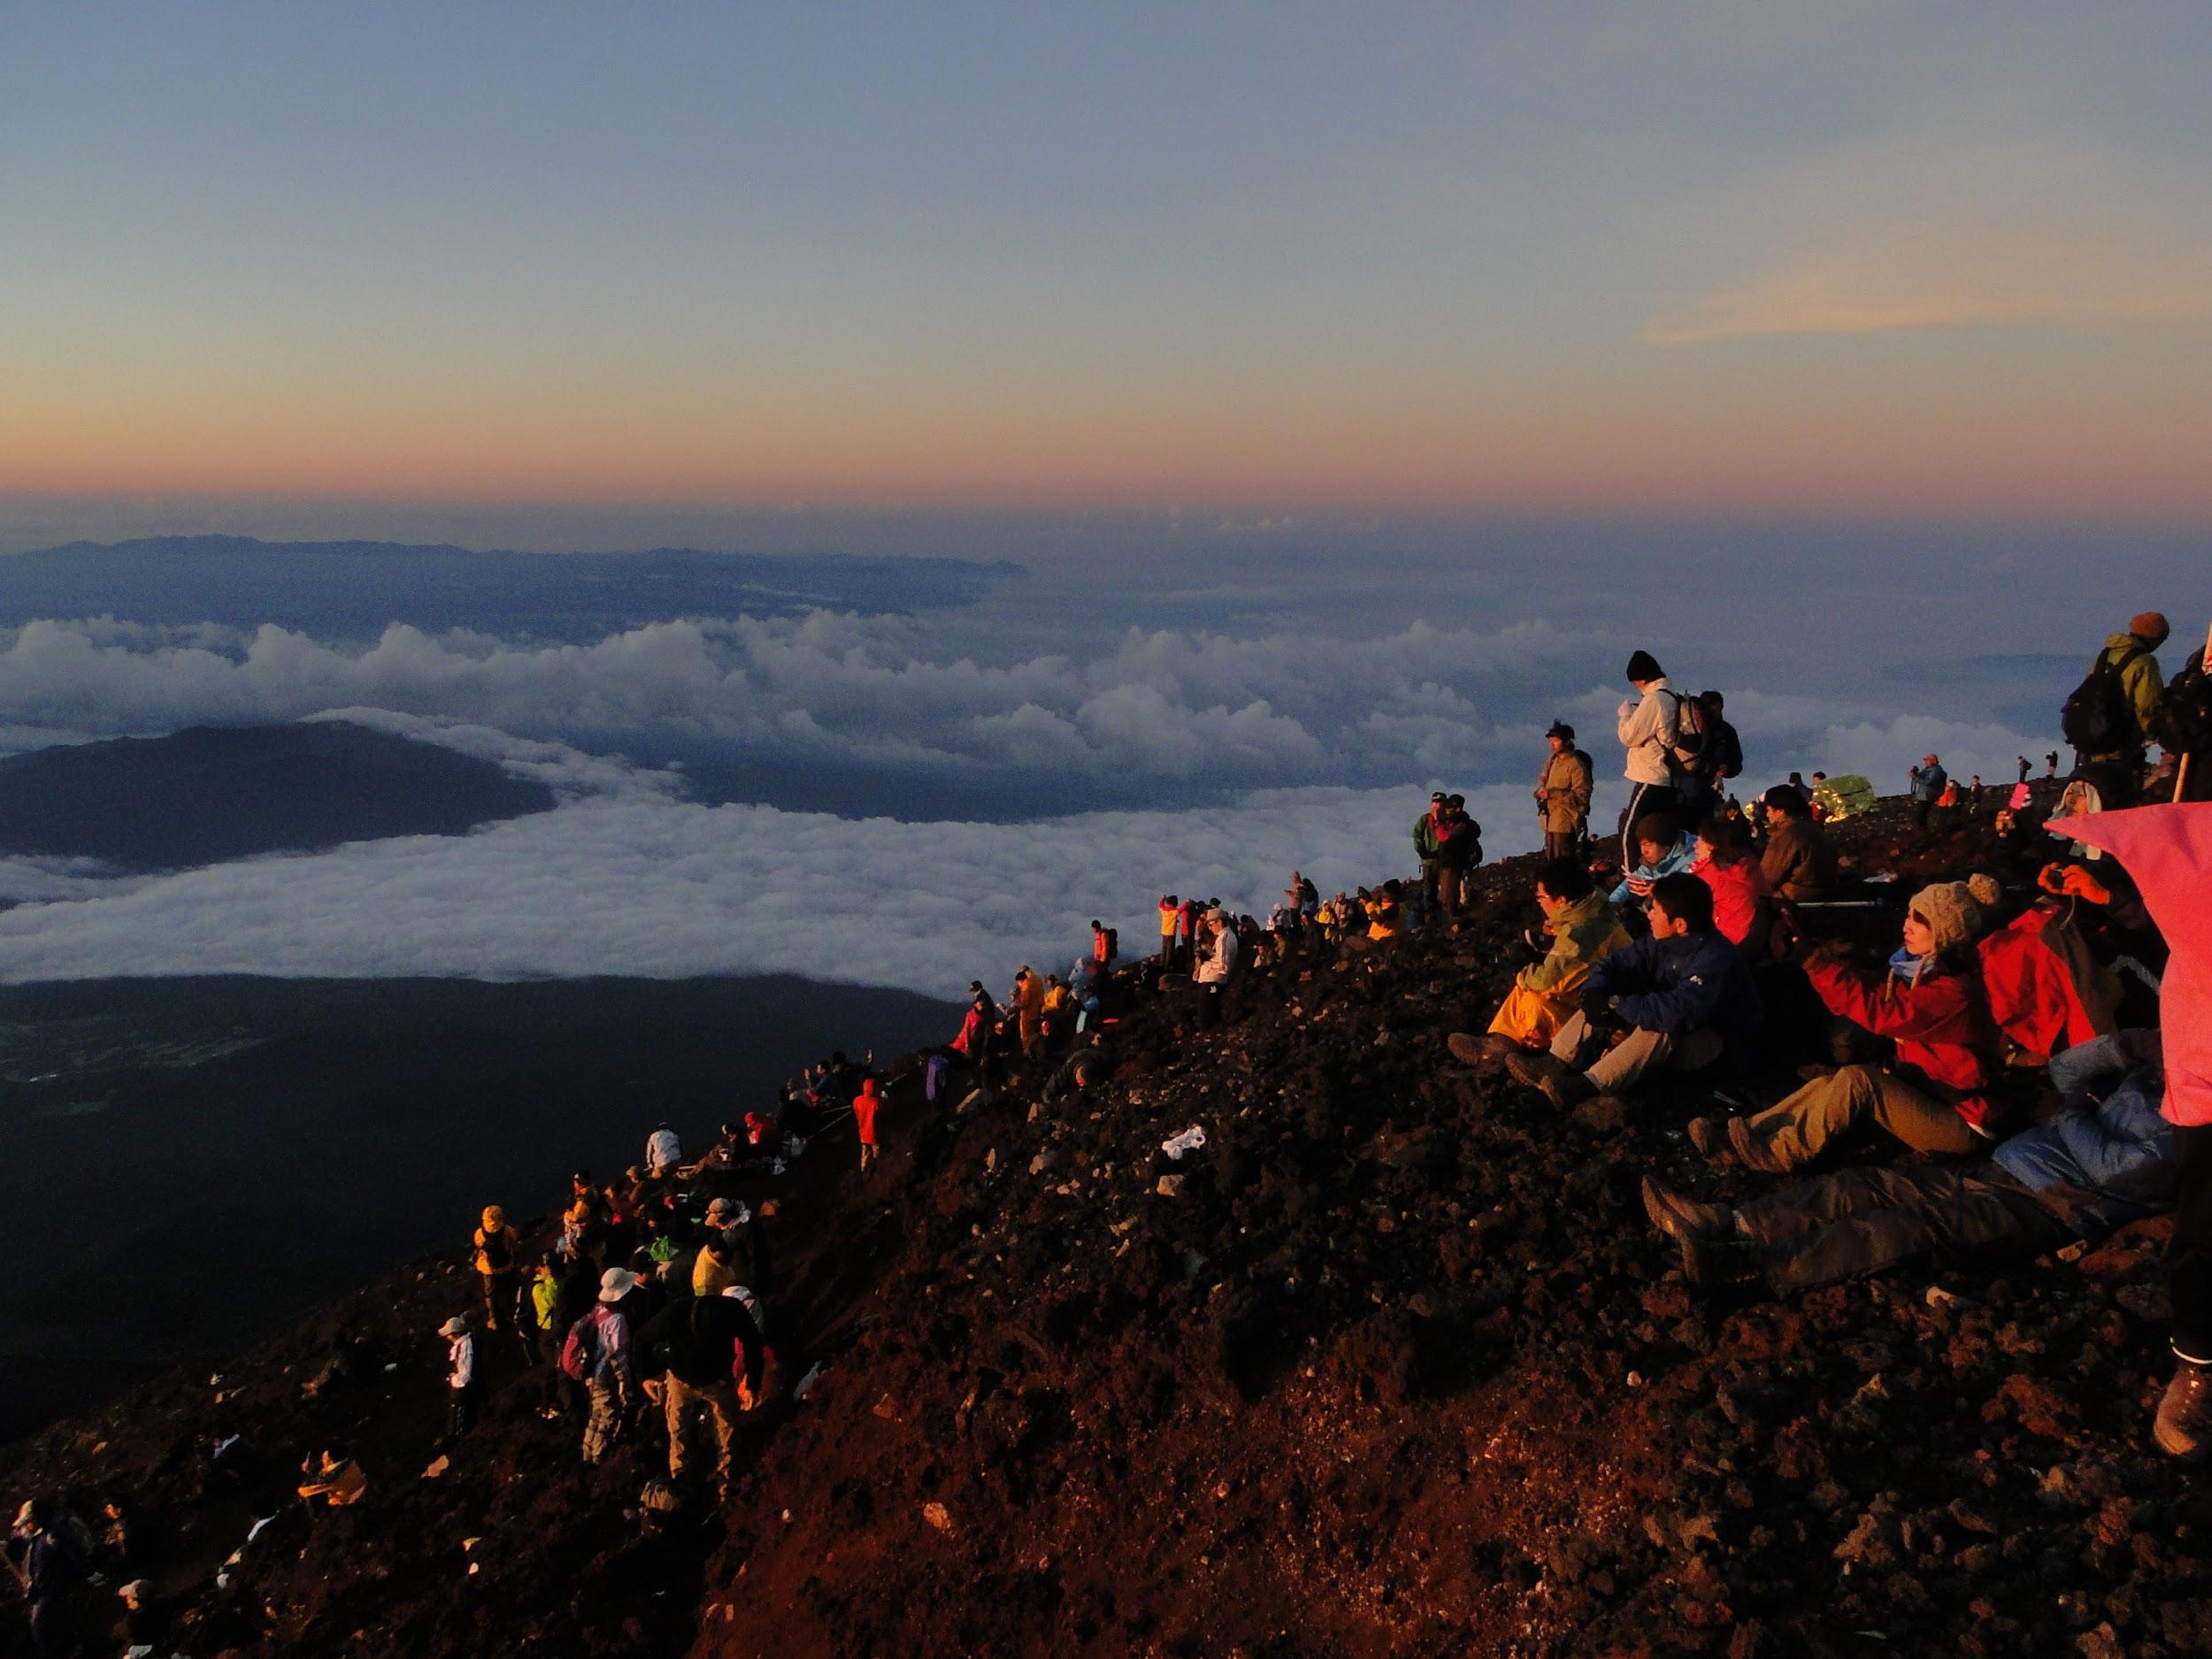
1. Be at the top for the sunrise. You may be wondering whether it’s worth climbing Mt Fuji during the night, or staying overnight in one of the huts. It is a bit of a hassle, since you would lose a good night’s sleep, but considering that the summit is nearly always in the clouds after the mid-morning, it’s worth it just to get an amazing view.
2. Pick a weekday for your climb. Even a Friday climb will almost certainly mean you will be stuck in traffic on the way down on Saturday. The same for a Sunday climb – you’ll get traffic on the way up, delaying your start. Taking a couple of days off in the week will mean avoiding traffic jams, overcrowded huts and lines to reach the top.
Arriving at the top of the Yoshida route after sunrise
3. Get good hiking shoes. Mt Fuji is rocky and some parts can be steep. The sturdier the shoes, the less risk of stumbling and injuring yourself. Don’t forget that new shoes need to be broken in, otherwise you’ll get painful blisters. Take them on a walk or two around the neighbourhood.
4. Make sure you have a waterproof jacket and pants. Since Mt Fuji has its own weather system, it can rain at any moment. Unusually strong wind is also a factor so it’s important to stay dry.
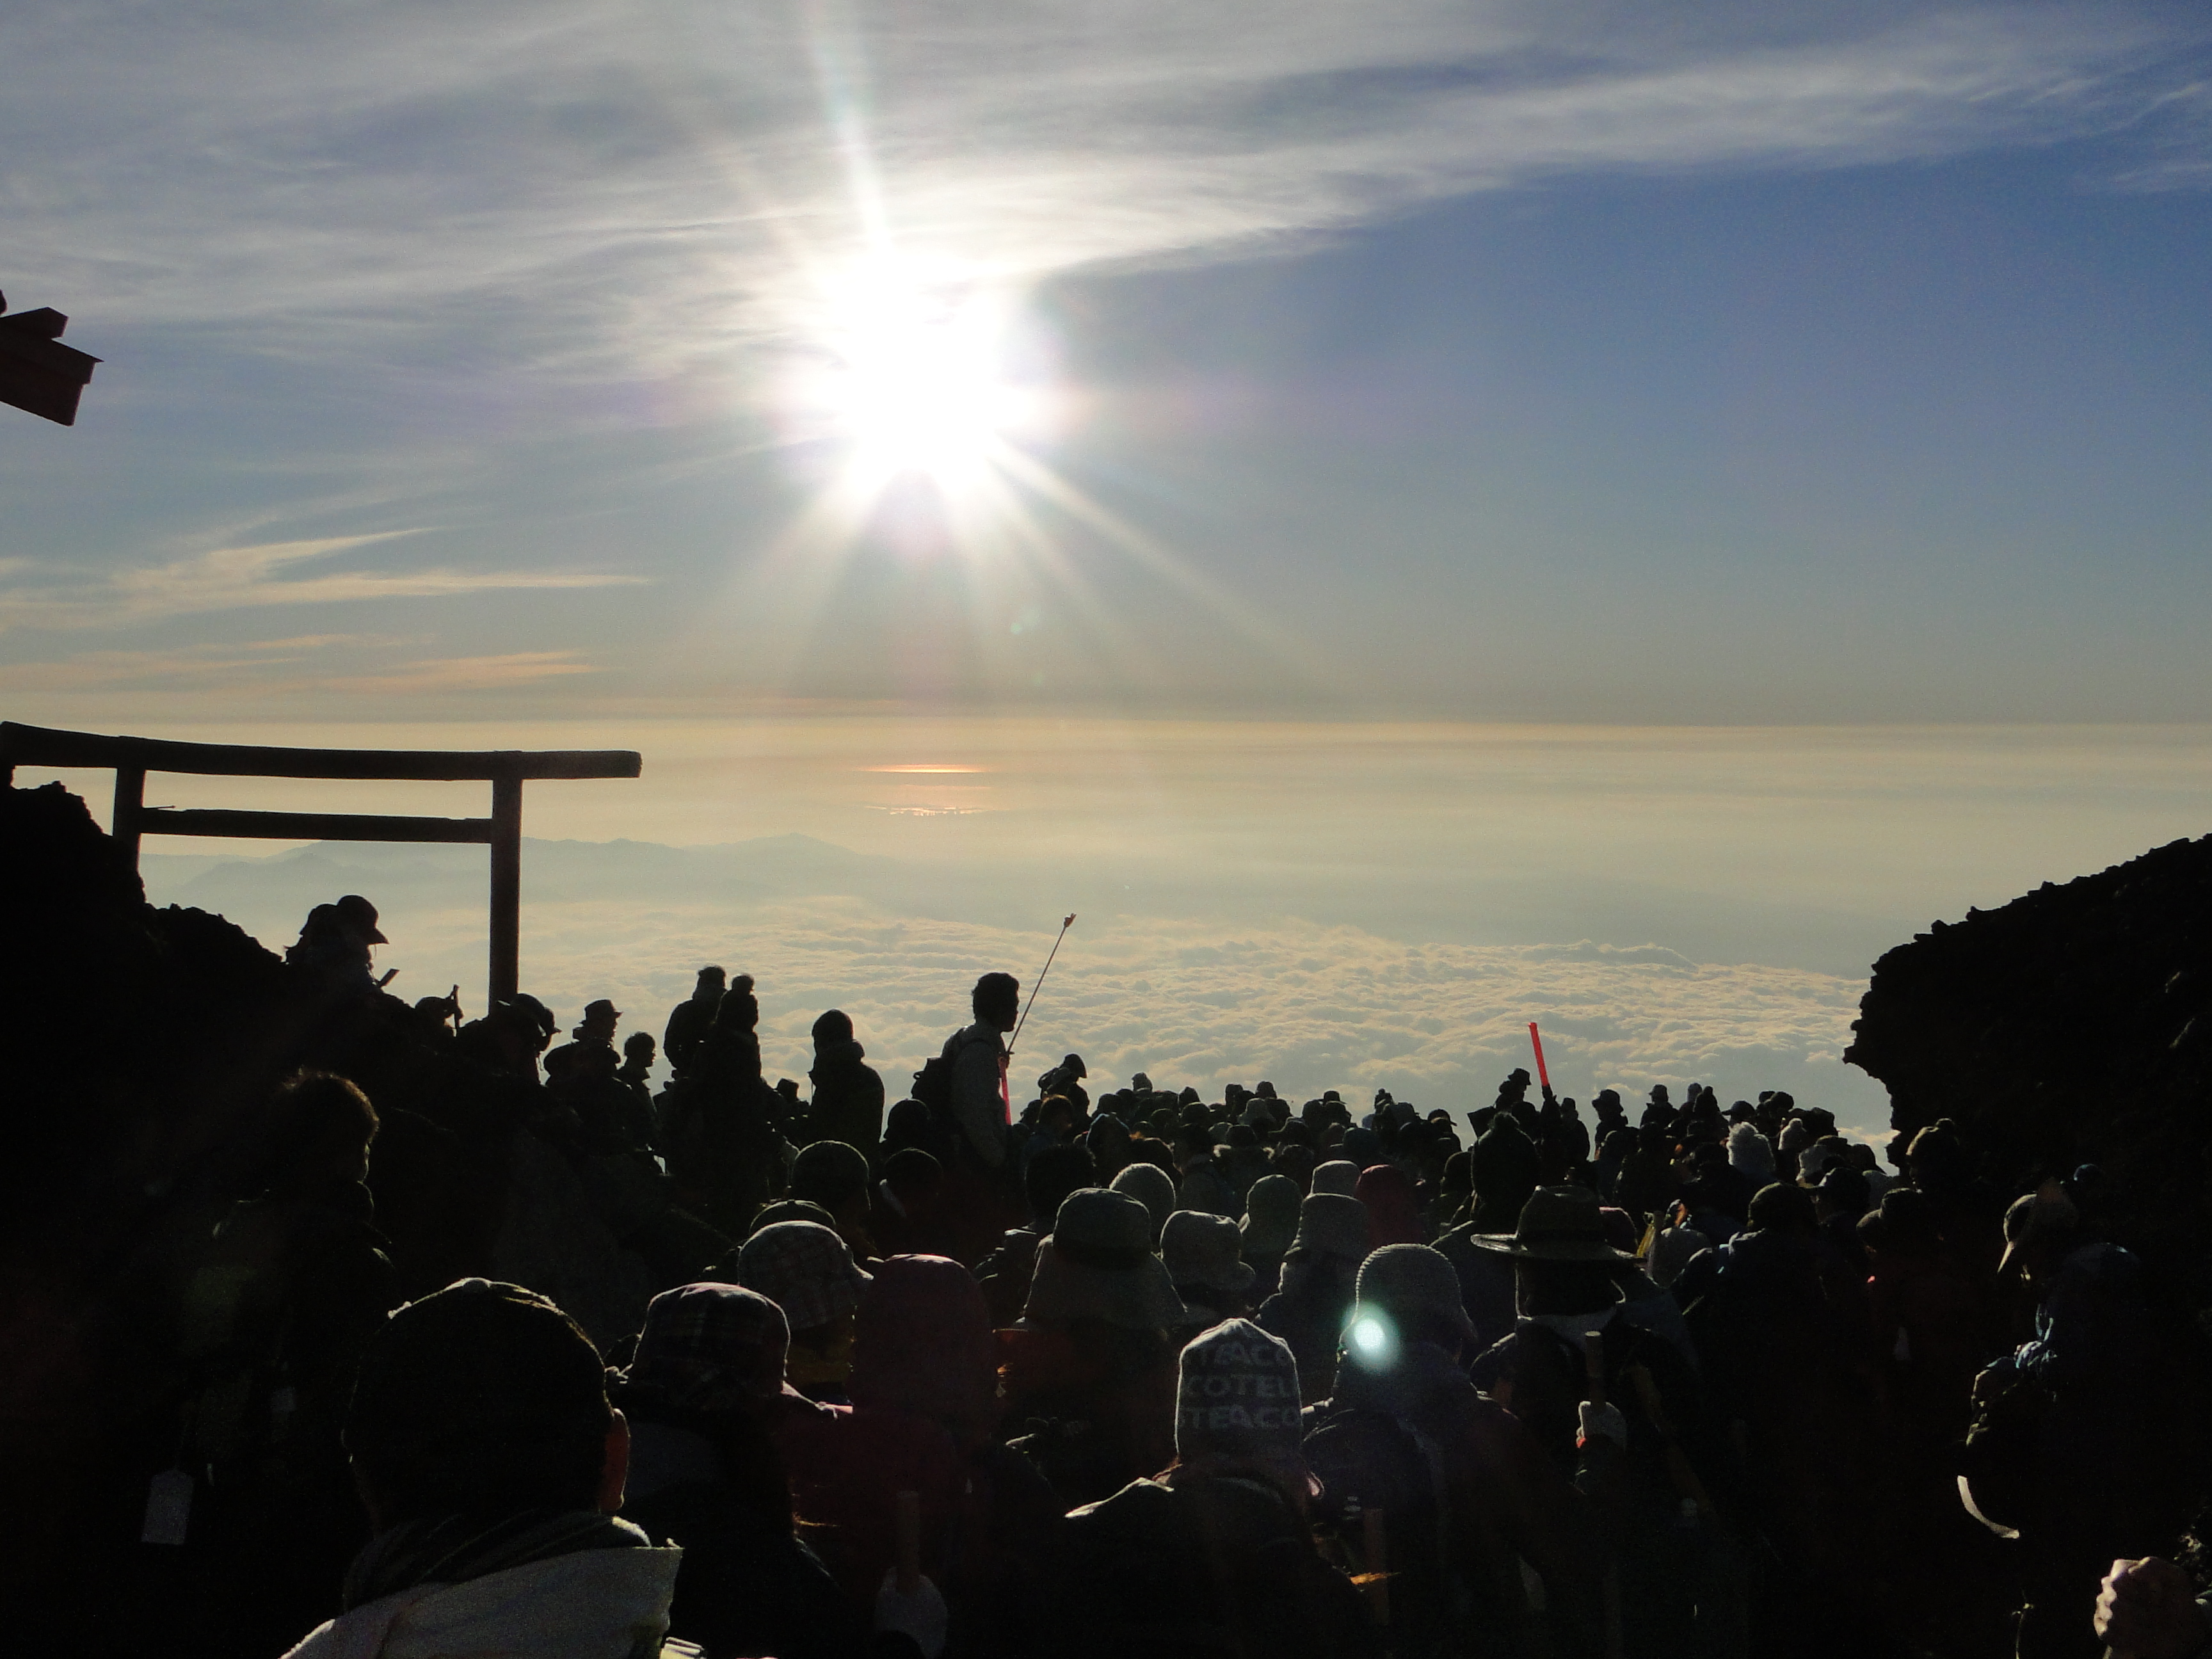
5. Bring warm clothes for the wait at the top. After you reach the top there will be a wait in the pre-dawn cold before sunrise, so bringing warm clothes including gloves and a hat is critical.
Waiting for sunrise from the top of the Fujinomiya route
6. Train a little beforehand. In case you don’t exercise regularly, you should probably go to the gym 2 or 3 times the week before your climb. I usually use the step machine for 20 minutes and try to climb 100 steps. Remember that after a 3-5 hour climb there is also a 2-3 hour descent. Even though the excitement of the climb may lift you to the top, the long descent is where your muscles really start to ache.
7. Keep an eye on the weather. If a typhoon threatens or if there is a period of bad weather, it may be wiser to reschedule. Google “fuji weather” to get current forecasts.
Make sure to bring sunscreen and a hat – the sun can be punishing at higher altitudes
8. Use the Fujinomiya route. Despite being further and more expensive, it has 3 advantages over the usual Yoshida route. First, it has the highest starting point (2380m). Second, the return can be made down the “Subashiri” sand run – you can run most of the way down in half the time (make sure to turn right for Mt Hoei). Finally, it is less crowded so there is no line to reach the top (click here for the bus times).
9. Get a good map of Mt Fuji. Even though there always tons of people and plenty of English signposts, there are many trails and visibility can sometimes drop to zero in bad weather. Having a good map will help you make the right decision. Also, it will include the walking times.
10. Be self-sufficient when it comes to food and water. Even though you can buy water and food pretty much anywhere on Mt Fuji, this is just a sound principle to stick to when climbing any mountain.
Make sure to check out the official Mt Fuji Climbing Site for the latest information on hiking routes up the mountain.
About a couple of months ago just after Golden Week, my friend Kageyama-san, an avid hiker and aspiring mountain guide, asked me if I’d like to join him in climbing Mt Tekari (2591m) in the Japanese South Alps or Minami Alps. As I had yet to climb this Hyakumeizan, I enthusiastically accepted. I had been wanting to climb Mt Tekari for a while but my plans had repeatedly been foiled by the bad weather, relatively short climbing season and difficulty of access.
He suggested going in early July, one week before the official opening of most of the mountain huts in the area. The plan was to stay at Yokokubosawagoya hut (called “Yokokubo” for short) and help the sole hut manager, Kimura-san, clean the hut up and get it ready ahead of the main hiking season, starting July 14th. He had met Kimura-san the previous year and they had hit it off. In return for our help, lodging and board would be free of charge. I was a little nervous about the cleaning up part since it’s is one area I’m not very knowledgeable about!
We departed Tokyo by car at the crack of dawn on July 7th, and finally arrived at Hatanagi dam just after 10am. I say finally because the road after Shizuoka city consists of 2 hours 1/2 of winding mountain road – quite exhausting for the driver! we parked our car by the lake created by the dam, laced up our mountain shoes and shouldered our heavy packs – we were off! After 40 minutes of leisurely strolling along a dirt road, we reached our first challenge – the “Tsuribashi” or suspended bridge. Spanning about a 100 meters, this was the only way of crossing the lake that lay between us and the rest of the route. An idea that had been floated previously by Kageyama-san, would have been to ford the river higher up. However we had to abandon this unofficial crossing since it had rained quite a lot the previous days and the water level was unusually high.
The suspended bridge
Gripping the metallic wire on both sides I proceeded across the bridge at an even pace, keeping my cool as it wobbled more and more as I approached the center. Suddenly I was on the other side, and a few seconds later, so was Kageyama-san. Next challenge was the Yareyare pass. Yareyare in Japanese, is an exclamation of relief, and at first I thought my friend was joking when he called the pass thus. However when I reached the top, I was surprised to see that that was indeed the name of the pass!
After a short bit of downhill, we reached a river swollen by the recent rains. The path went quite close to the edge and if the water level had been any higher, we would have been stuck. Soon we reached bridge one of five. The bridges were a little scary since they were quite basic and in urgent need of repair. On top of that, the raging river made it feel that if you fell in, you were a goner. Finally we reached Usokkosawagoya, an unmanned hut from which the pass climbed unrelentlessly, but away from the river.
Where’s the path?
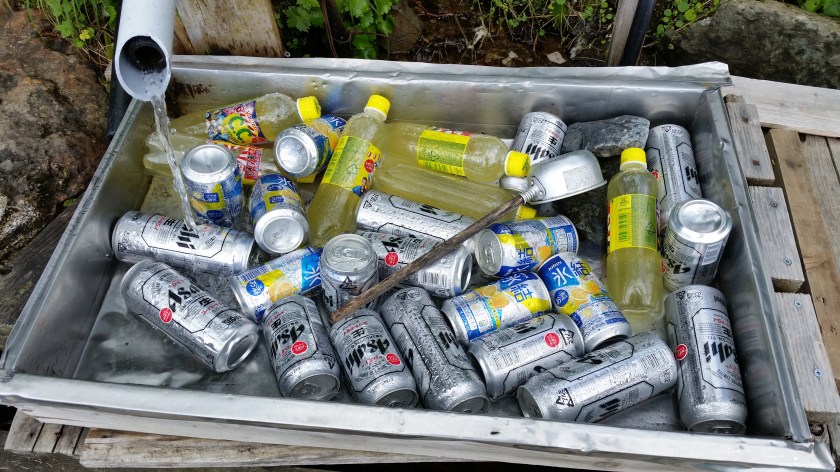
Kimura-san’s “Welcome Beer”
Four hours after leaving the car, we arrived at the Yokokubo hut. We were greeted by Kimura-san and two beers – “Welcome drink” he said. That was going to be the theme for our stay, as our host Kimura-san always made sure we had a beer in hand after hard work. After a second “welcome beer”, our first task awaited us: we had to sweep the sleeping area on the second floor, and lay out the thermal mats, as well as a larger tatami rug on top. Since I was the tallest (by far) I was charged with getting the mats down from the rafters – “how on earth did you manage without me” I asked (they have a stepladder).
After this relatively straightforward task, we were done for the day since it was nearly 5 o’clock. Some rest, more beers were followed by a delicious rice curry dinner courtesy of Kageyama-san. We were 4 people in total since another person had come with Kimura-san to help out – Ozawa-san. We found out that during the rest of the year, Ozawa-san runs a small farm where he mainly grows wasabi and tea. He invited us to visit him one day and we agreed we would. In the mountains it’s early to bed, early to rise, although as no hiking was on the program for the next day we allowed ourselves the small luxury of going to bed a little later (9pm) and getting up a little later (6am) than the norm.
Last year’s beers at Chausu hut
The mouse problem
The next day I was awoken by a rustling sound coming from a plastic bag containing my food supplies, lying near my sleeping spot. I opened my eyes and spotted a small shape moving inside. I shut them again thinking I must be dreaming. However I recalled that the previous day Kimura-san had complained that a mouse had somehow gotten inside the lodge – when he had first entered, earlier the same day, he found a bunch of ramen cups that had been opened in the kitchen. So I reopened my eyes, hopped out of my sleeping bag and tied the plastic bag into a knot “This must be the mouse and I have caught it!” I thought. I took the bag outside and dumped its contents on the ground nearby – no mouse. Either I had dreamed, or either the mouse slipped out in those few seconds I had my eyes closed. A little crestfallen, I returned to my sleeping bag for some more sleep.
During the day we found more traces of the mouse, or mice as we were now starting to think. More destroyed ramen cups, some chewed up pillows, and more annoyingly, the mouse had made a hole in a meat pasta sauce that was in another of my plastic bags (Kageyama-san has told me to get proper sealable cloth bags – I will definitely do so for my next trip). Luckily I had another intact pack of meat sauce, but since I was going to make pasta for the two of us, I had to add another course of dried food to the menu to make up for it.
For Kimura-san something had to be done – the hut would be housing dozens of paying guests a day starting from the following weekend, and he couldn’t have a bunch of mice wrecking havoc. So, since we were unable to locate the mice within the hut, nor their manner of entry and exit, he laid out a number of mouse traps on the first and second floors. The traps were very effective – by the time we went to bed, 3 mice had been caught on the 2nd floor, and overnight 5 more were trapped on the first floor. The mouse problem had been solved (sorry mouse lovers…).
The main cleaning
After breakfast, we cleaned and prepared the sleeping area on the first floor. It involved a lot of chucking mats, tatami rugs, cushions and rolled sleeping bags down the wooden flight of steps connecting the first and second floors. Since we were 4 people in total, we were soon done. Any excess mats were carried back up and placed into the rafters again to serve as spares. Then we moved outside to reconnect the drinking water that came from a source of freshwater, located just across from the mountain torrent that ran next to the hut.
The water came through a pipe, the end of which had been sealed off with some plastic. We connected it to a kind of bathtub we had carried up from next to the hut. The bathtub served as a reservoir – the water would accumulate there and then flow down another tube into a big tank standing right next to the hut. We then uncovered some corrugated metal sheets which we placed on a wooden frame right next to the river. It was fixed in place with a plastic tarp, some rope and stones. The shady area underneath, opposite the flowing river, would create a cool space where vegetables could be kept. These, and the rest of the fresh food would be delivered by helicopter in a couple of days. Kimura-san constantly worried about the weather for that day. If the visibility was bad, the helicopter wouldn’t come, and he would have to make do without any fresh provisions for the start of the hiking season.
After that we uncovered and cleaned the washing basin where campers would have access to running water, which was connected via another hose. A third and last hose ran to a smaller washbasin outside the toilet area about 50 meters away. We cleaned that one too and made sure the water was flowing properly. Next we had to open the window flaps of the small toilet outhouse. Again my height was of great use. Once that task complete, we retreated to the hut for some lunch – leftover curry rice from yesterday’s dinner.
After lunch, our final task awaited us – a thorough cleanup of the dining and kitchen area. Floors were scrubbed and wiped. Dishes were washed and dried. Every flat surface was dusted, and unused or expired items were thrown out. This was perhaps the most exhausting and time-consuming task of them all. Even with the four or us, we were at it for over an hour. Finally it was done – the place was spick-and-span, and we could rest a while before an early dinner and early bedtime, since the next day we would rise at 5am for an early departure up the mountain.
Opening and fastening the rear windows
To Mt Tekari and Back
Our hike the next day, up to the Chausu hut on the ridgeline and then on to the Tekari hut went without hitches. We spent an hour hanging out at Chausu hut chatting with the various people who had come up early to help the hut open, drinking tea and eating snacks. There was Kataoka-san, a mountain guide who I had met on a trip to the South Alps 7 years earlier. There was also a sake brewer who works in the hut in the summer, which is the off-season for sake-making. He showed me the charts he used to keep track of the his latest sake brewing session, with temperature, sake meter value, acidity, alcohol content for each day. I studied them with great interest.
The sake brewer’s hard work
Although the skies were clear in the mornings, the clouds had rolled in once we had left Chausu hut, and the rest of the hike was done with mostly no views. This didn’t matter too much as the surrounding forest was breathtakingly beautiful. Tekari hut wasn’t open yet either, but as with the other huts, the hut manager and staff had already arrived, and were busy getting the place ready. People can stay inside for free but they need to bring their own sleeping bags. The hut manager gave us some basic instructions about eating, lights out and the outdoor toilets but that was it. Snacks and alcohol could be bought if supplies remained from the previous year. Actually, most huts in the South Alps are kept open year round meaning that even if the staff aren’t there, which is usually the case from Early September to end June, the door is open and you can use the space for free as long as you are self-sufficient.
The path to Tekari hut
We didn’t summit Mt Tekari that day since by now it was a whiteout. The next day, the weather was again quite good and the views were amazing, especially of Mt Fuji, which is actually quite close. We made our way back to the Chausu hut, where we got to see the helicopter deliver supplies. Then we made our way back down to the Yokokubo hut, where we picked up some of our extra stuff that we had left during our 2 day-hike. The helicopter had successfully delivered the supplies, and Kimura-san looked quite happy and relieved. I refused a final offer of a beer since we still had a couple of hours of steep downhill hiking. We made it back to the car a little past 4pm. After a refreshing stop at a nearby hot spring, we set off along the very long twisting road back to civilisation. Hitting the highway was a relief, and we finally got back to Tokyo around 10pm.
Sunrise and Mt Fuji near the top of Mt Tekari
It was quite enjoyable to hike the South Alps before the throngs of summer hikers. For most of the way, there and back, we saw almost no one. At one point, we crossed the Tekari hut manager with a chainsaw, but he was just doing trail maintenance. It was also an interesting experience to see how mountain huts in the Japanese Alps get ready for the busy summer season. Finally, I was happy to contribute, even just a little bit, to the massive effort it takes to run the network of mountain huts, which enables the rest of us to enjoy the mountains throughout the year.
Helicopter delivering fresh vegetables to Chausu hut
You might think that the summer months of June, July, August and September are the best time to go hiking. That is only partially true. The main problem is that the high temperatures and humidity make hiking up from a low elevation a torture – I know because I’ve done it. The trick is to use public transport to propulse yourself as high as possible before you need to start climbing. Even better are hikes that start high and consist mainly of flat and downhill walking. So, here is a list of 10 lesser-known hiking start points, from highest to lowest, in mountain areas reachable from Tokyo by bus (without using the Tokyo Wide Pass). A word of caution – starting higher also means going further and traveling longer which in turn is more expensive – there is a cost to getting high.
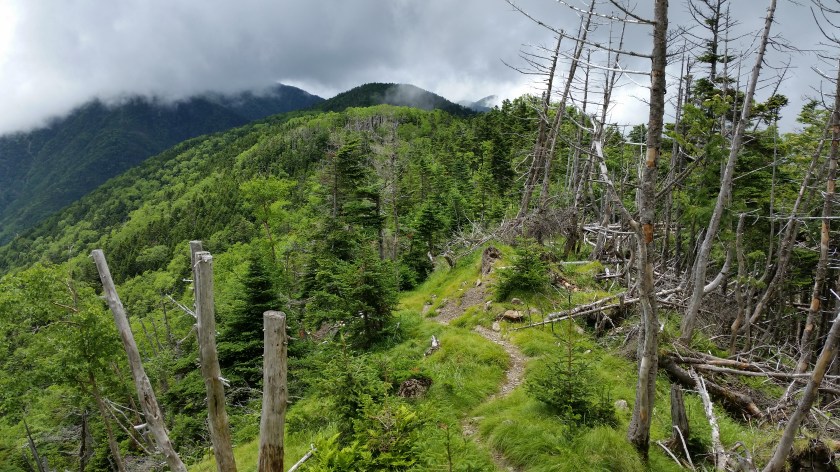
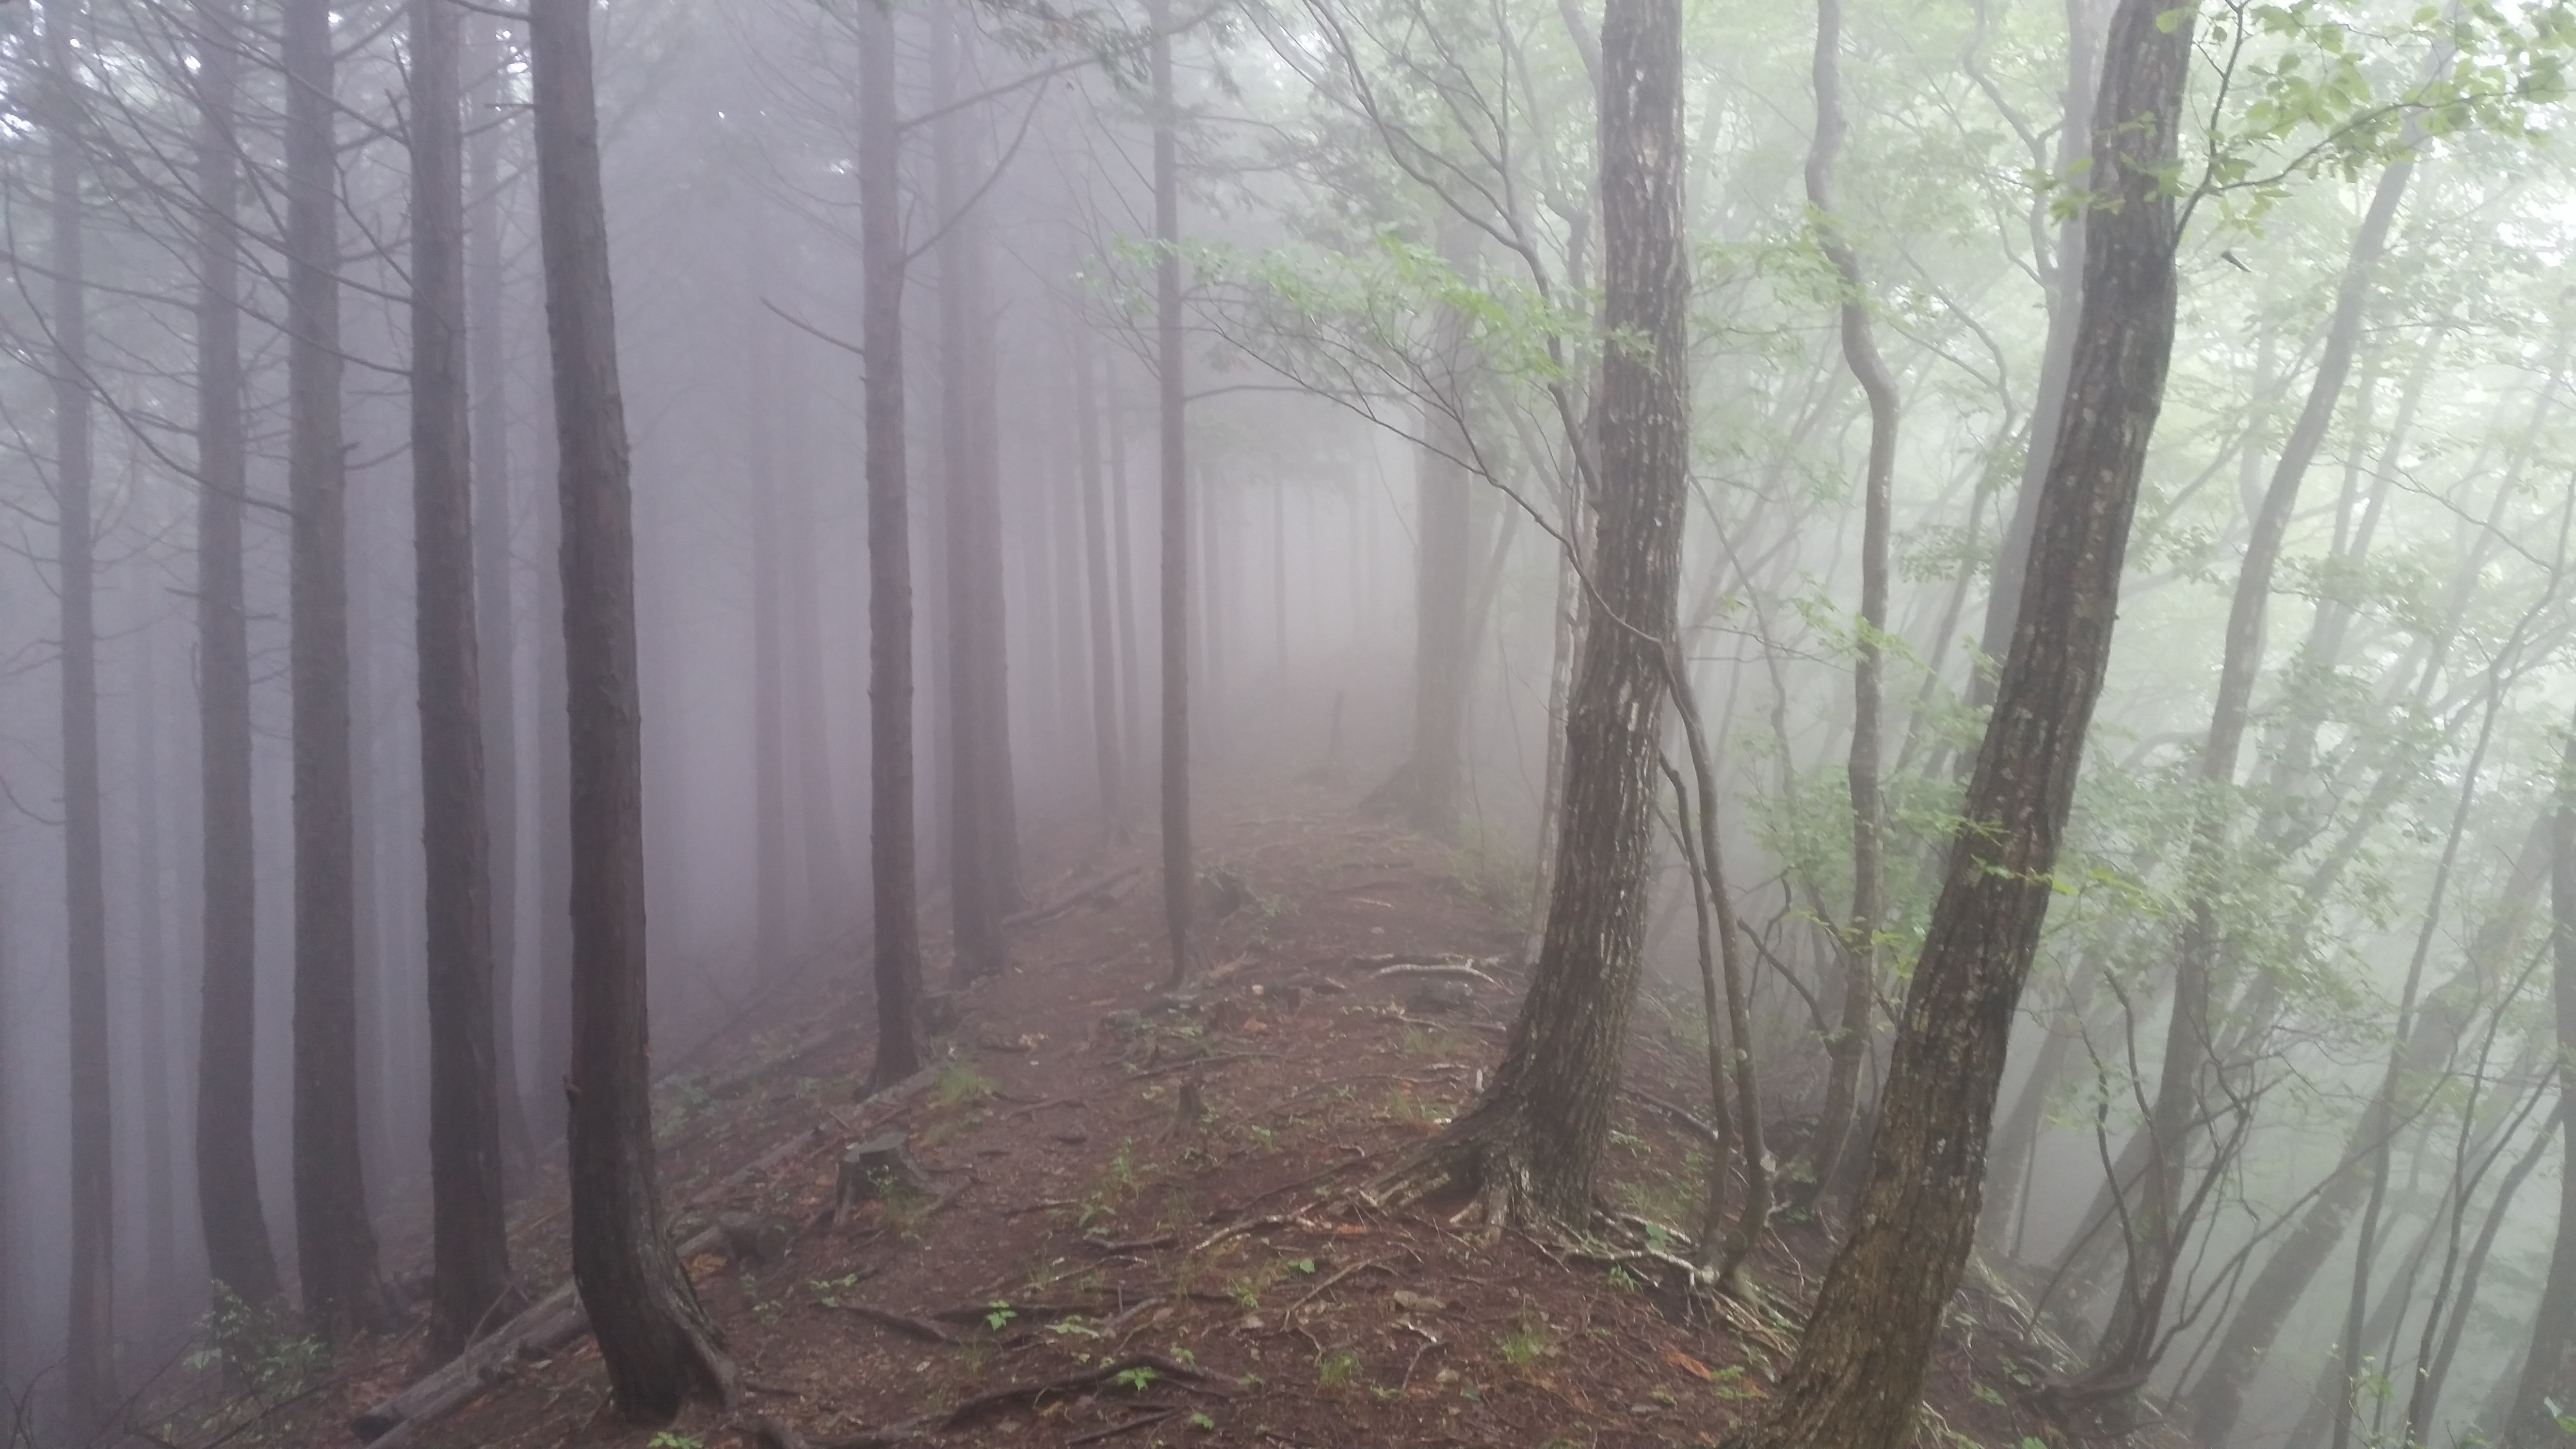
Ridge walking in the mist, sometimes unavoidable in the warmer, wetter months (June 2018)
Fujinomiya 5th station 富士宮五合目 2380m
It’s no surprise that the highest point accessible by public transport is on the slopes of the highest mountain in Japan. However, instead of heading for the top, you can hike down to one of the lower stations, or cross over to the Gotemba fifth station, or even do a loop hike via Mt Hoei 宝永山 2693m, a mini-volcano on the flank of Mt Fuji, that was created during the last eruption 300 years ago.
Alternatively can get off at one of the lower stations and head up, if you want to do at least a little climbing. The forest bits are beautiful, and the parts that are devoid of vegetation because of ancient lava flows, offer some great views, when the clouds aren’t in. Best to avoid the Mt Fuji hiking season in July and August, since the buses will be packed.
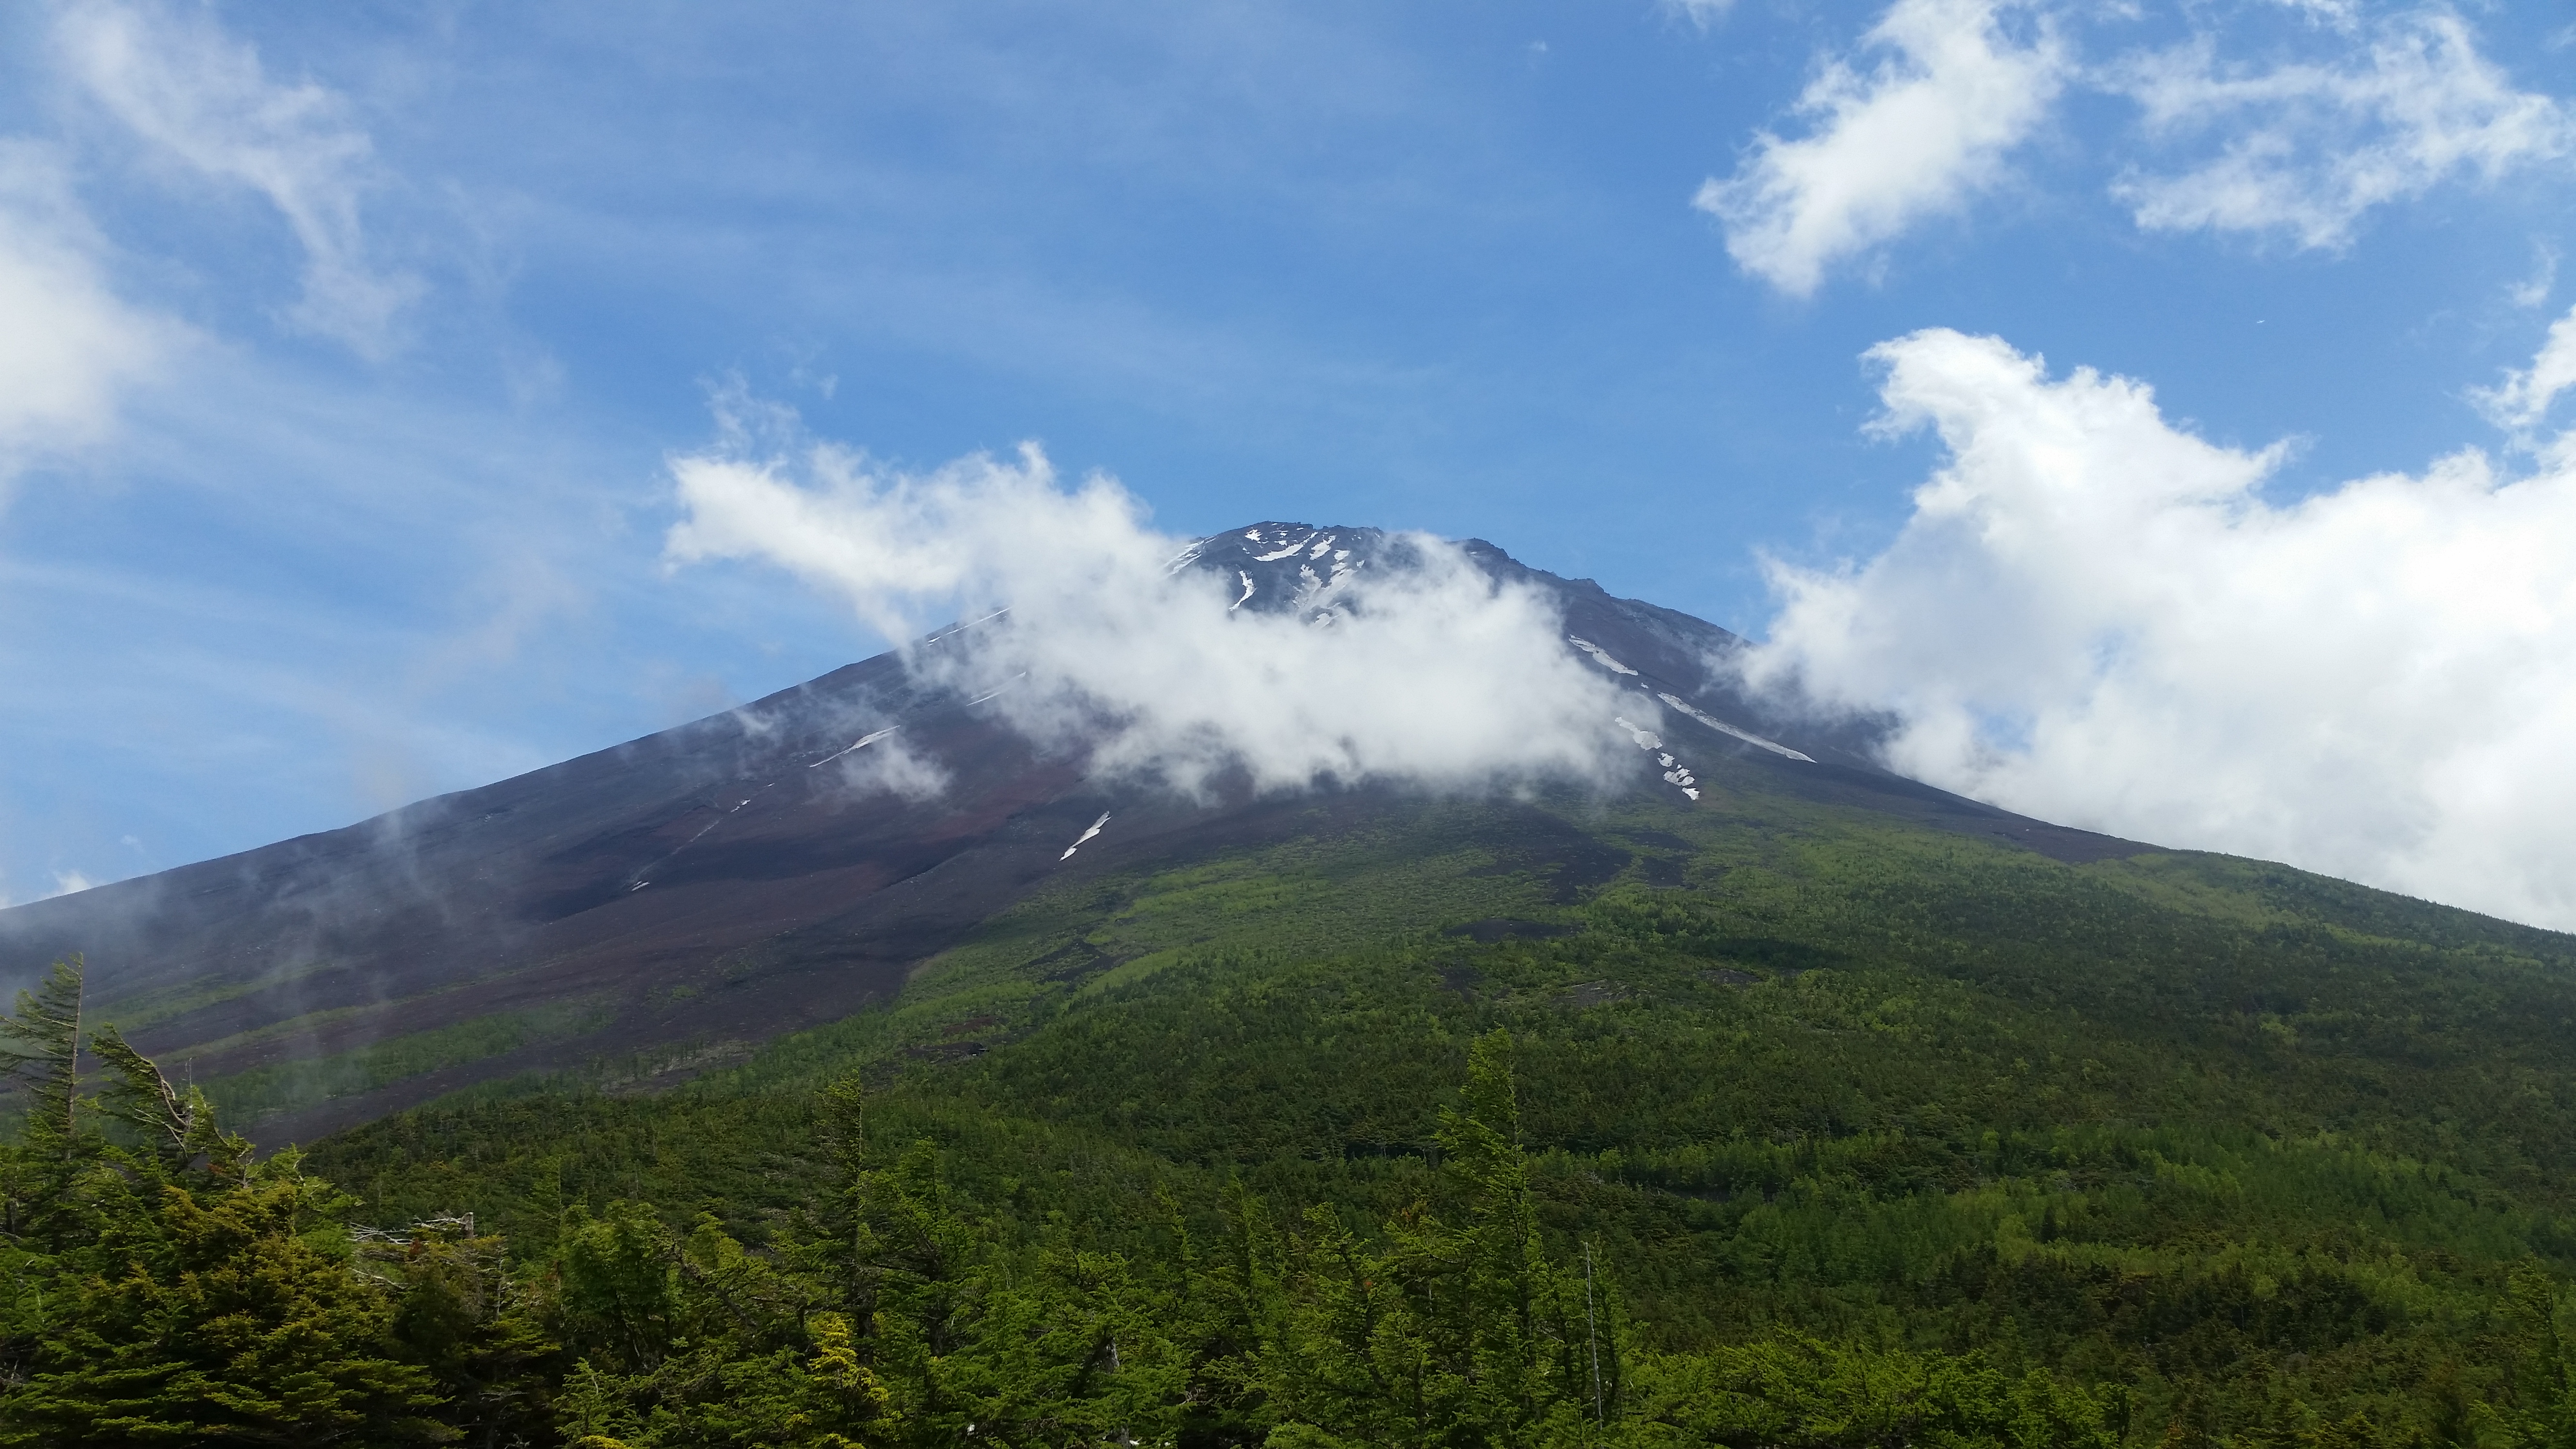
Volcanic landscape near the Gotemba fifth station (June 2014)
Odarumi Pass 大弛峠 2365m
Only 15 meters lower than Fuji’s highest point, the main attraction here is to do the round trip to Mt Kinpu 金峰山 2599m, the highest peak in the Okutama-tama-kai national park. Most people go this way and the views are great. Another option is to head east towards Mt Kobushi 甲武信ヶ岳 2475m, passing over the highest point in the area, Kita Okusenjo 北奥千丈岳 2601m. Lots of solitary, but beautiful forest hiking. The bus can be taken from Enzan station on the Chuo line, but since it’s rather small it requires prior reservation (Japanese only). On the way you need to change at Yakiyama Toge 焼山峠 1520m – there are some good hiking options around here, although I have yet to explore them.
Looking back from the top of Mt Kinpu (Sept 2014)
Subaru Line 5th station スバルライン五合目 2300m
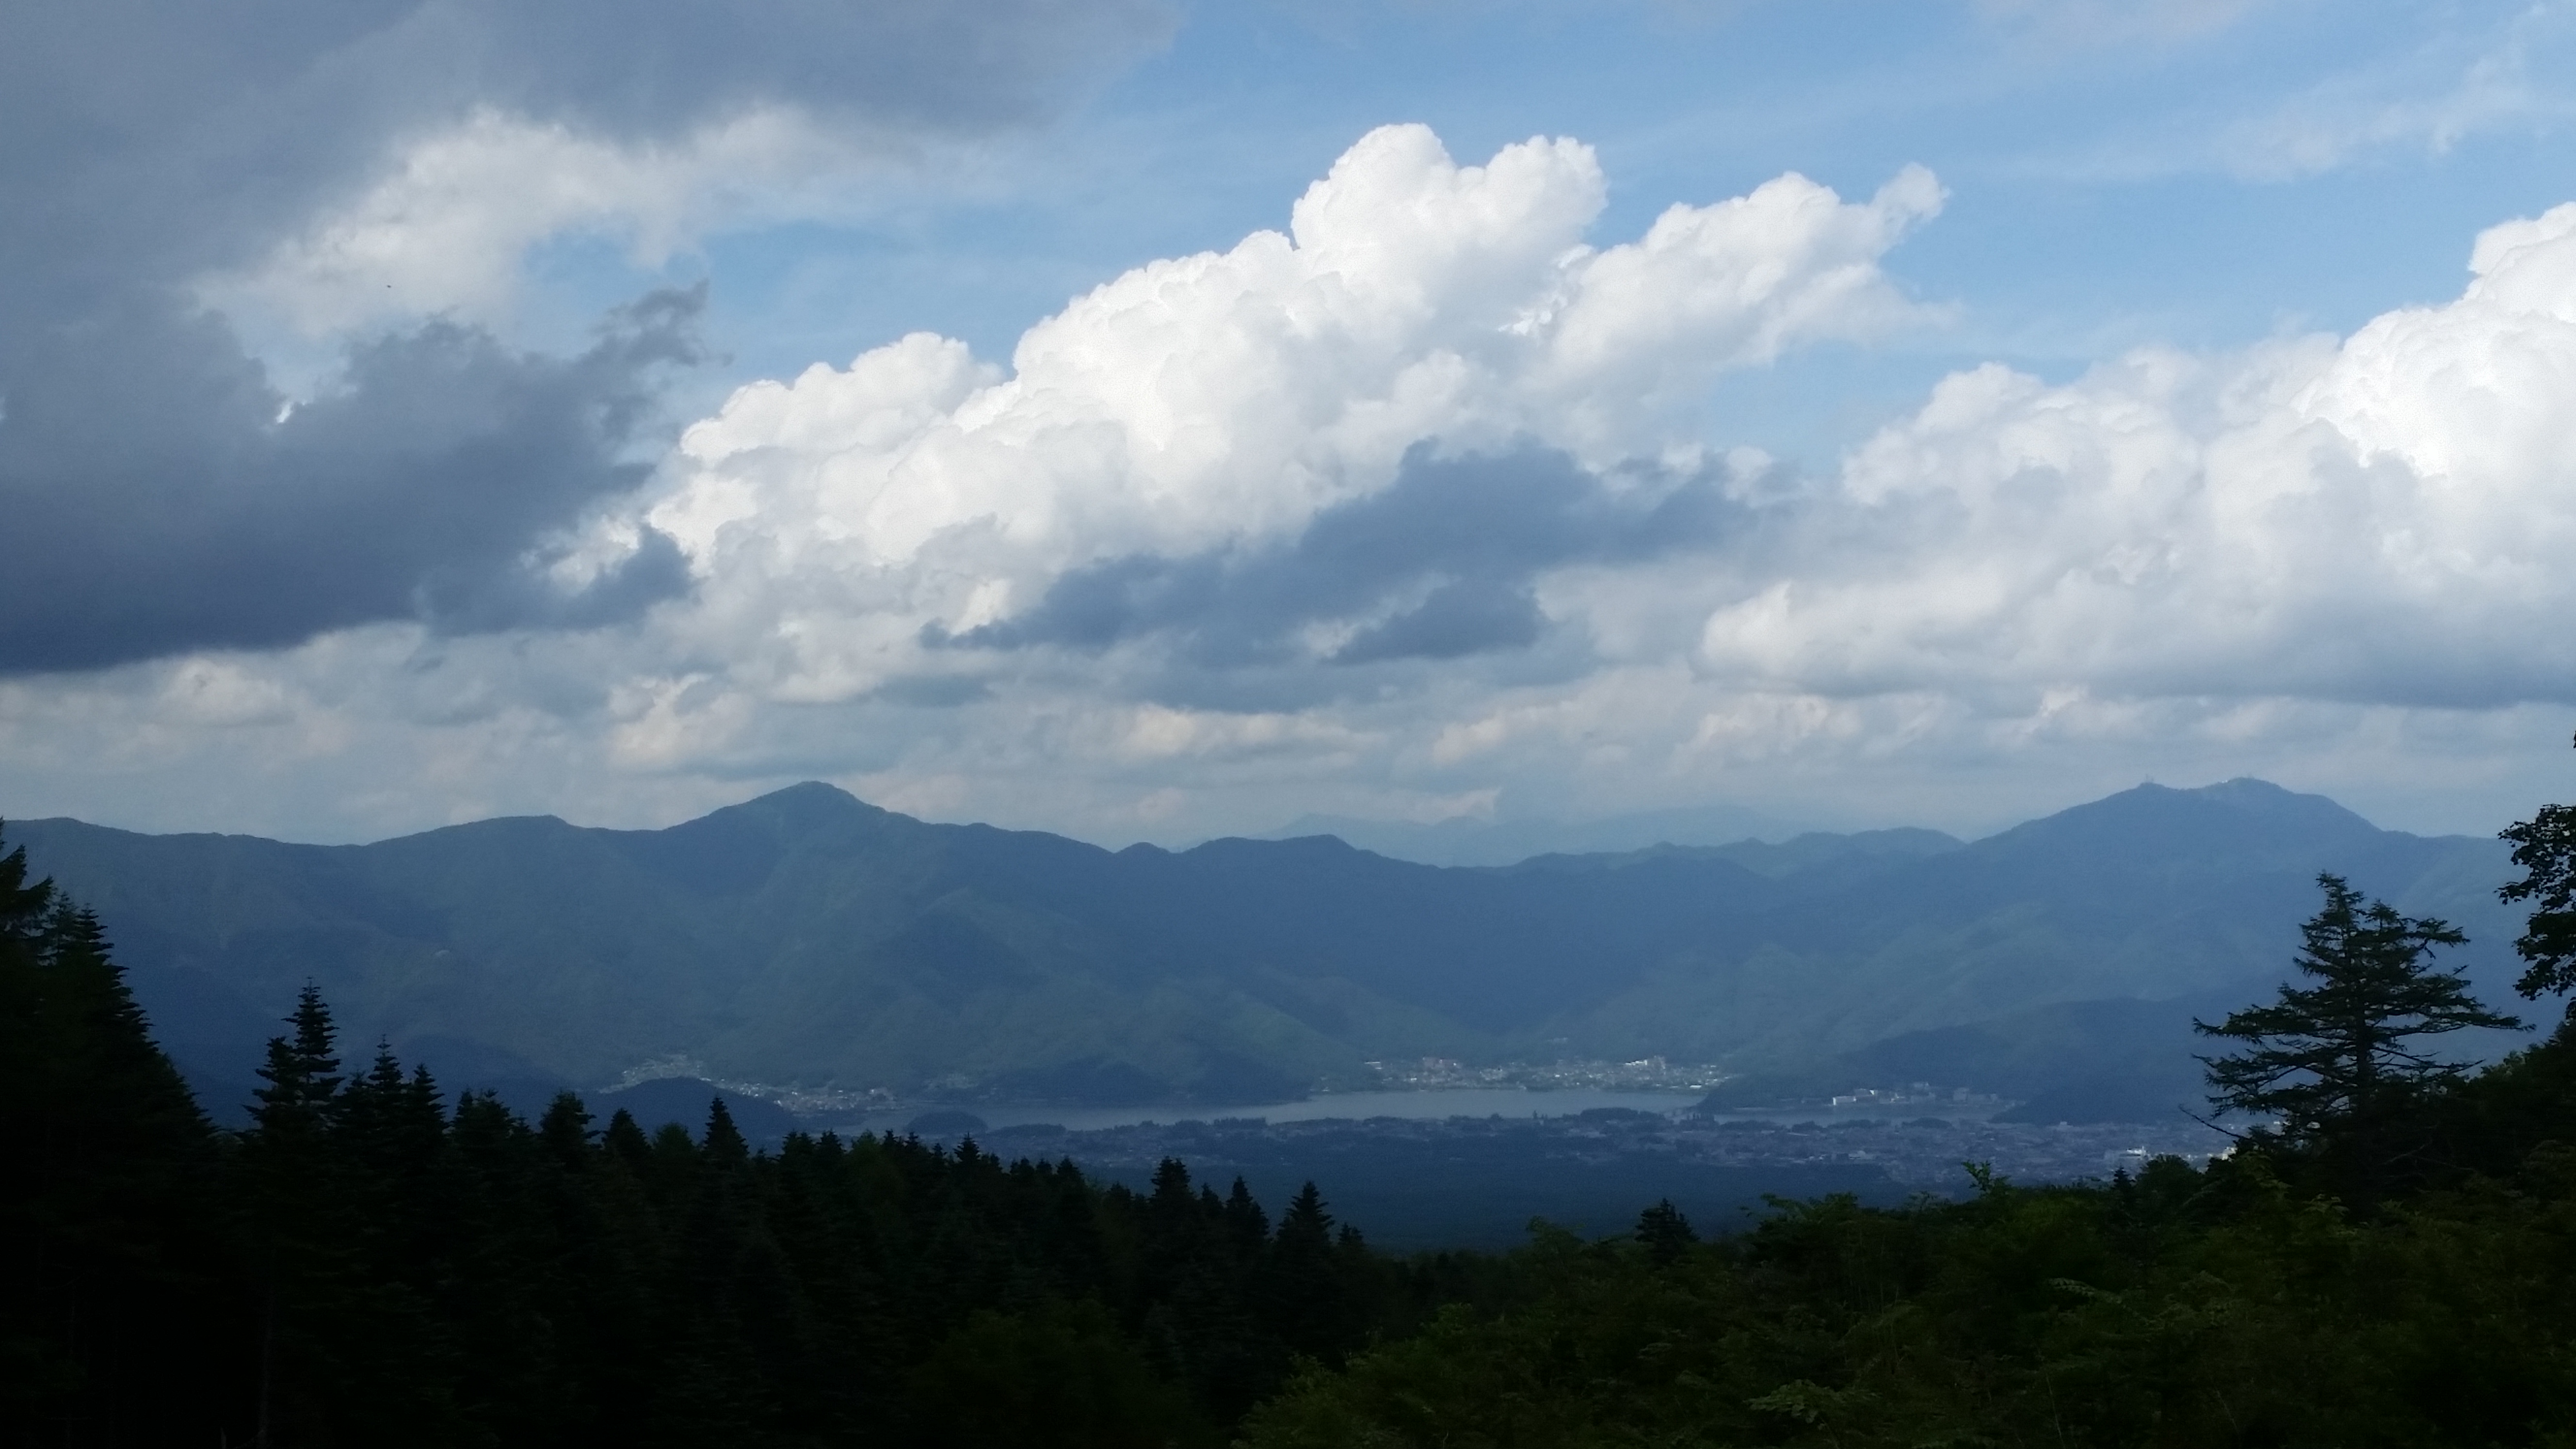
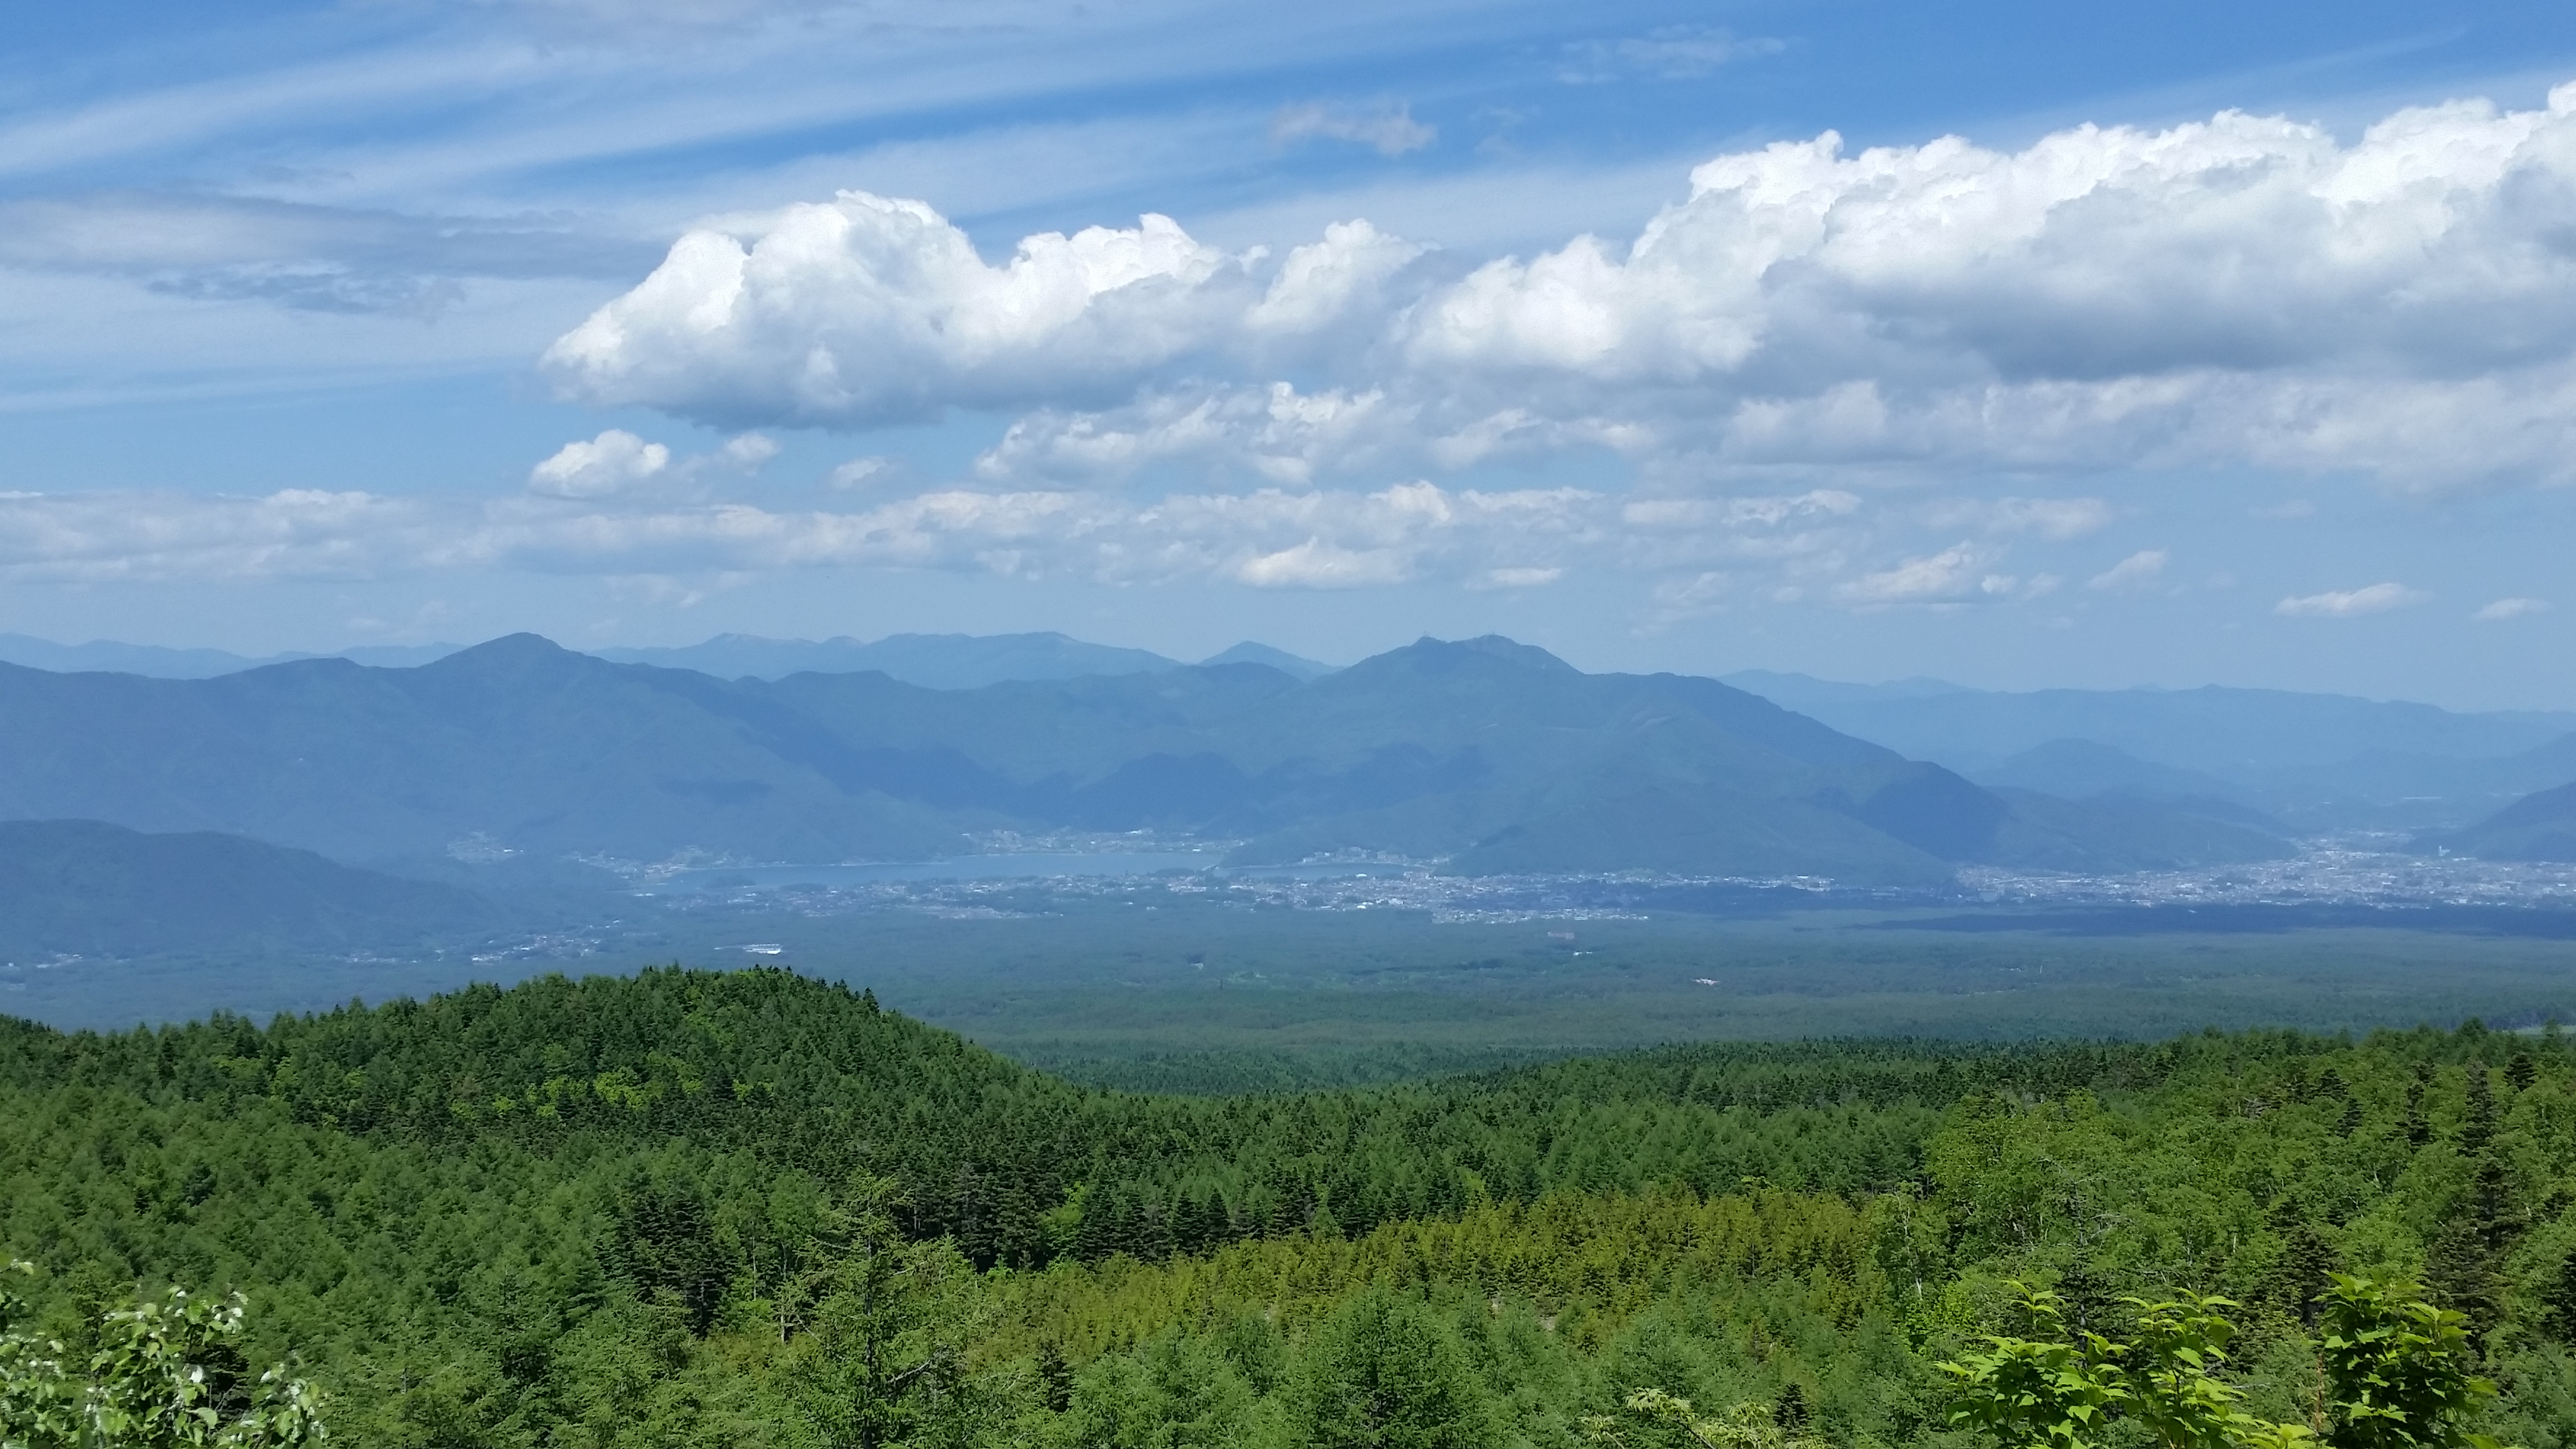
Mt Fuji again – from here you can hike down through the Aokigahara 青木ヶ原 forest to Motosuko lake 本栖湖. Another option is to hike across to Okuniwa 奥庭 and cut across the previous hike and end up Fujikyu Highland. Good views of Mt Fuji and the Kawaguchiko area, as well as beautiful forest hiking on one of the most famous volcanoes in the world. You can catch the bus for the Subaru line from Fujisan 富士山 station. There are 2 more 5th stations on Mt Fuji, but I won’t add them to the list since they can be connected from the 2 previous ones.
This is one of my favourite places to go in June. A short hike up will take you top of Mt Daibosatsurei 大菩薩嶺 2057m with good views of Mt Fuji on the way (the top is surrounded by trees). There are a number of trails that will take you down in various directions. Head South and you’ll get back to either Enzan 塩山 or Kai-Yamato 甲斐大和 stations (where you take the bus up). Head North and you’ll end up at Tabayama village 丹波山村, located West of Okutama. You may even see monkeys close to the trail. Most of the trails end up at at a hot spring.
Typical landscape around Daibosatsurei (June 2013)
Yanagisawa toge 柳沢峠 1480m
This pass is located only a few kilometers Northwest of Daibosatsurei. The bus leaves from Enzan station, and you can hike East to Mt Kurokawakeikan 黒川鶏冠山 1716m, and then on to Daibosatsurei (see above), or head North towards Mt Kasa 笠取山 1953m. I
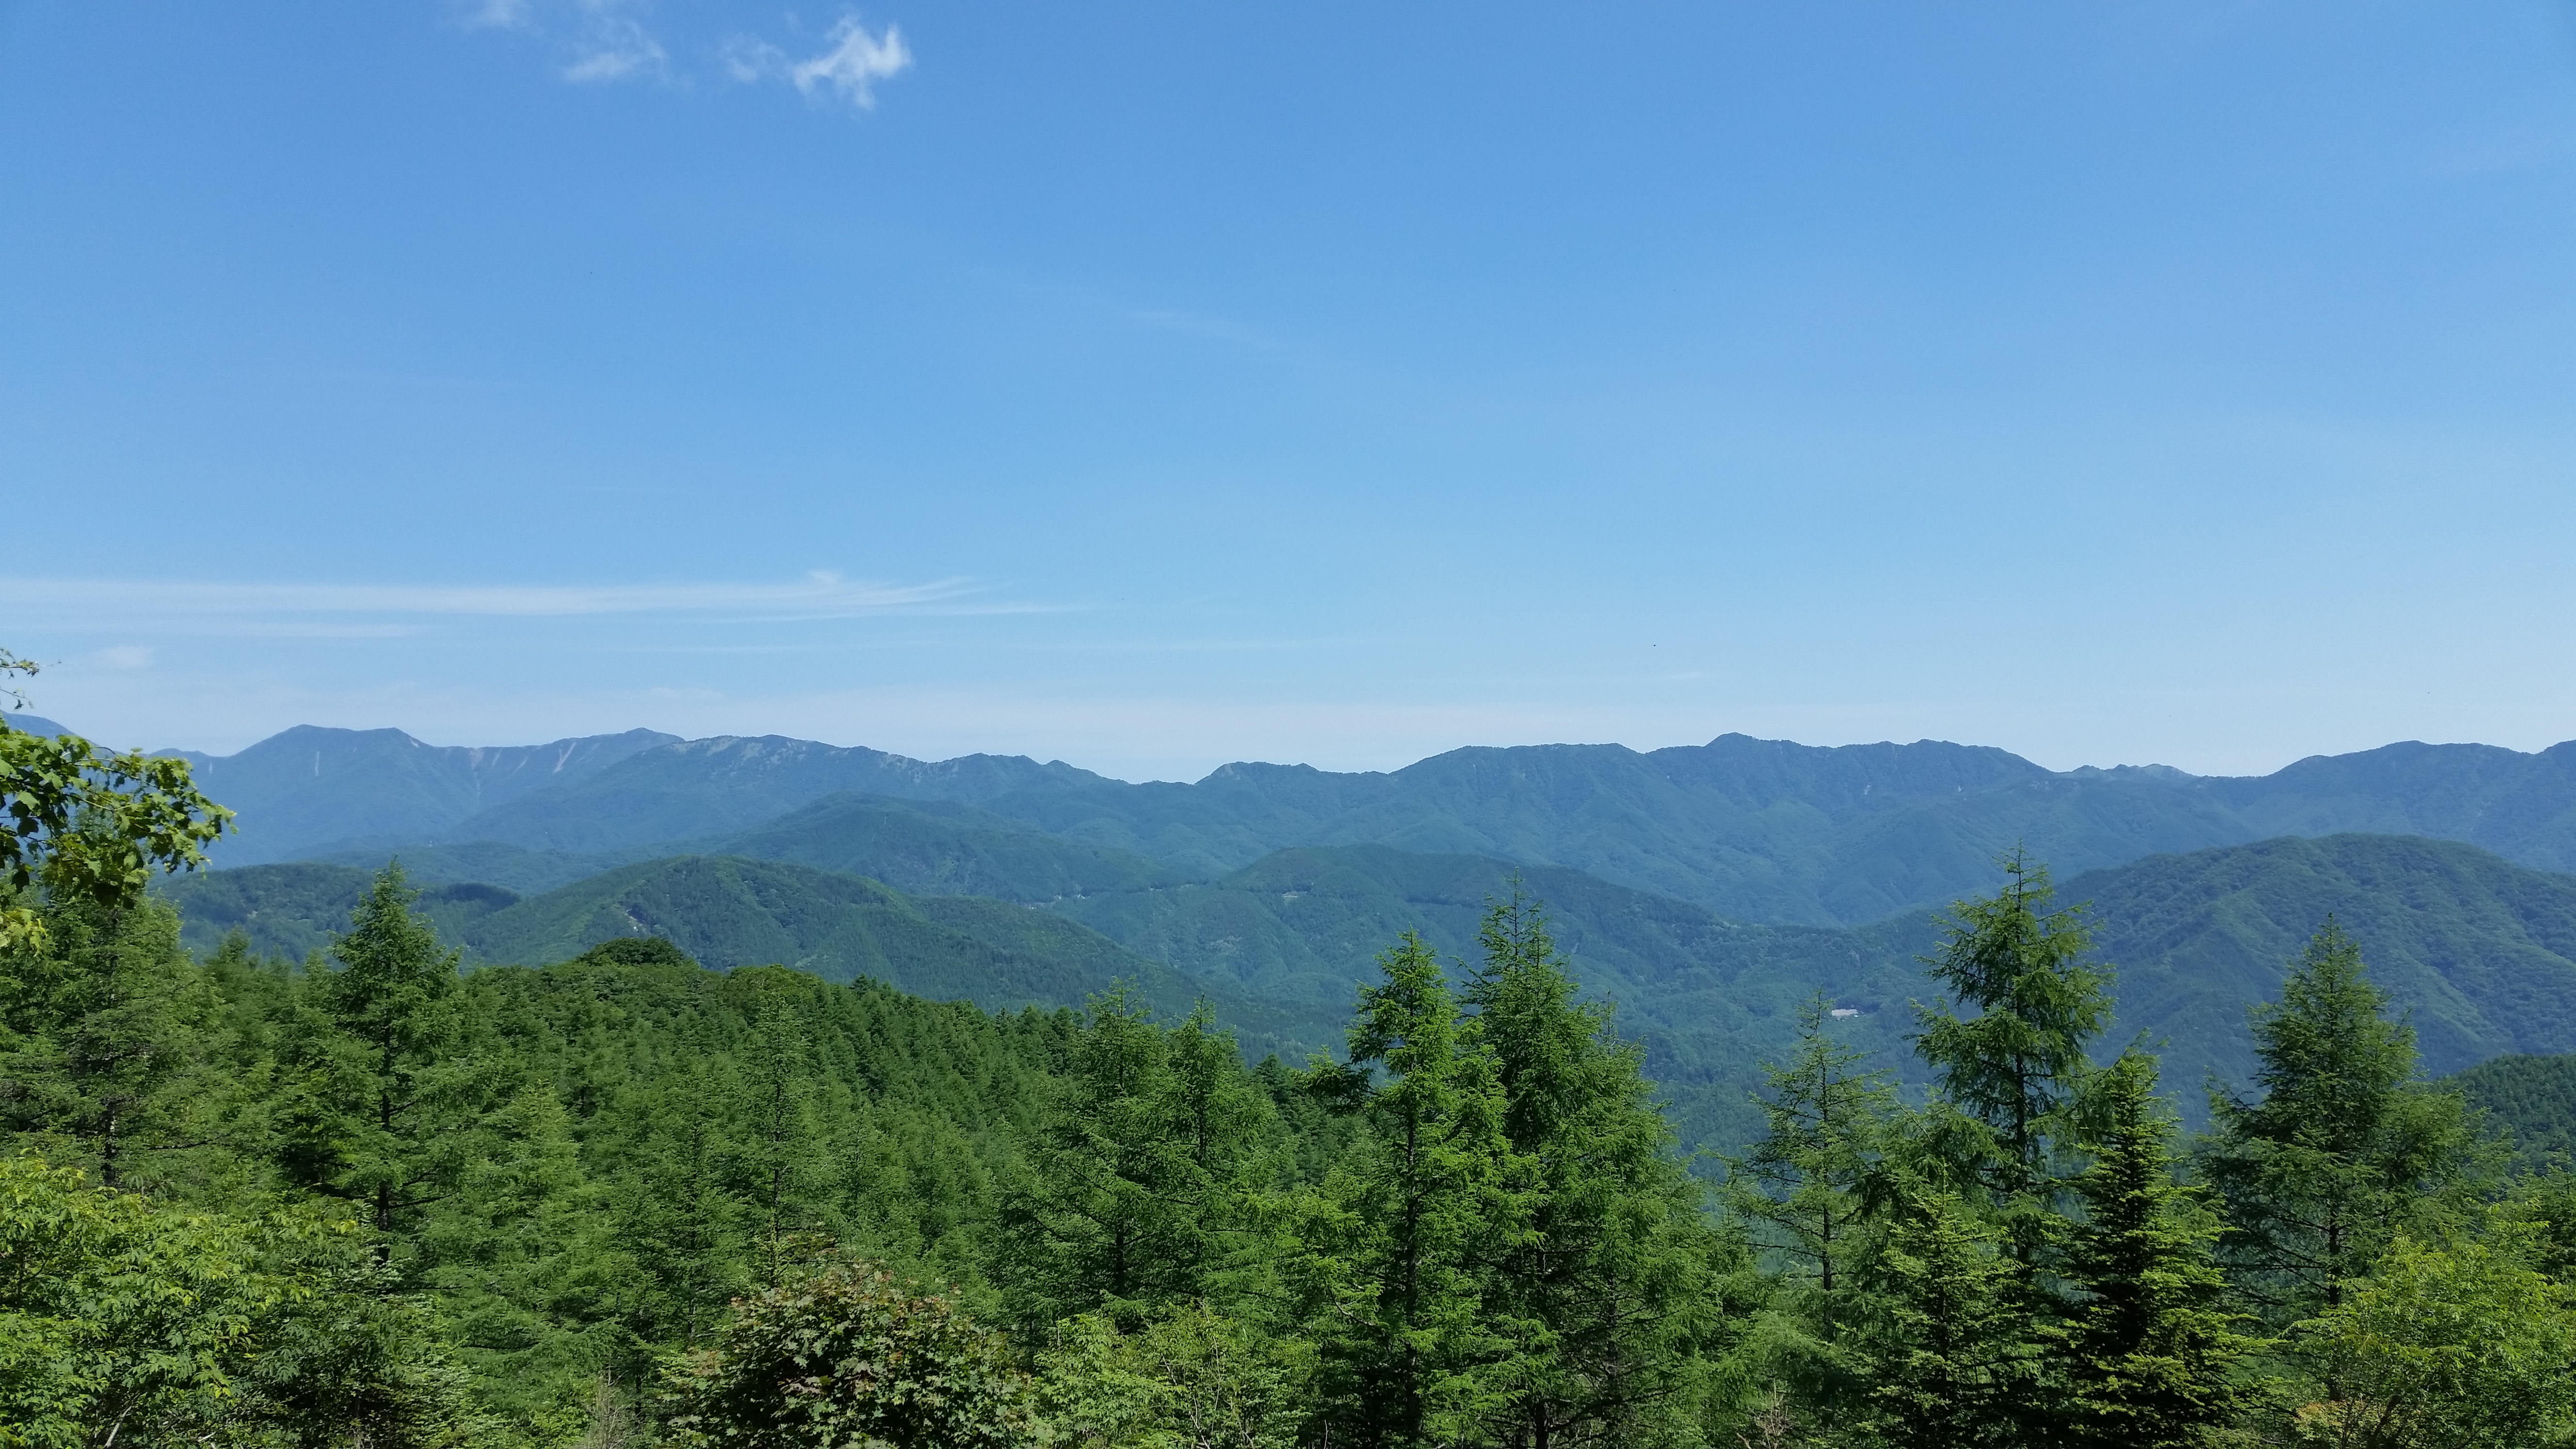
View from near the pass (June 2016)
Matsuhime toge 松姫峠 1250m
Update April 2025: The bus to Matsuhime pass is currently not running due to a landslide that occured in Autumn 2024
This is a good one I discovered recently. You only need to take the Chuo line to Uenohara 上野原 station, and there you can hop on a bus from the newly built bus terminal to Matsuhime toge. Granted the ride is a bit long and does a detour via Kosuge Onsen 小菅温泉, but with a name that translates in English as Princess Pine, that can be forgiven.
From the pass, you can walk down to the aforementioned onsen, or for a longer hike, head west and down to the Tsuru Valley, which runs parallel to the Akigawa valley North. Return is via bus to Uenohara. If you want a shorter bus ride then get off at Tsuru Toge 鶴峠 870m and hike to Mt Mito 三頭山 1531m (return bus can be had from Hinohara Tomin no Mori 檜原都民の森 1000m).
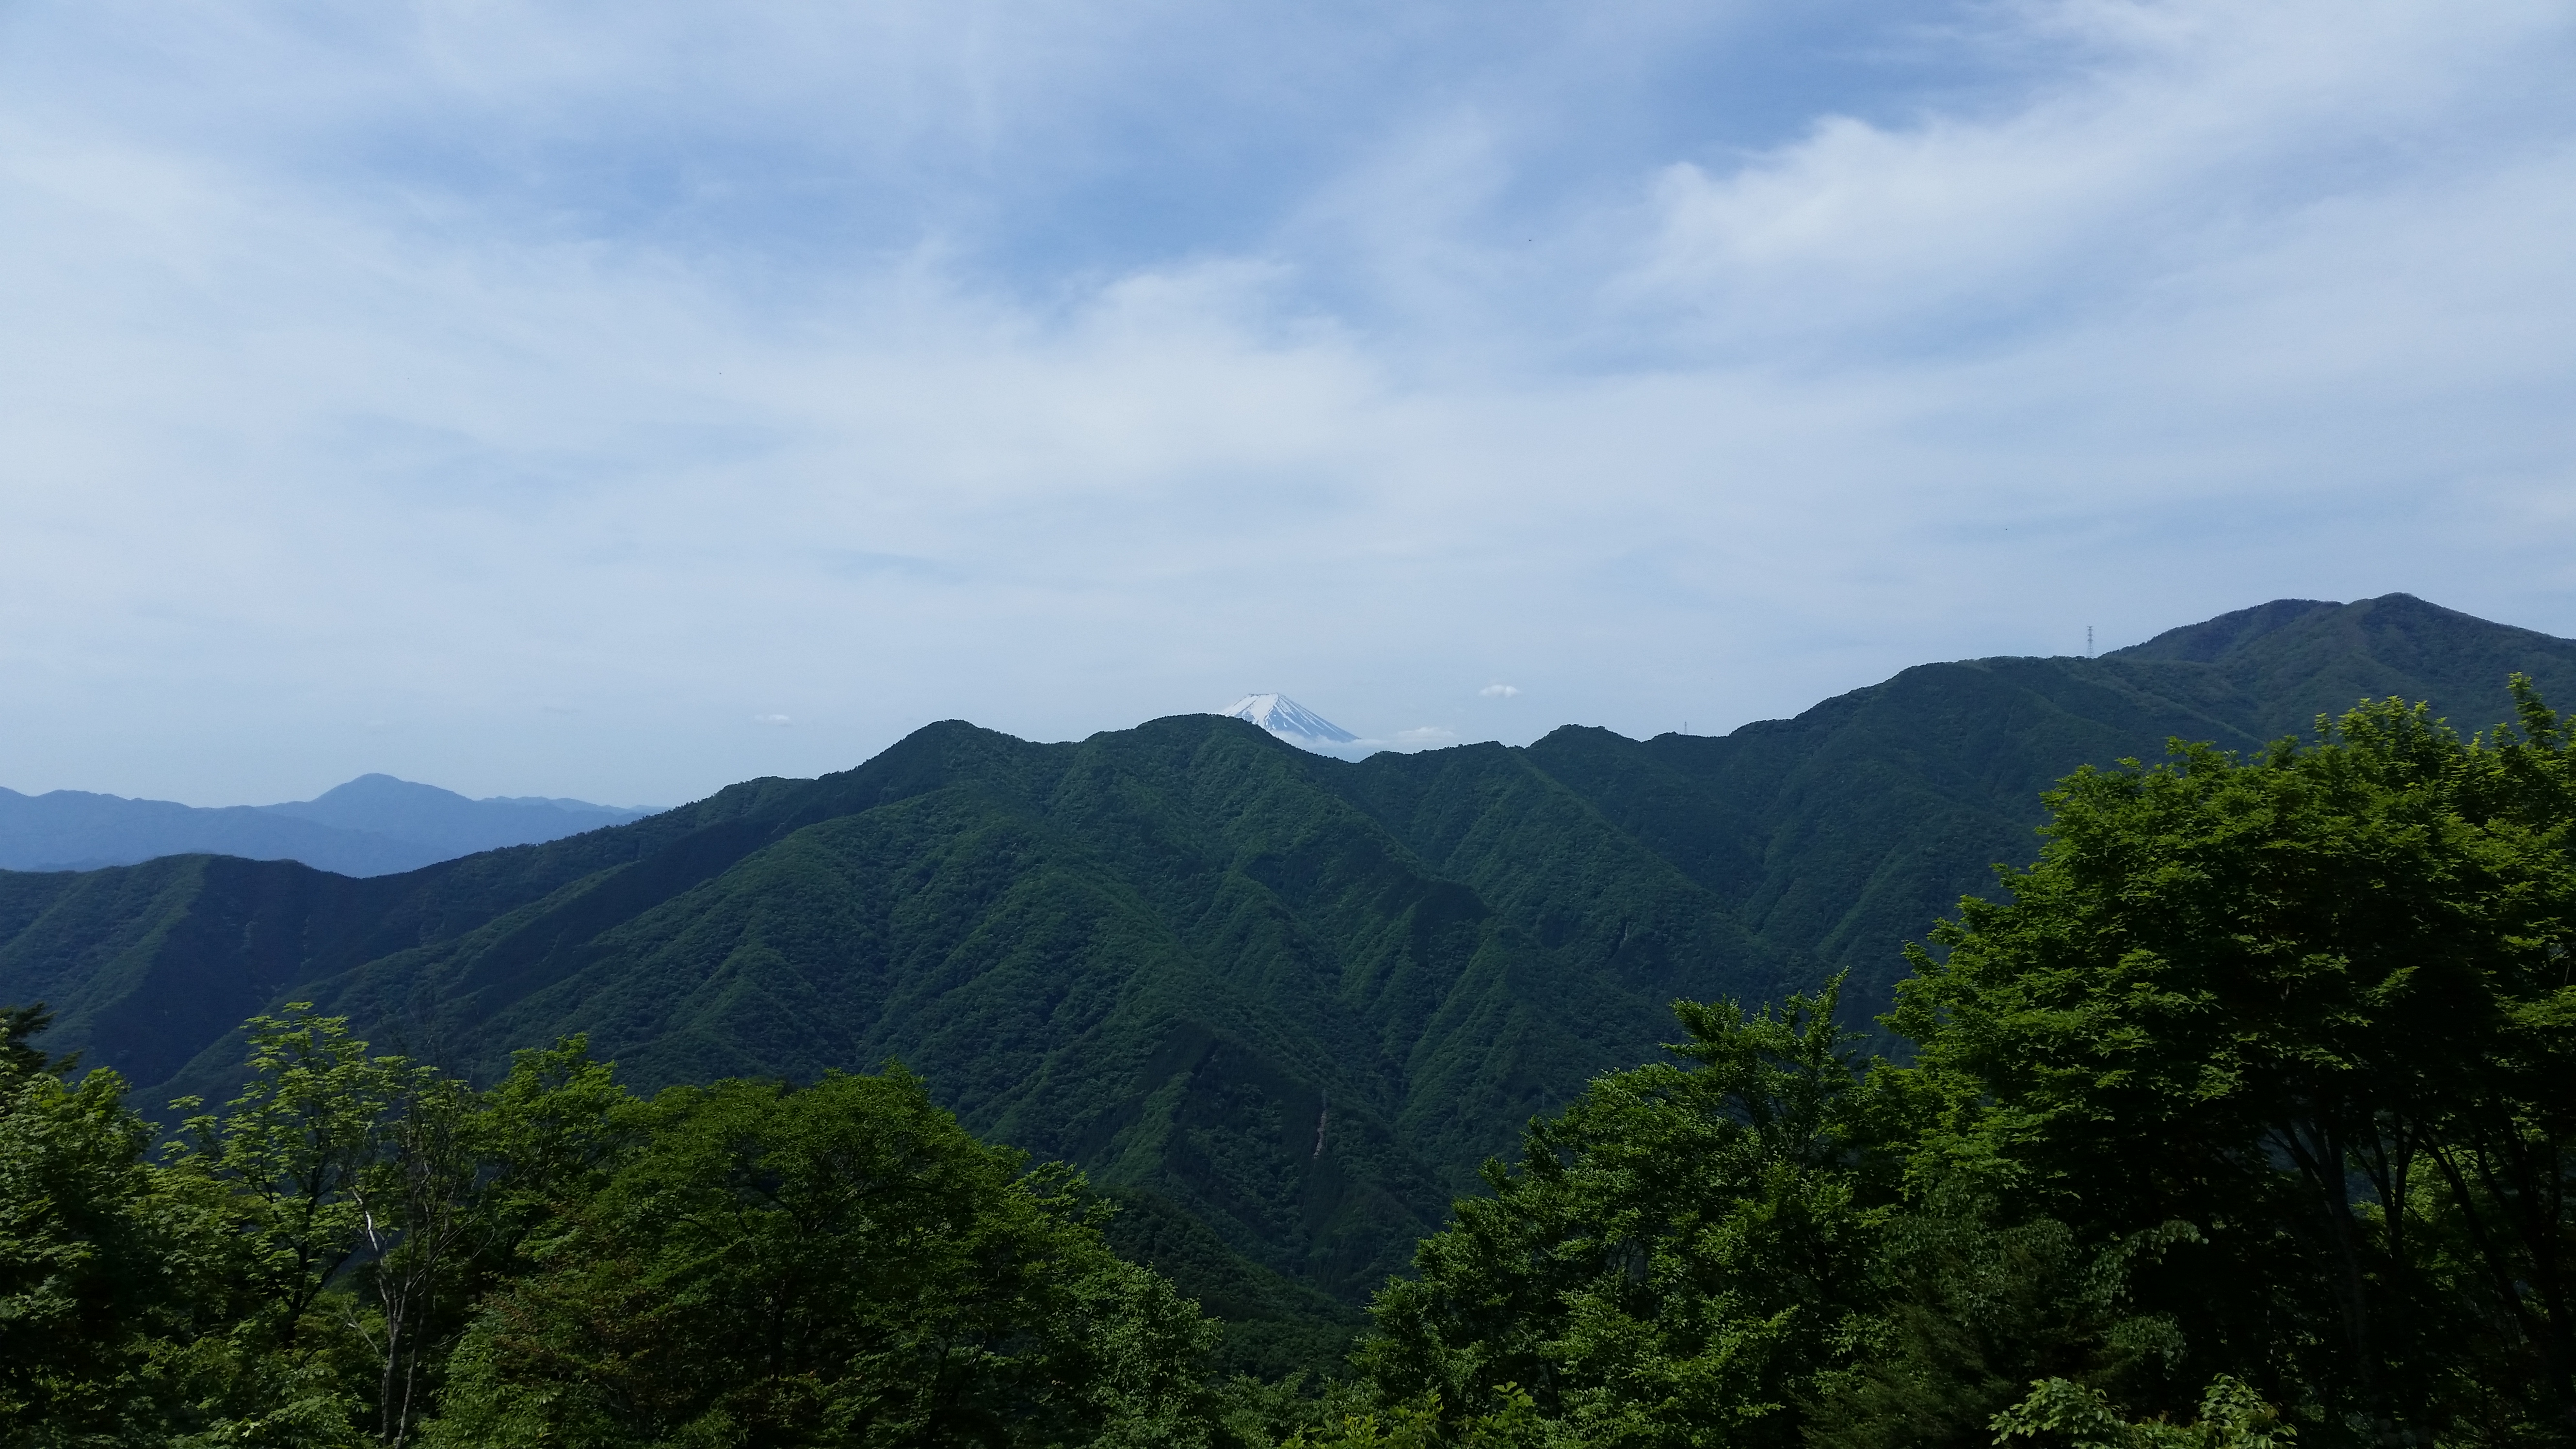
Yes! Mt Fuji can be seen from Matsuhime Pass (June 2017)
Mitsutoge Tozanguchi 三ツ峠登山口 1230m
Instead of hiking up or on Mt Fuji, how about hiking in a place that has great views of the volcano? Up until the beginning of July, Mt Fuji will still have some snow on it, so you’ll still be able to take some memorable photos. The bus leaves from Kawaguchiko 河口湖 station and takes you behind and up the Western side of Mitsutoge, to Mitsutoge tozanguchi 三ツ峠登山口. After that, it’s a short hike to the top, where there are good views. You can then walk back down to Kawaguchiko. Actually the bus continues a little further up to 1300m. However I feel that the hiking options there are less exciting than the ones offered by Mitsutoge.
Just follow the ridge all the way to get down…unfortunately Mt Fuji in the back, was head in the clouds (June 2016)
Kirifuri Kogen 霧降高原 1200m
This is a secret Nikko hiking spot, just East of Nikko town. Take the bus from JR Nikko station or Tobu-Nikko station to the Kirifuri highland stop. From there, you can walk up a 1445-step staircase to Komaruyama 小丸山 1601m, and then do a loop hike Mt Maru 丸山 1689m. Another option is to hike all the way down to Kirifuri waterfall, where you can catch the bus back to Nikko station.
The very long staircase (May 2016)
Mitsumine Shrine 三峰神社 1040m
Mitsumine Jinja is a very famous shrine located in the Chichibu area of Saitama. You’ll need to get a Seibu bus from Mitsumineguchi 三峰口 station. From there you can climb the nearby Mt Myoho 妙法ヶ岳 1332m or/and walk back down to one of the bus stops between the station and the shrine. You could venture up Mt Kumotori 雲取山 2017m but in that case you’ll need to spend the night at the lodge at the top.
Mitsumine Shrine and Mt Myoho as seen from a parallel ridge (June 2018)
Michizaka Zuido Iriguchi 道坂隧道入口 1000m
A one-hour bus from Tsurushi 都留市 station on the Fujikyuko line between Otsuki and Kawaguchiko will get you to this pass leading into Doshi valley 道志渓谷. Unfortunately you’ll need to climb a bit to get to the ridgeline. From there you can go left (North) to Mt Imakura 今倉 1470m, or right (South) to Mt Mishotai 御正体 1681m. My recommendation is the former peak, from the top of which you can turn left (West) – there is an onsen at the end the the end of the trail, as well as excellent views of Mt Fuji if the weather allows.
View from the top of Mt Matsutyama (June 2016)
Myojin Pass 明神峠 (900m)
Fujikyu runs a seasonal hiking bus from Suguru-Oyama station on the Gotemba line to Myojin-toge in the Tanzawa mountains on weekends from mid-April to mid-November. It’s the jump-off point for hikes to Mt Yubune and Mt Mikuni. The main drawback is that the bus departs relatively early in the morning, requiring a crack of dawn departure from Tokyo; there is also no return bus so hikers need to descend under their own steam. Heading west from Mt Mikuni, it’s possible to finish at a bus stop for Gotemba station, with great views of Mt Fuji along the way. Search for “明神峠ハイキングバス” to find the bus timetables and latest information.
I’ve already written a series of articles on the very useful Tokyo Wide Pass. Here are some of the latest hikes I’ve done using it, in reverse chronological order. A small side note before I start: an increase in the number of overseas tourists, combined with an increased awareness of the existence of the pass (because of this blog?) has led to longer lines at some sales points, notably Tokyo and Ueno stations. Allow enough time when purchasing it, or choose less central sales points.
May 5th 2018: Mt Shakagatake 釈迦ヶ岳 1795m. The highest peak of Mt Takaharayama 高原山, a 300 famous mountain in Tochigi Prefecture, one hour by car from Nasushiobara station 那須塩原 (Tohoku shinkansen). Views of the Kanto plain, Mt Nasu, the Ide range and the Nikko mountains. I met a fellow Belgian (living in Tochigi) on the way up and we ended up completing the hike together!
View of Mt Nasu from the Omama 大間々 parking area
May 4th 2018: Mt Takeyama 嵩山 789m. Located in Gunma prefecture on the Agatsuma line 吾妻 (from Takasaki), a ten-minute taxi drive from Nakanojo station 中之条 (return can be done on foot in less than an hour). Great views of Mt Haruna, Mt Onoko, Mt Myogi and the Joshinetsu mountains (mountains on the border of Gunma and Niigata prefectures). This was a short hike (2h1/2) so I combined it with the one below (one train stop away).
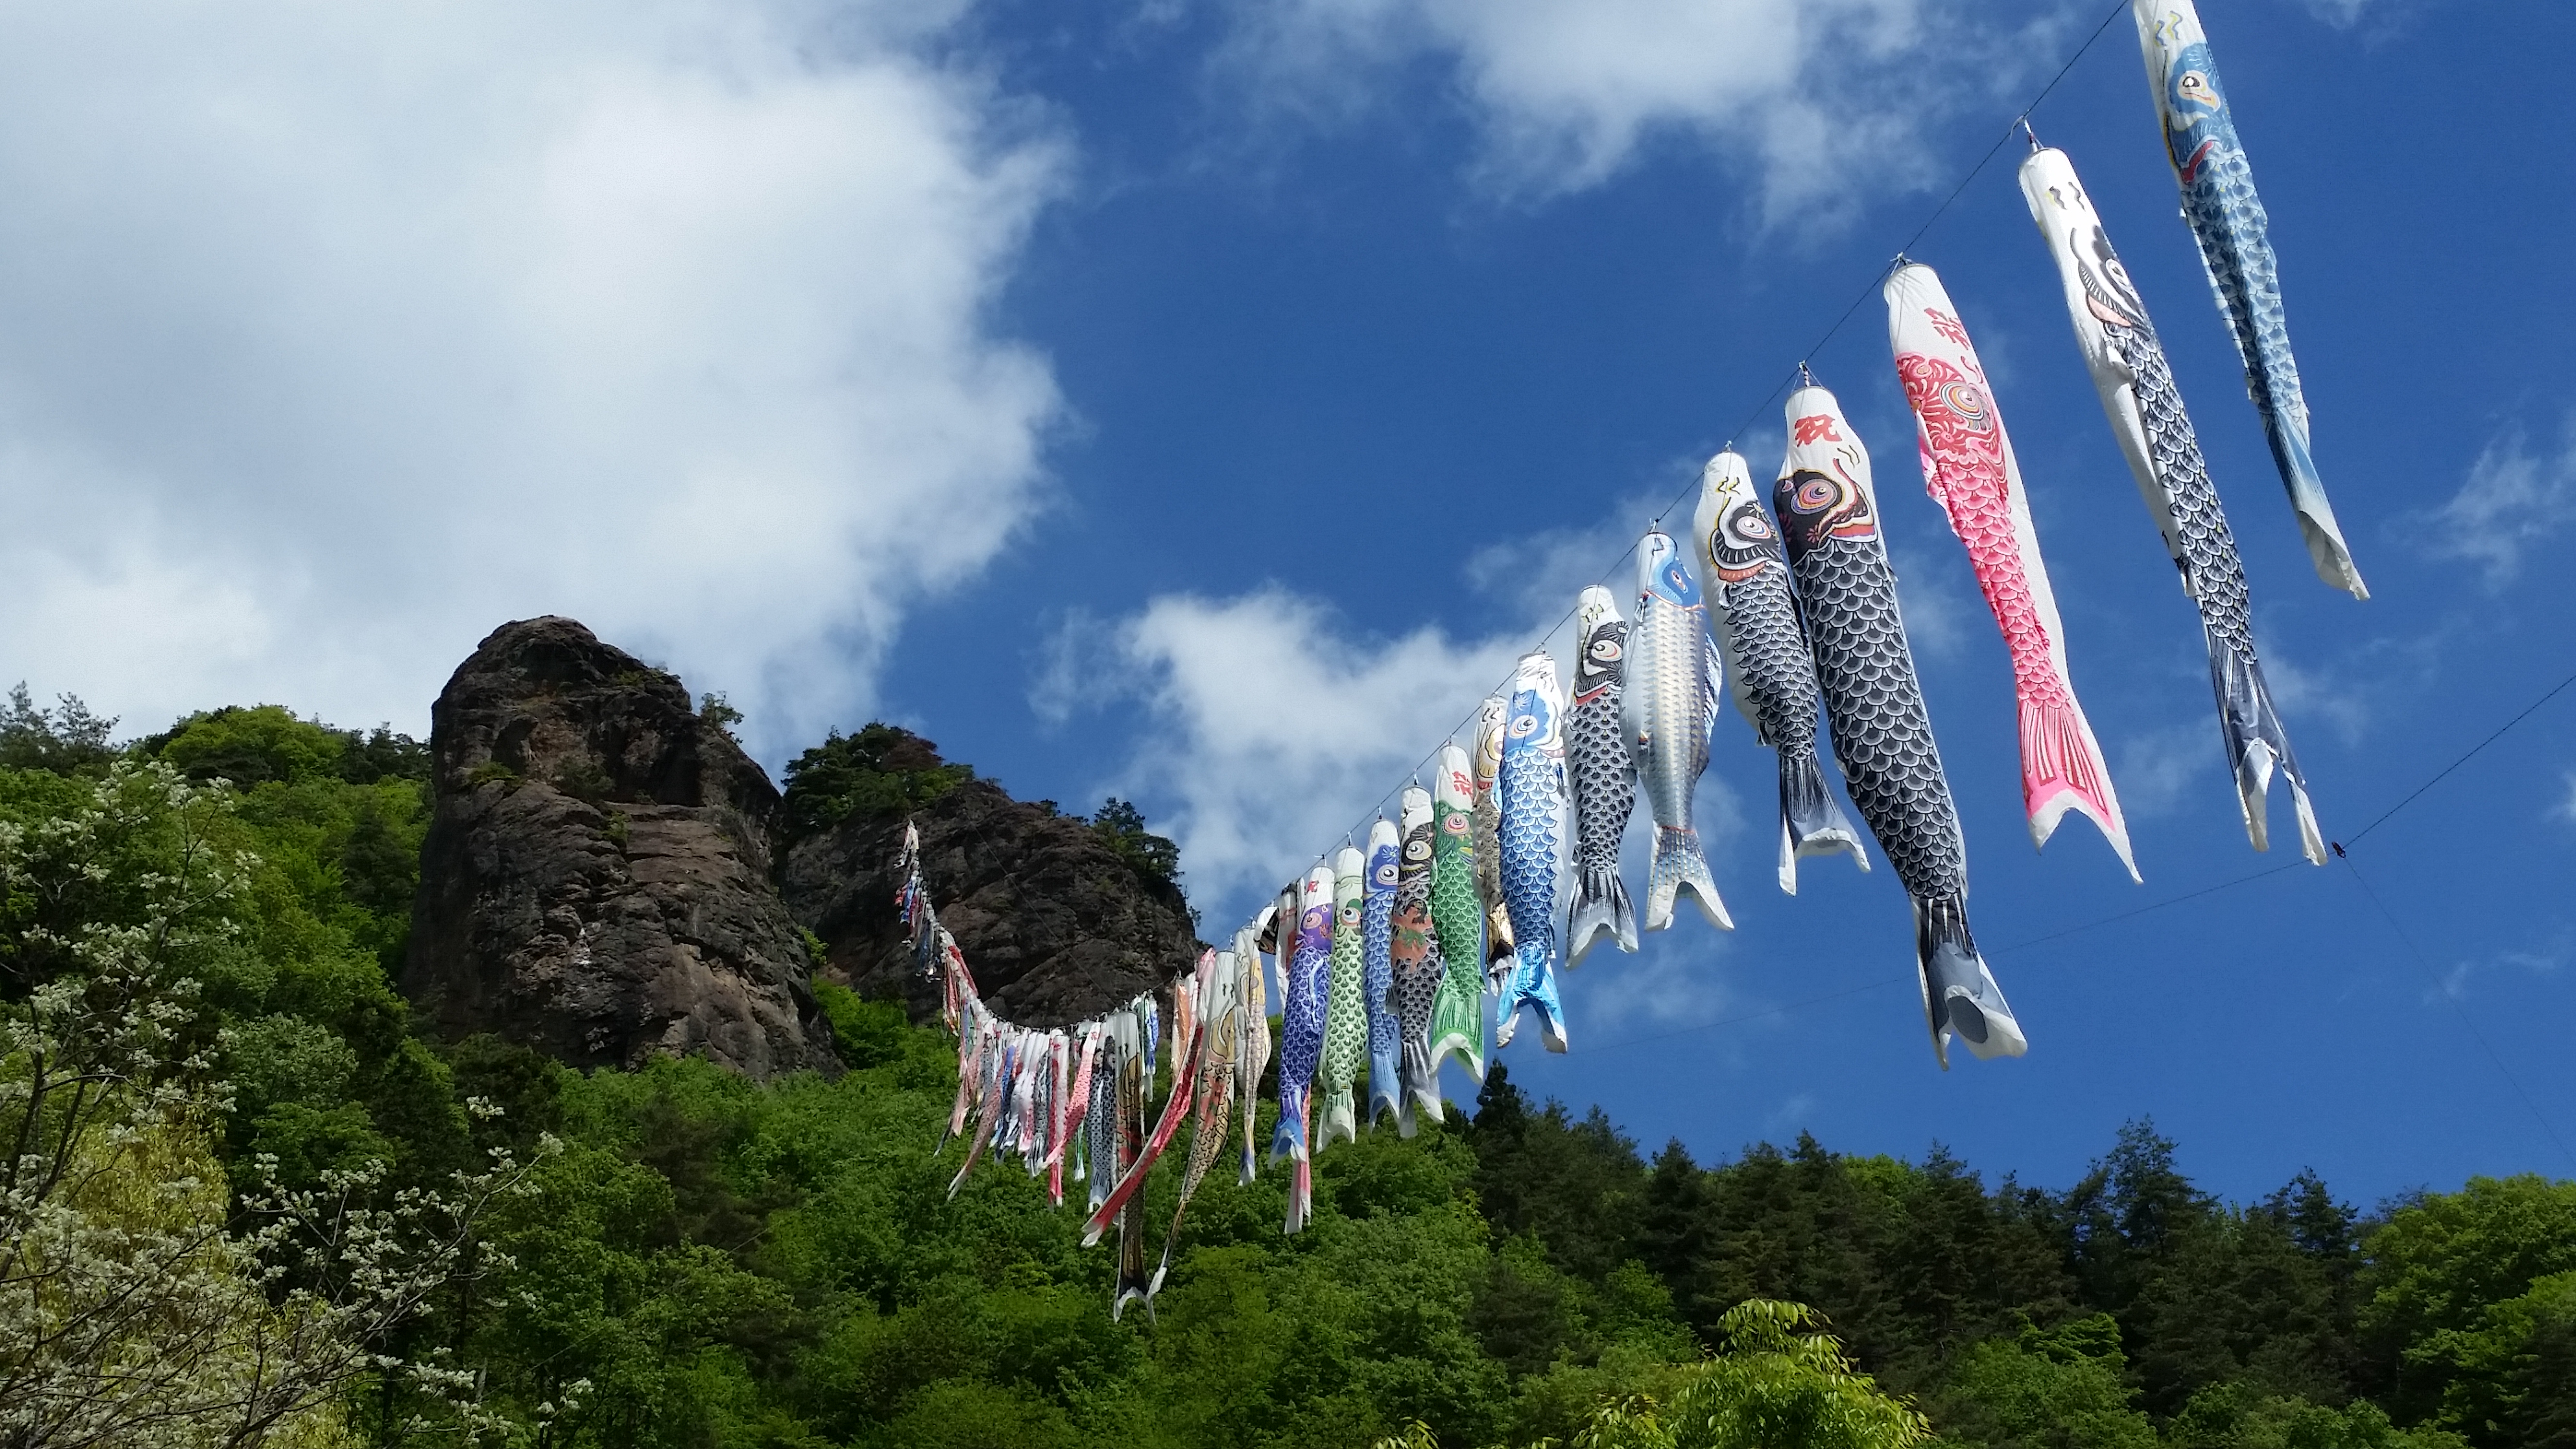
Koinobori from the Takeyama Michi no Eki (Service Station)
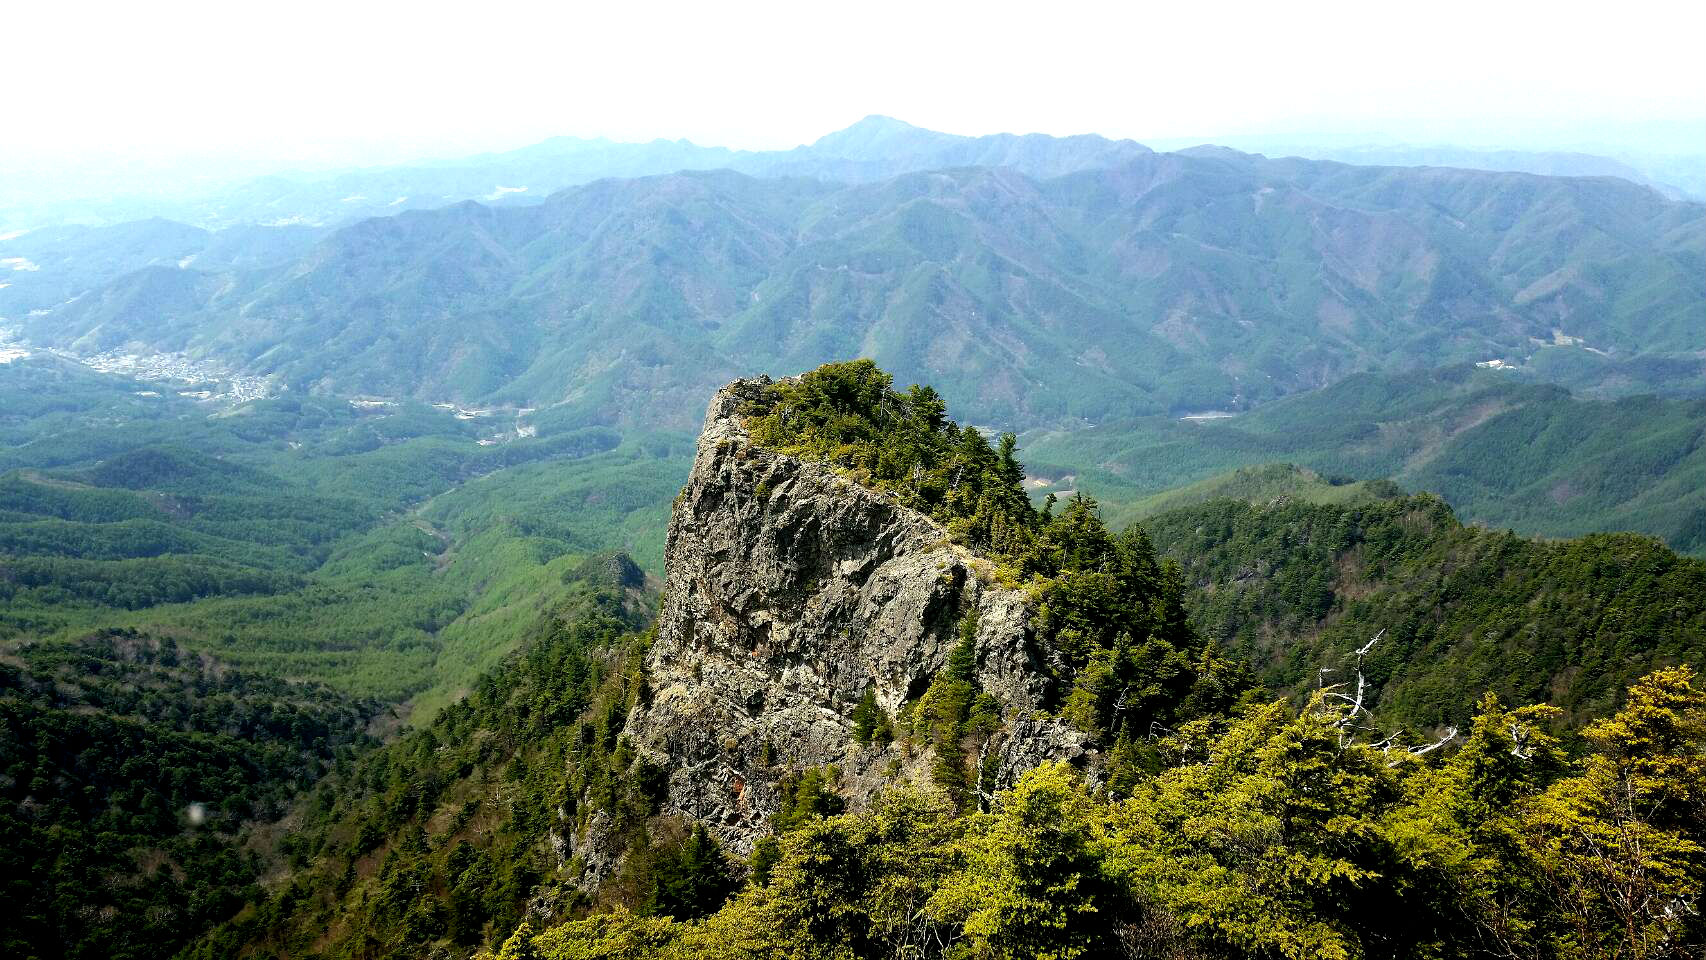
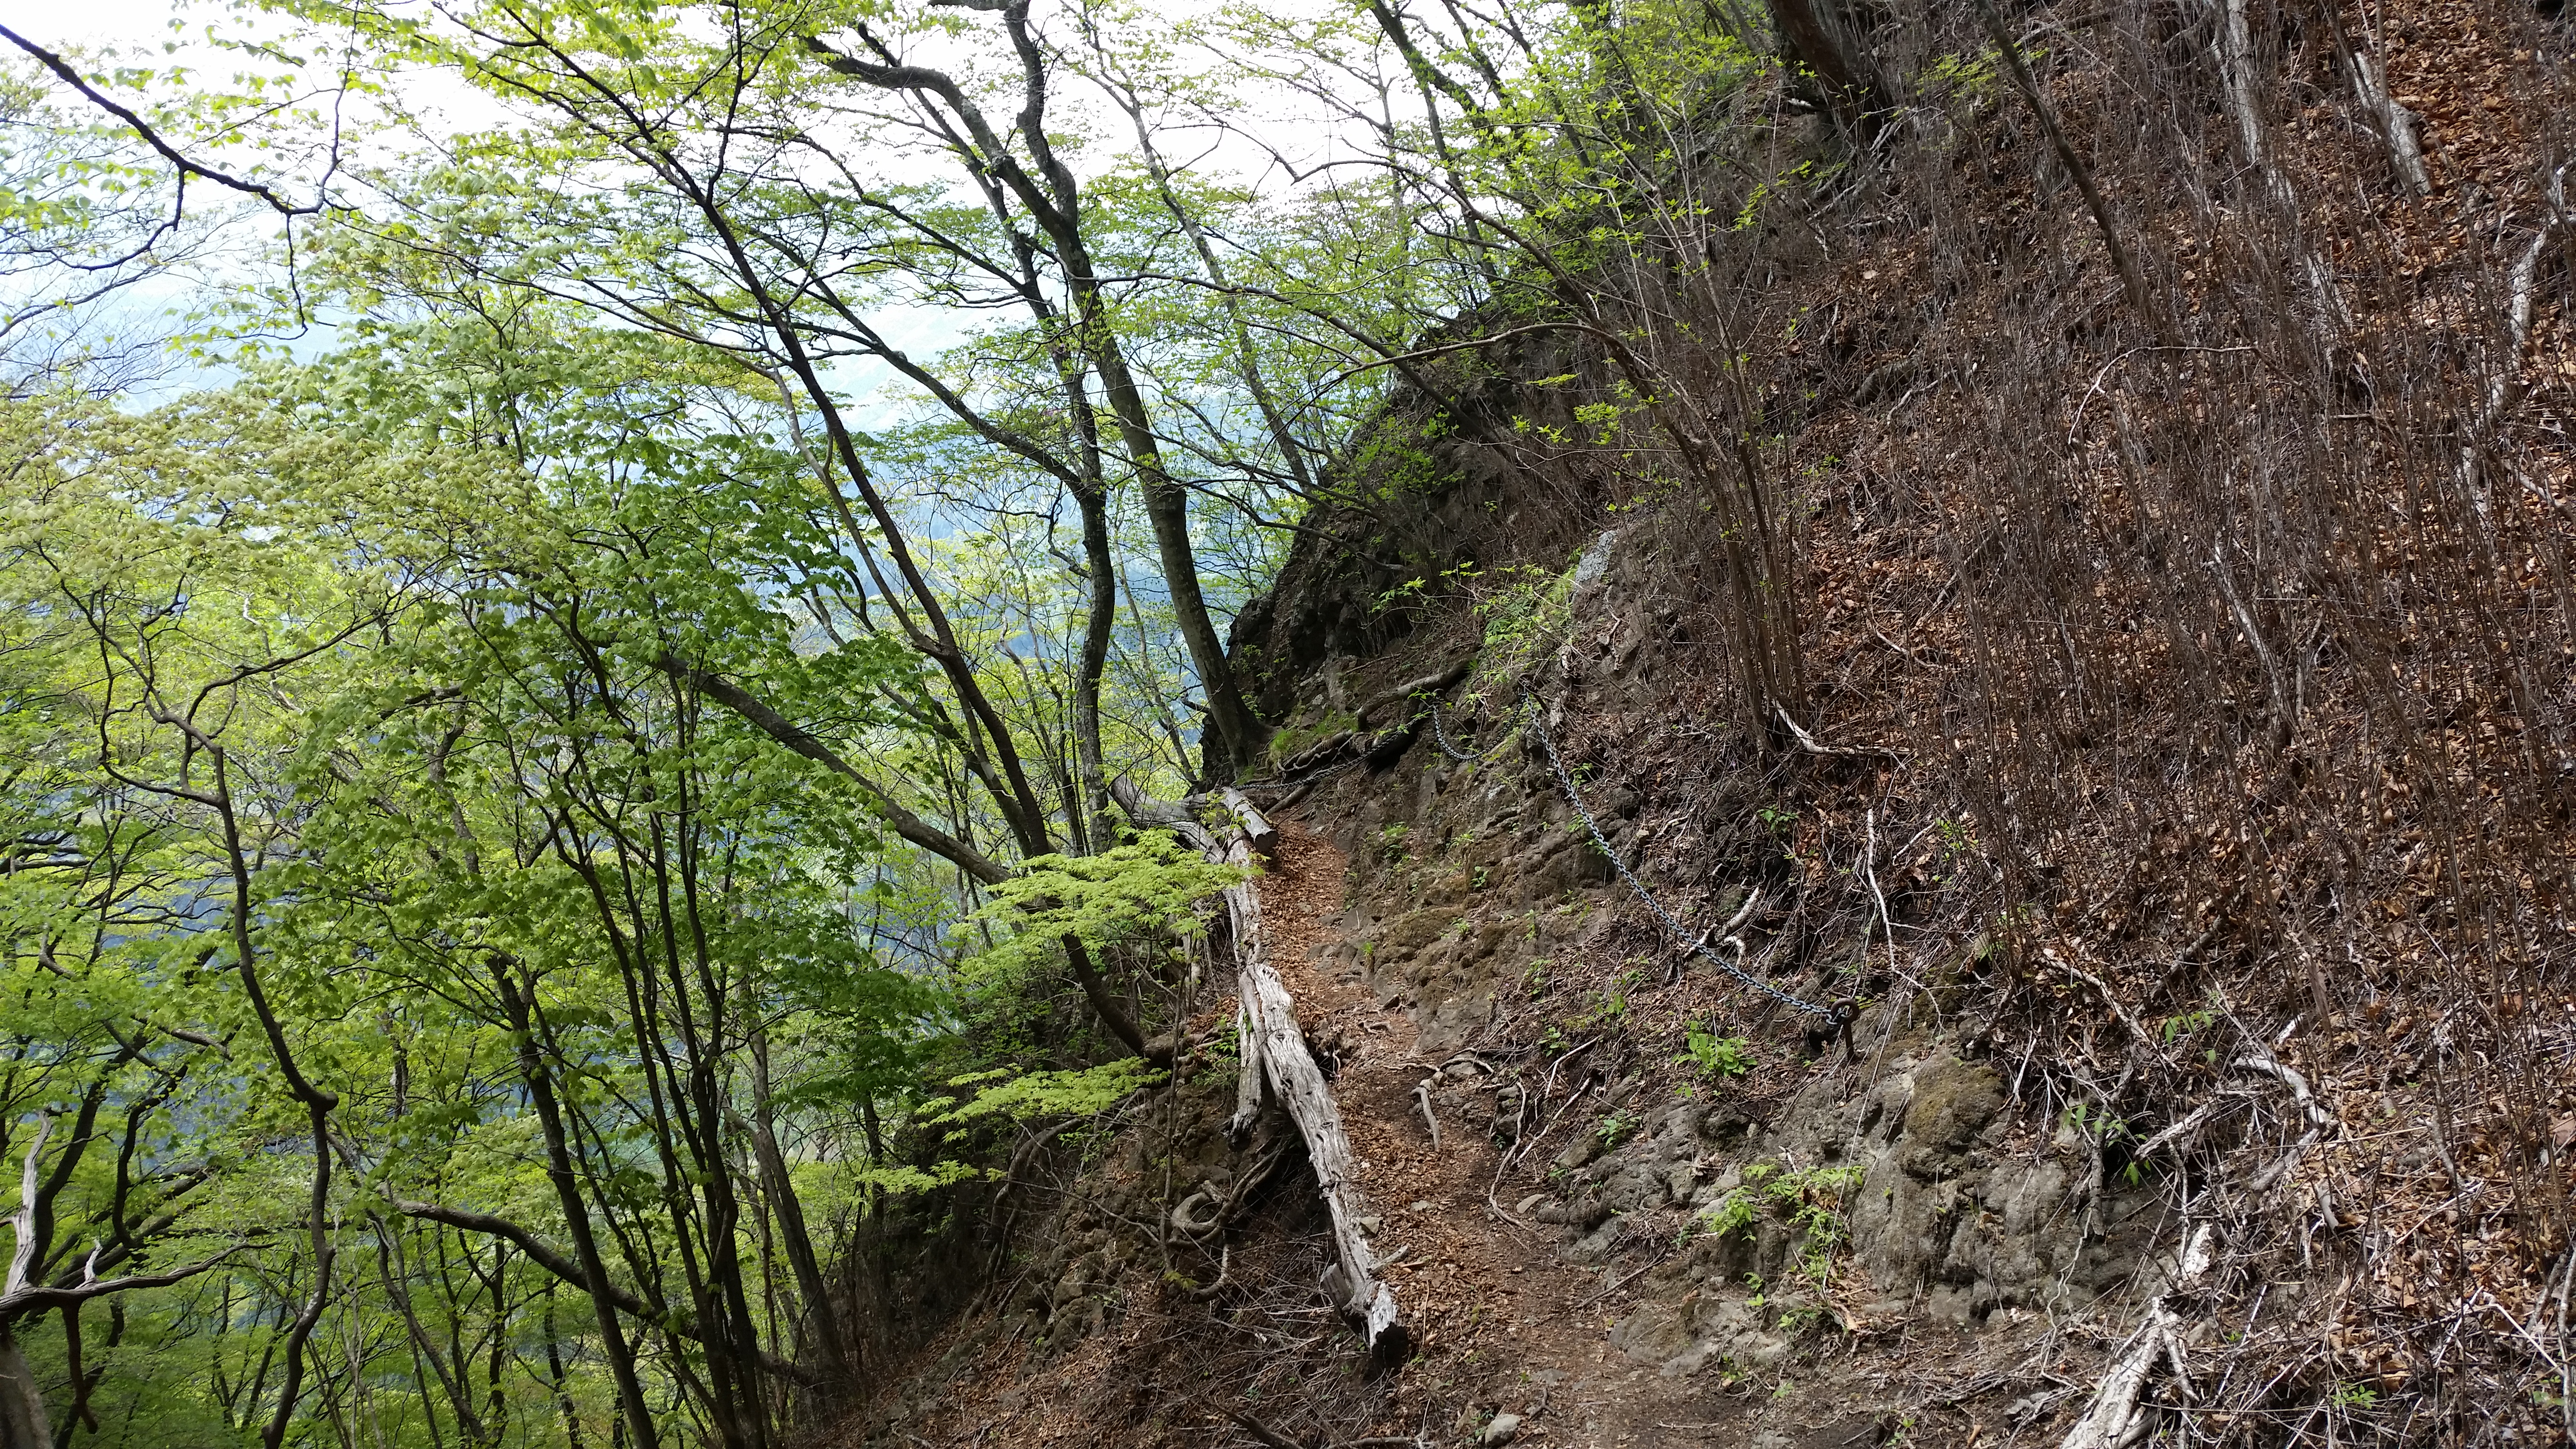
May 4th 2018: Mt Iwabitsuyama 岩櫃山 803m. Also located in Gunma prefecture on the Agatsuma line 吾妻. The trailhead is about 30 minutes on foot from either Gohara 郷原 or Gunma-haramachi 群馬原町 stations. WARNING: this hike has lots of chains and dangerous passages. Do not attempt this hike if you are a beginner or if you are afraid of heights. Also great views of Mt Haruna, Mt Onoko, Mt Myogi and the Joshinetsu mountains (mountains on the border of Gunma and Niigata prefectures). Mt Hotaka and Mt Akagi are also visible.
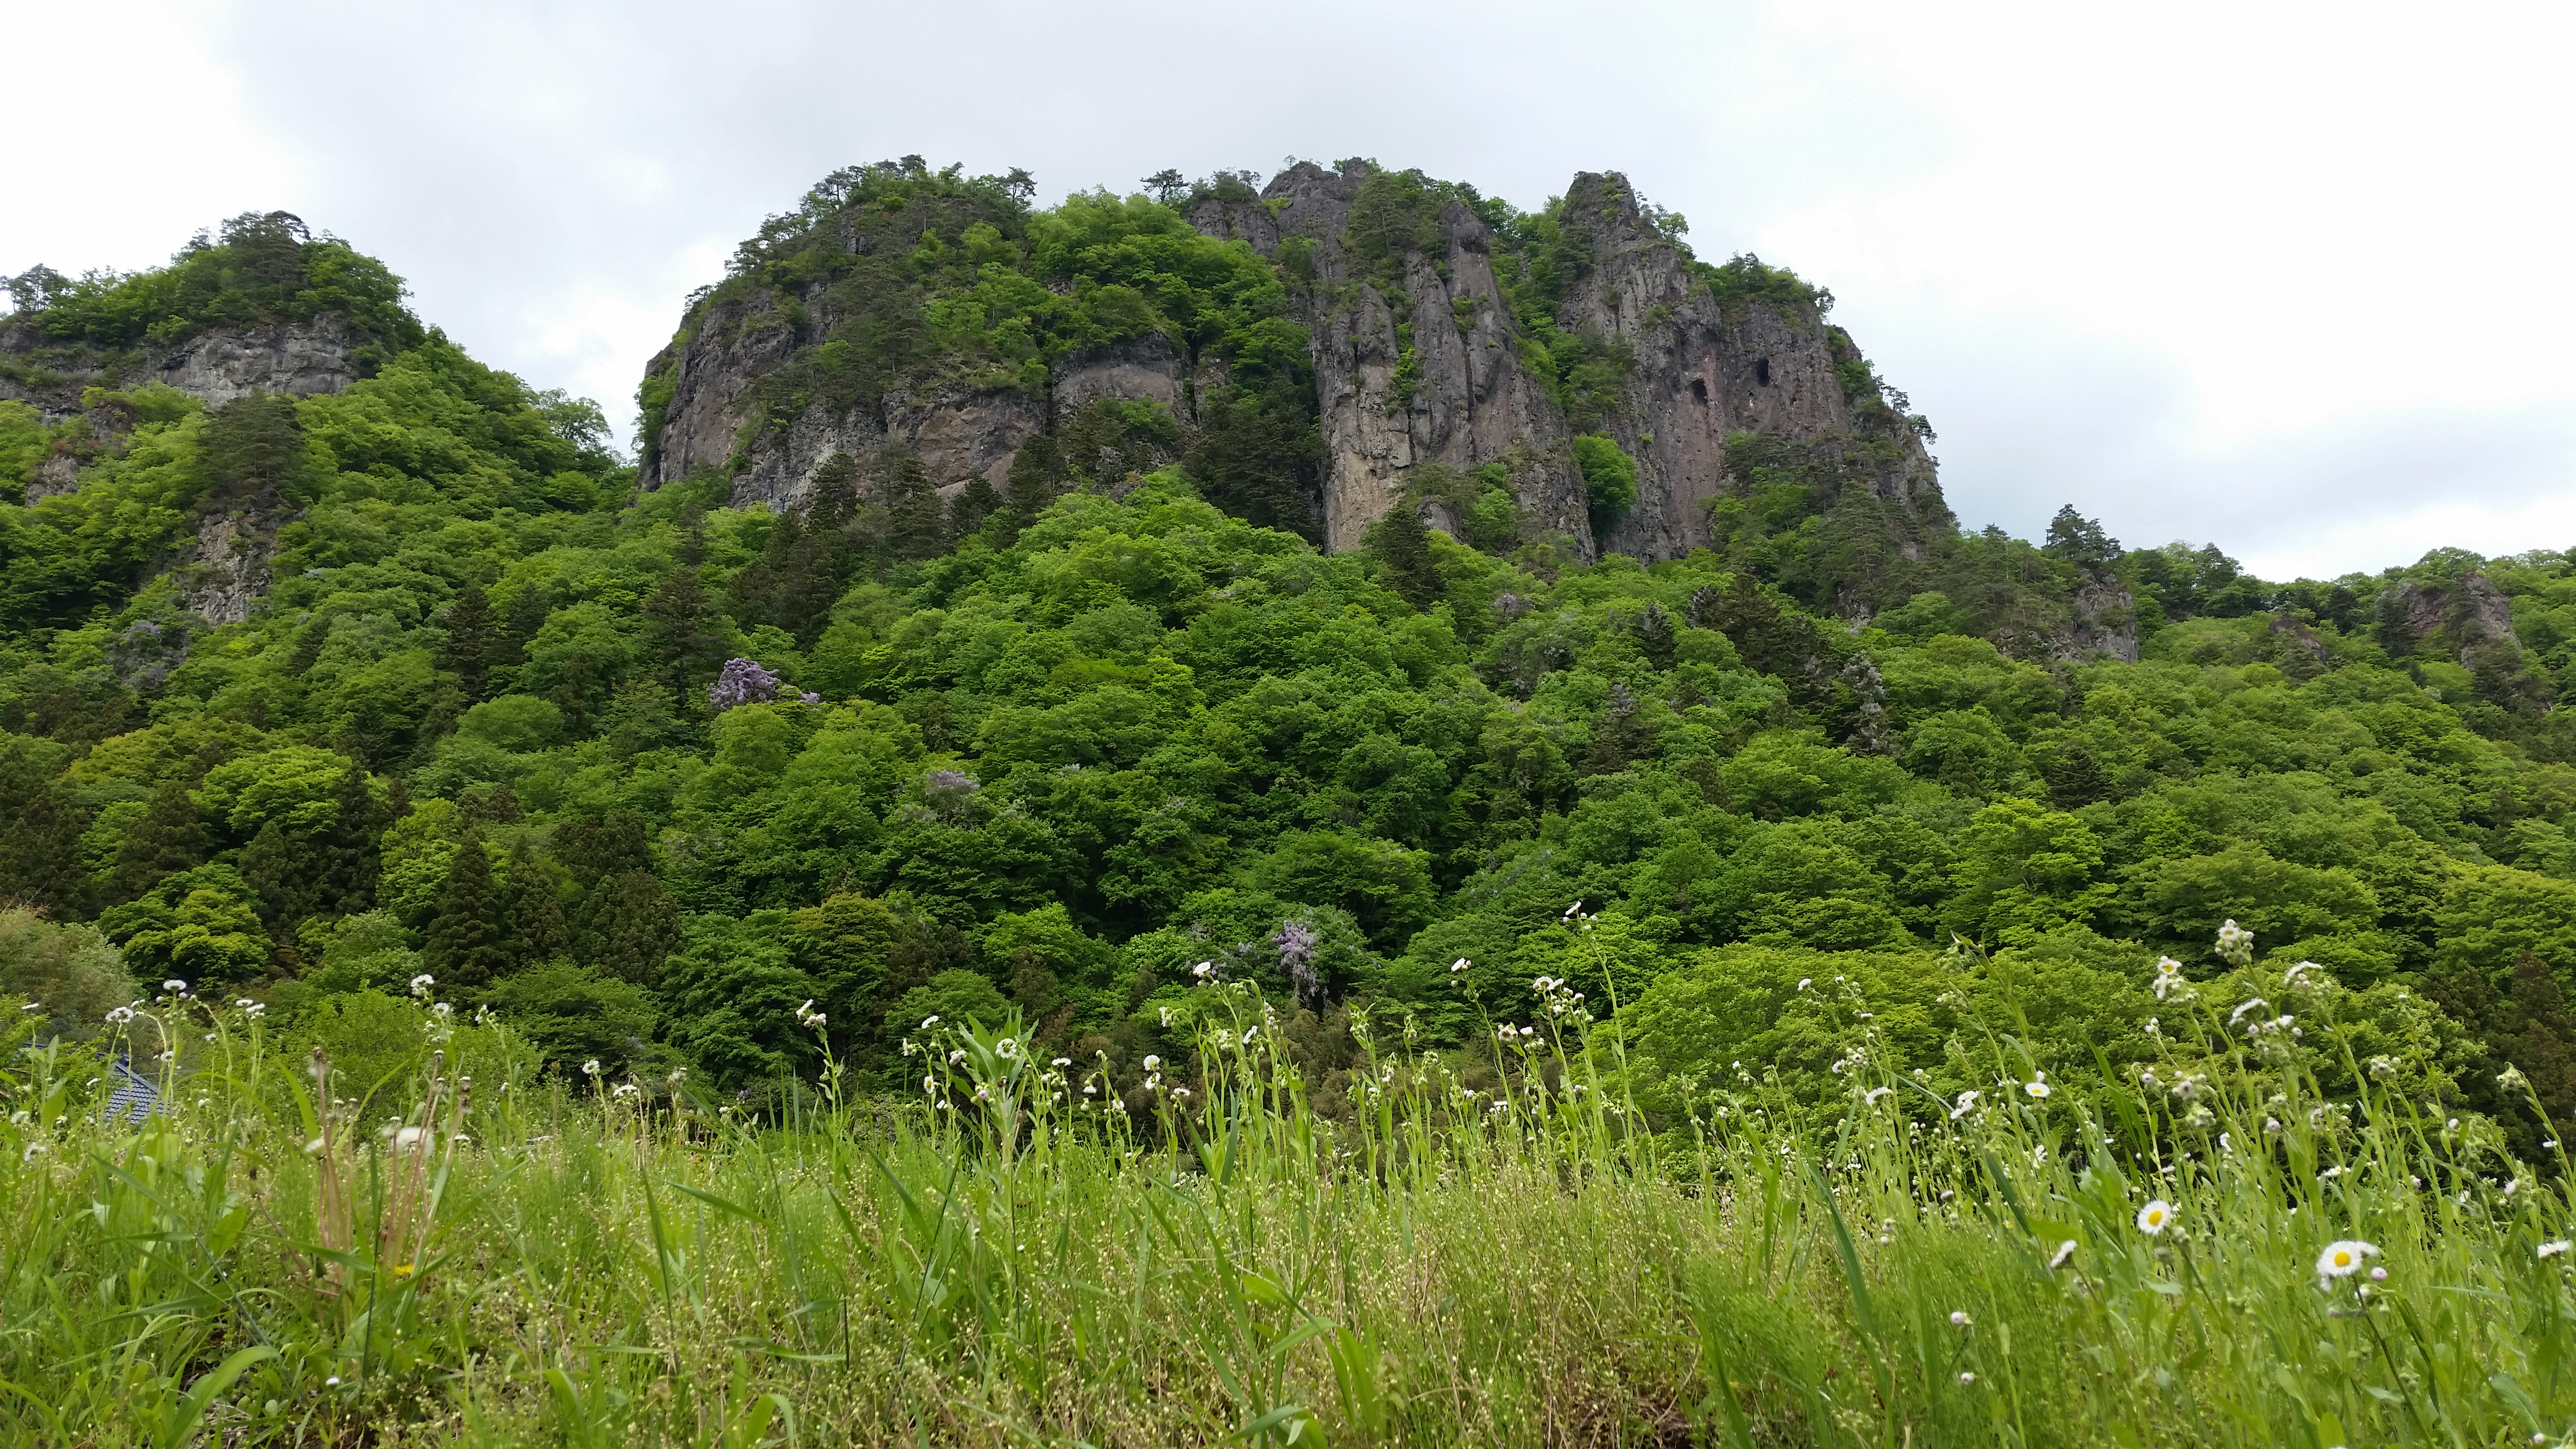
The impressive figure of Mt Iwabitsu
May 1st 2018: Mt Ogura 御座山 2112m. A 200 famous mountain, located in Nagano prefecture, it is about a 30 minute bus ride (one bus transfer necessary) from Komi 小海 station on the Komi line. By the way, this is a pretty extraordinary train line – the highest station is 1345m high (Nobeyama 野辺山 station)! The Komi line is accesssed from Sakudaira 佐久平 station on the Hokuriku Shinkansen. This is also probably one of the furthest distances you can travel in one day using the pass – 200 km one way! this is because you have to go all the way around the mountainous area that is between the Kanto plain and Yatsugatake. Komi station is only 125km from Tokyo as the crow flies. Return to Komi station is also by bus but from the other (Northern) side of the mountain. Good views of Yatsugatake, Mt Kinpu and Mt Ryokami.
View from the top of Mt Ogura
April 30th: Tatsuiwa 立岩 1265. A Kanto 100 famous mountain in Gunma prefecture, accessed via train (Joshin railway 上信電鉄 from Takasaki), bus from Shimonita 下仁田 station and taxi from Nanmoku 南牧. The trailhead starts at the impressive Sengataki 線ヶ滝 waterfall. WARNING: This hike has a steep section along a gully with loose rocks – be careful not to send any rocks tumbling down below you. Also there is a short section with chains along a rockwall. You need to maintain 3 points of contact at all times when progressing along it. Great views to the south of the Nishijotsu area. Return via the neighbouring mountain (Mt Arafune) to avoid a long walk along on a road from the Tatsuiwa trailhead.
Trail near the top of Tatsuiwa
April 30th 2018: Mt Arafune 荒船山 1423m. A 200 famous mountain in Gunma prefecture, next to Tatsuiwa and shaped as a ship. It was my second time climbing it and it was simply a good way to end my hike at an onsen and bus stop (Arafunenoyu 荒船の湯). No views from the the top but before heading down to the onsen, there is a good viewpoint of Mt Myogi from tomoiwa 艫岩. This is on top of a cliff so be careful – the creator of Crayon Shin-Chan fell to his death here while taking a photo.
Photo of Mt Arafune, taken 3 years ago from the Uchiyama campsite.
April 29th 2018: Mt Yamizo 八溝 1022m. A Kanto 100 famous mountain and the highest peak of Ibaraki prefecture, also on the border of Fukushima prefecture. One hour by car from Nasushiobara 那須塩原 station, you can literally drive to the top where there is a small castle-shaped observation tower (good views of Mt Nasu, Mt Takahara and the Nikko mountains). However for hiking purposes, I stopped at a small parking area about an hour on foot from the top, and did a round trip to Mt Takasasayama 高笹山 (922m) along the southeastern ridge.
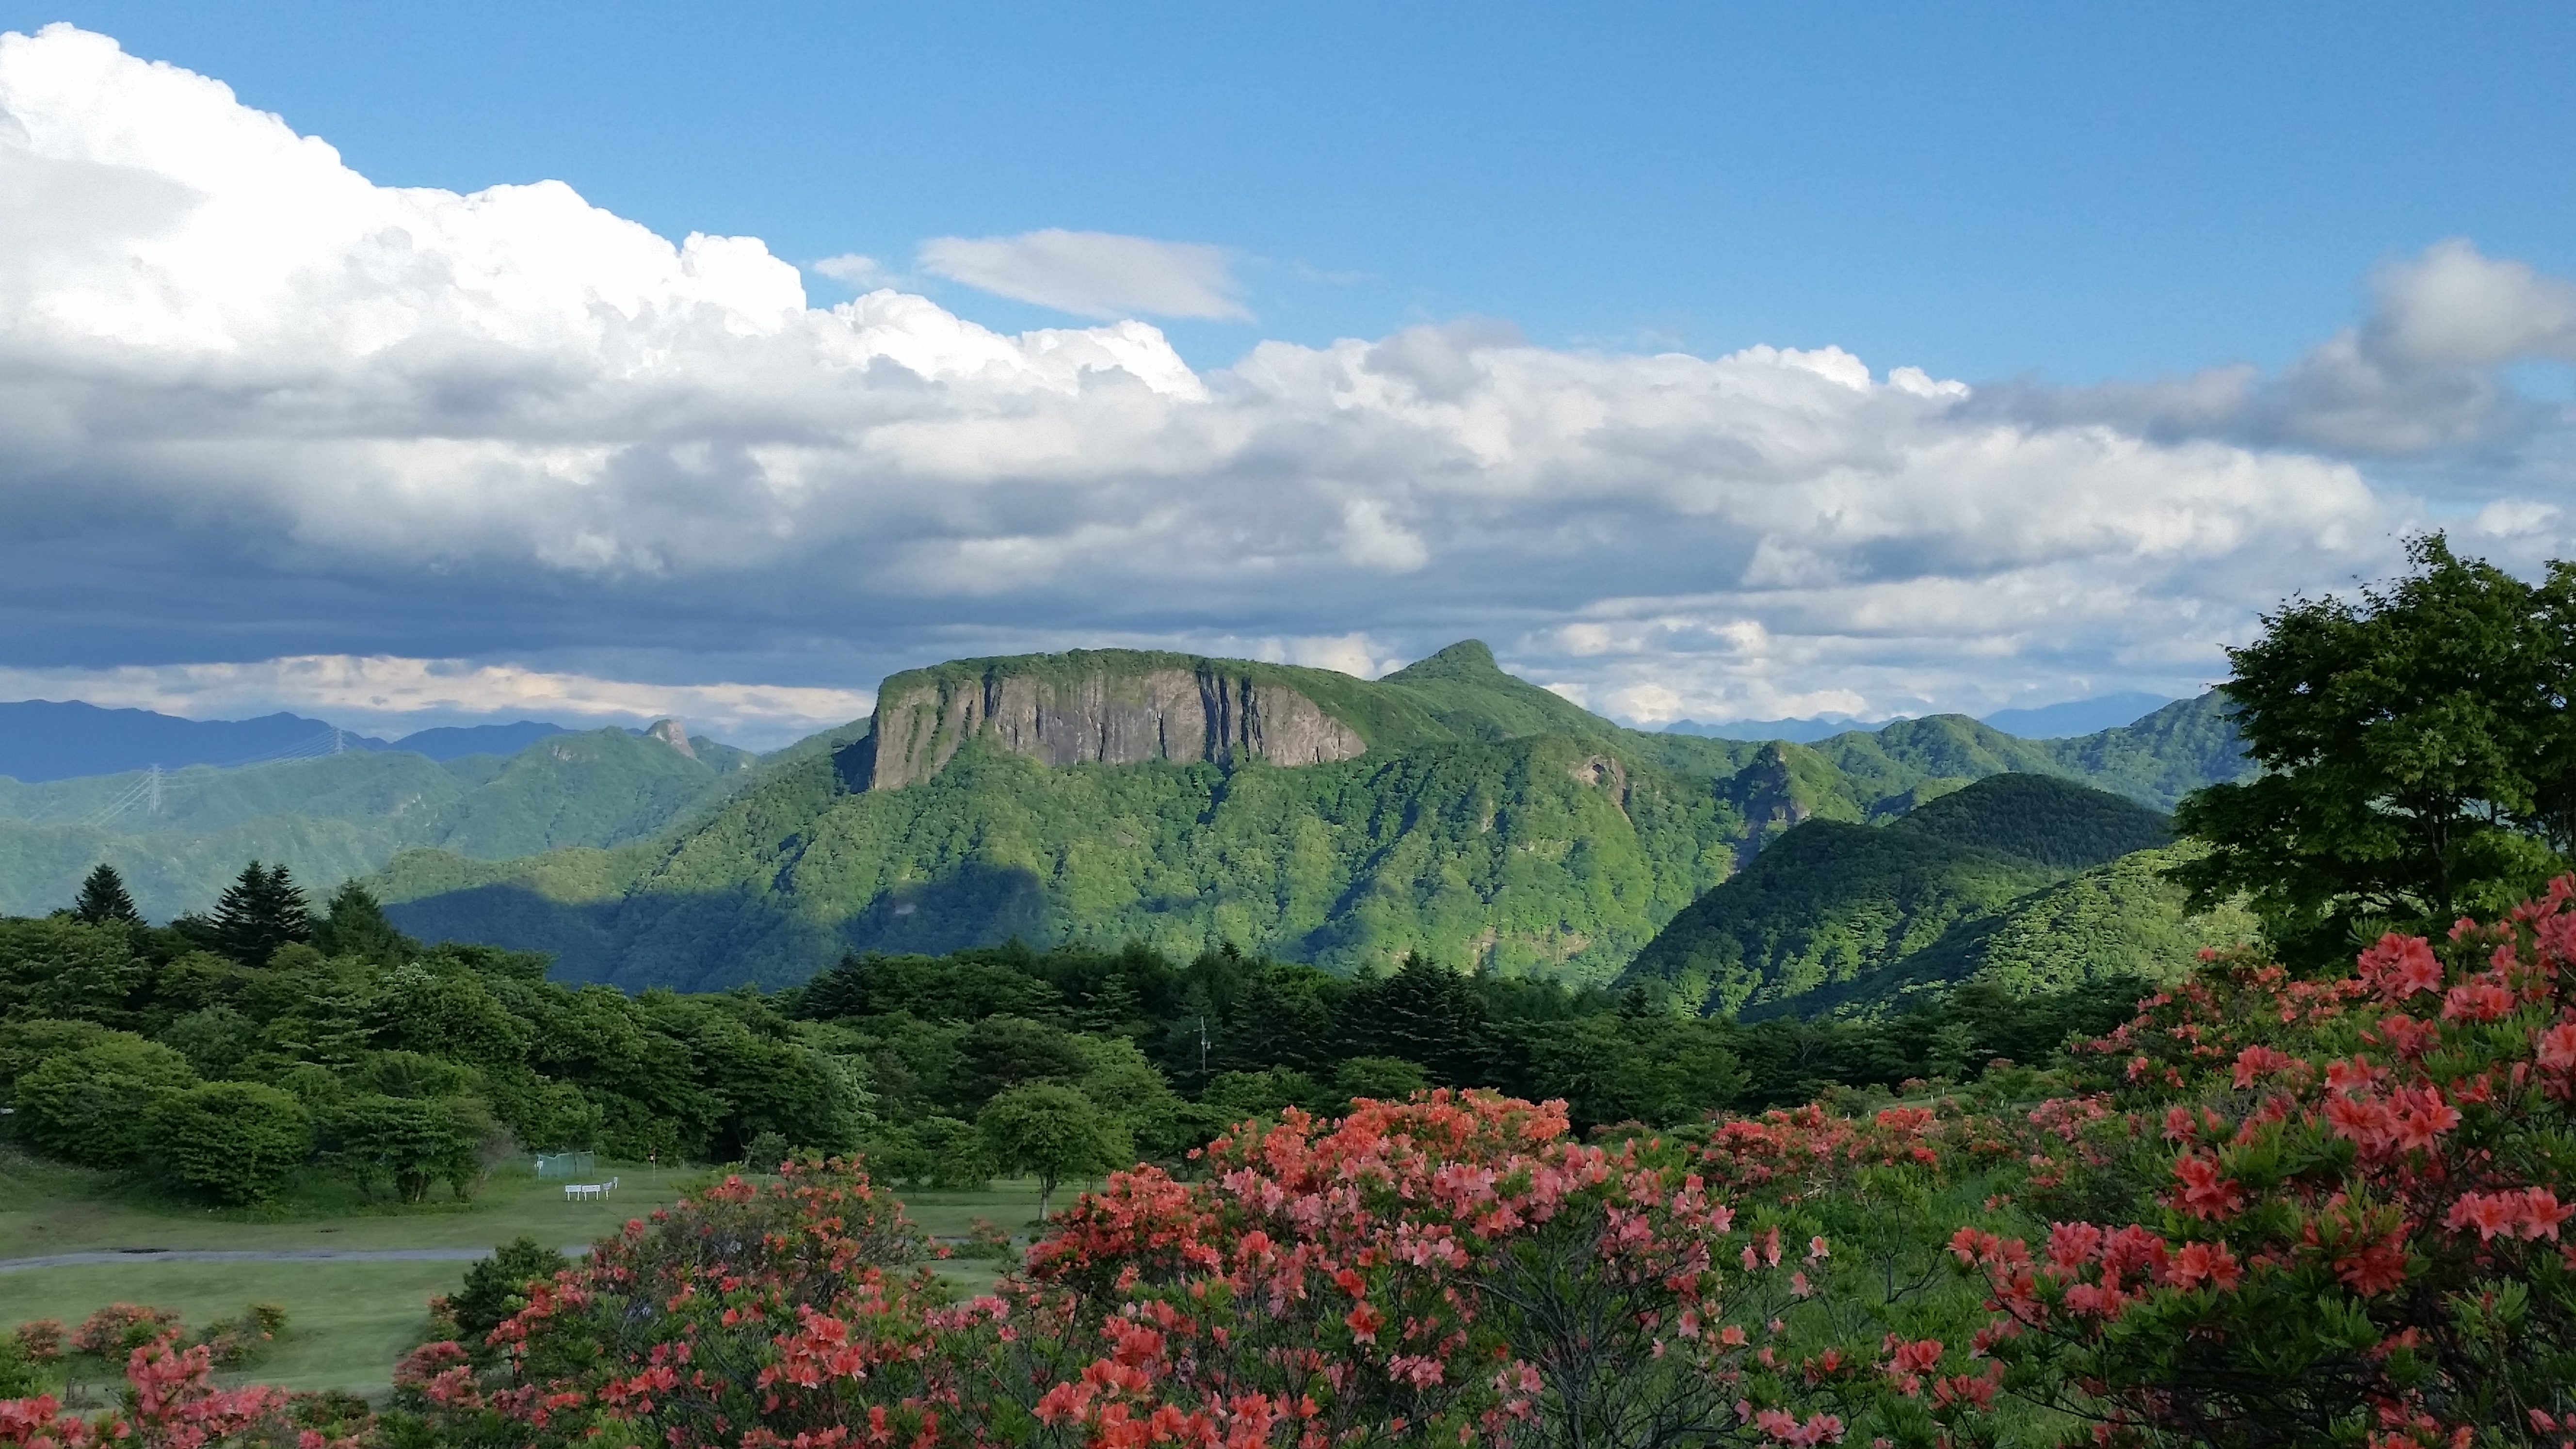
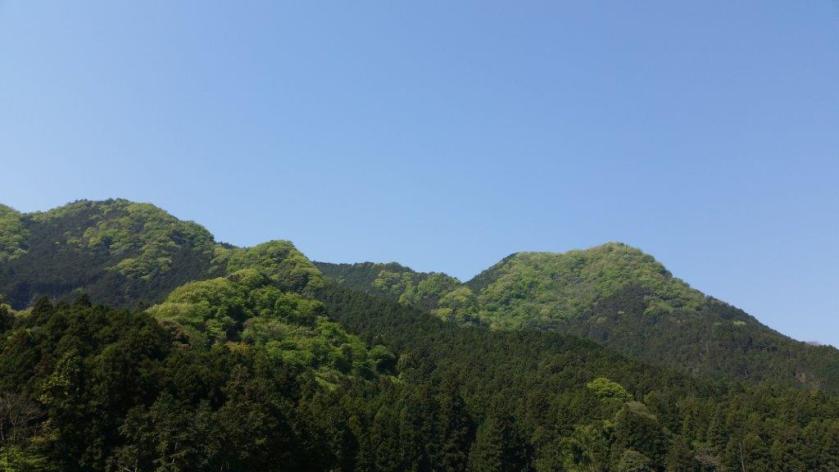
Mt Mitsumine (三峰山 meaning “3 peaks”, also known as Mt Ontake 御嶽山) is tucked away among the many mountains north of Tochigi city, and it only came to my attention thanks to its inclusion in the Tochigi hundred famous mountains. At first glance, I thought it could only be reached by car, but further research using Google Maps showed that the trail entrance was just a short walk from a Tochigi city bus stop near the Hoshino Archaeological site. I chose a warm, blue-sky Spring day to explore this sacred mountain.
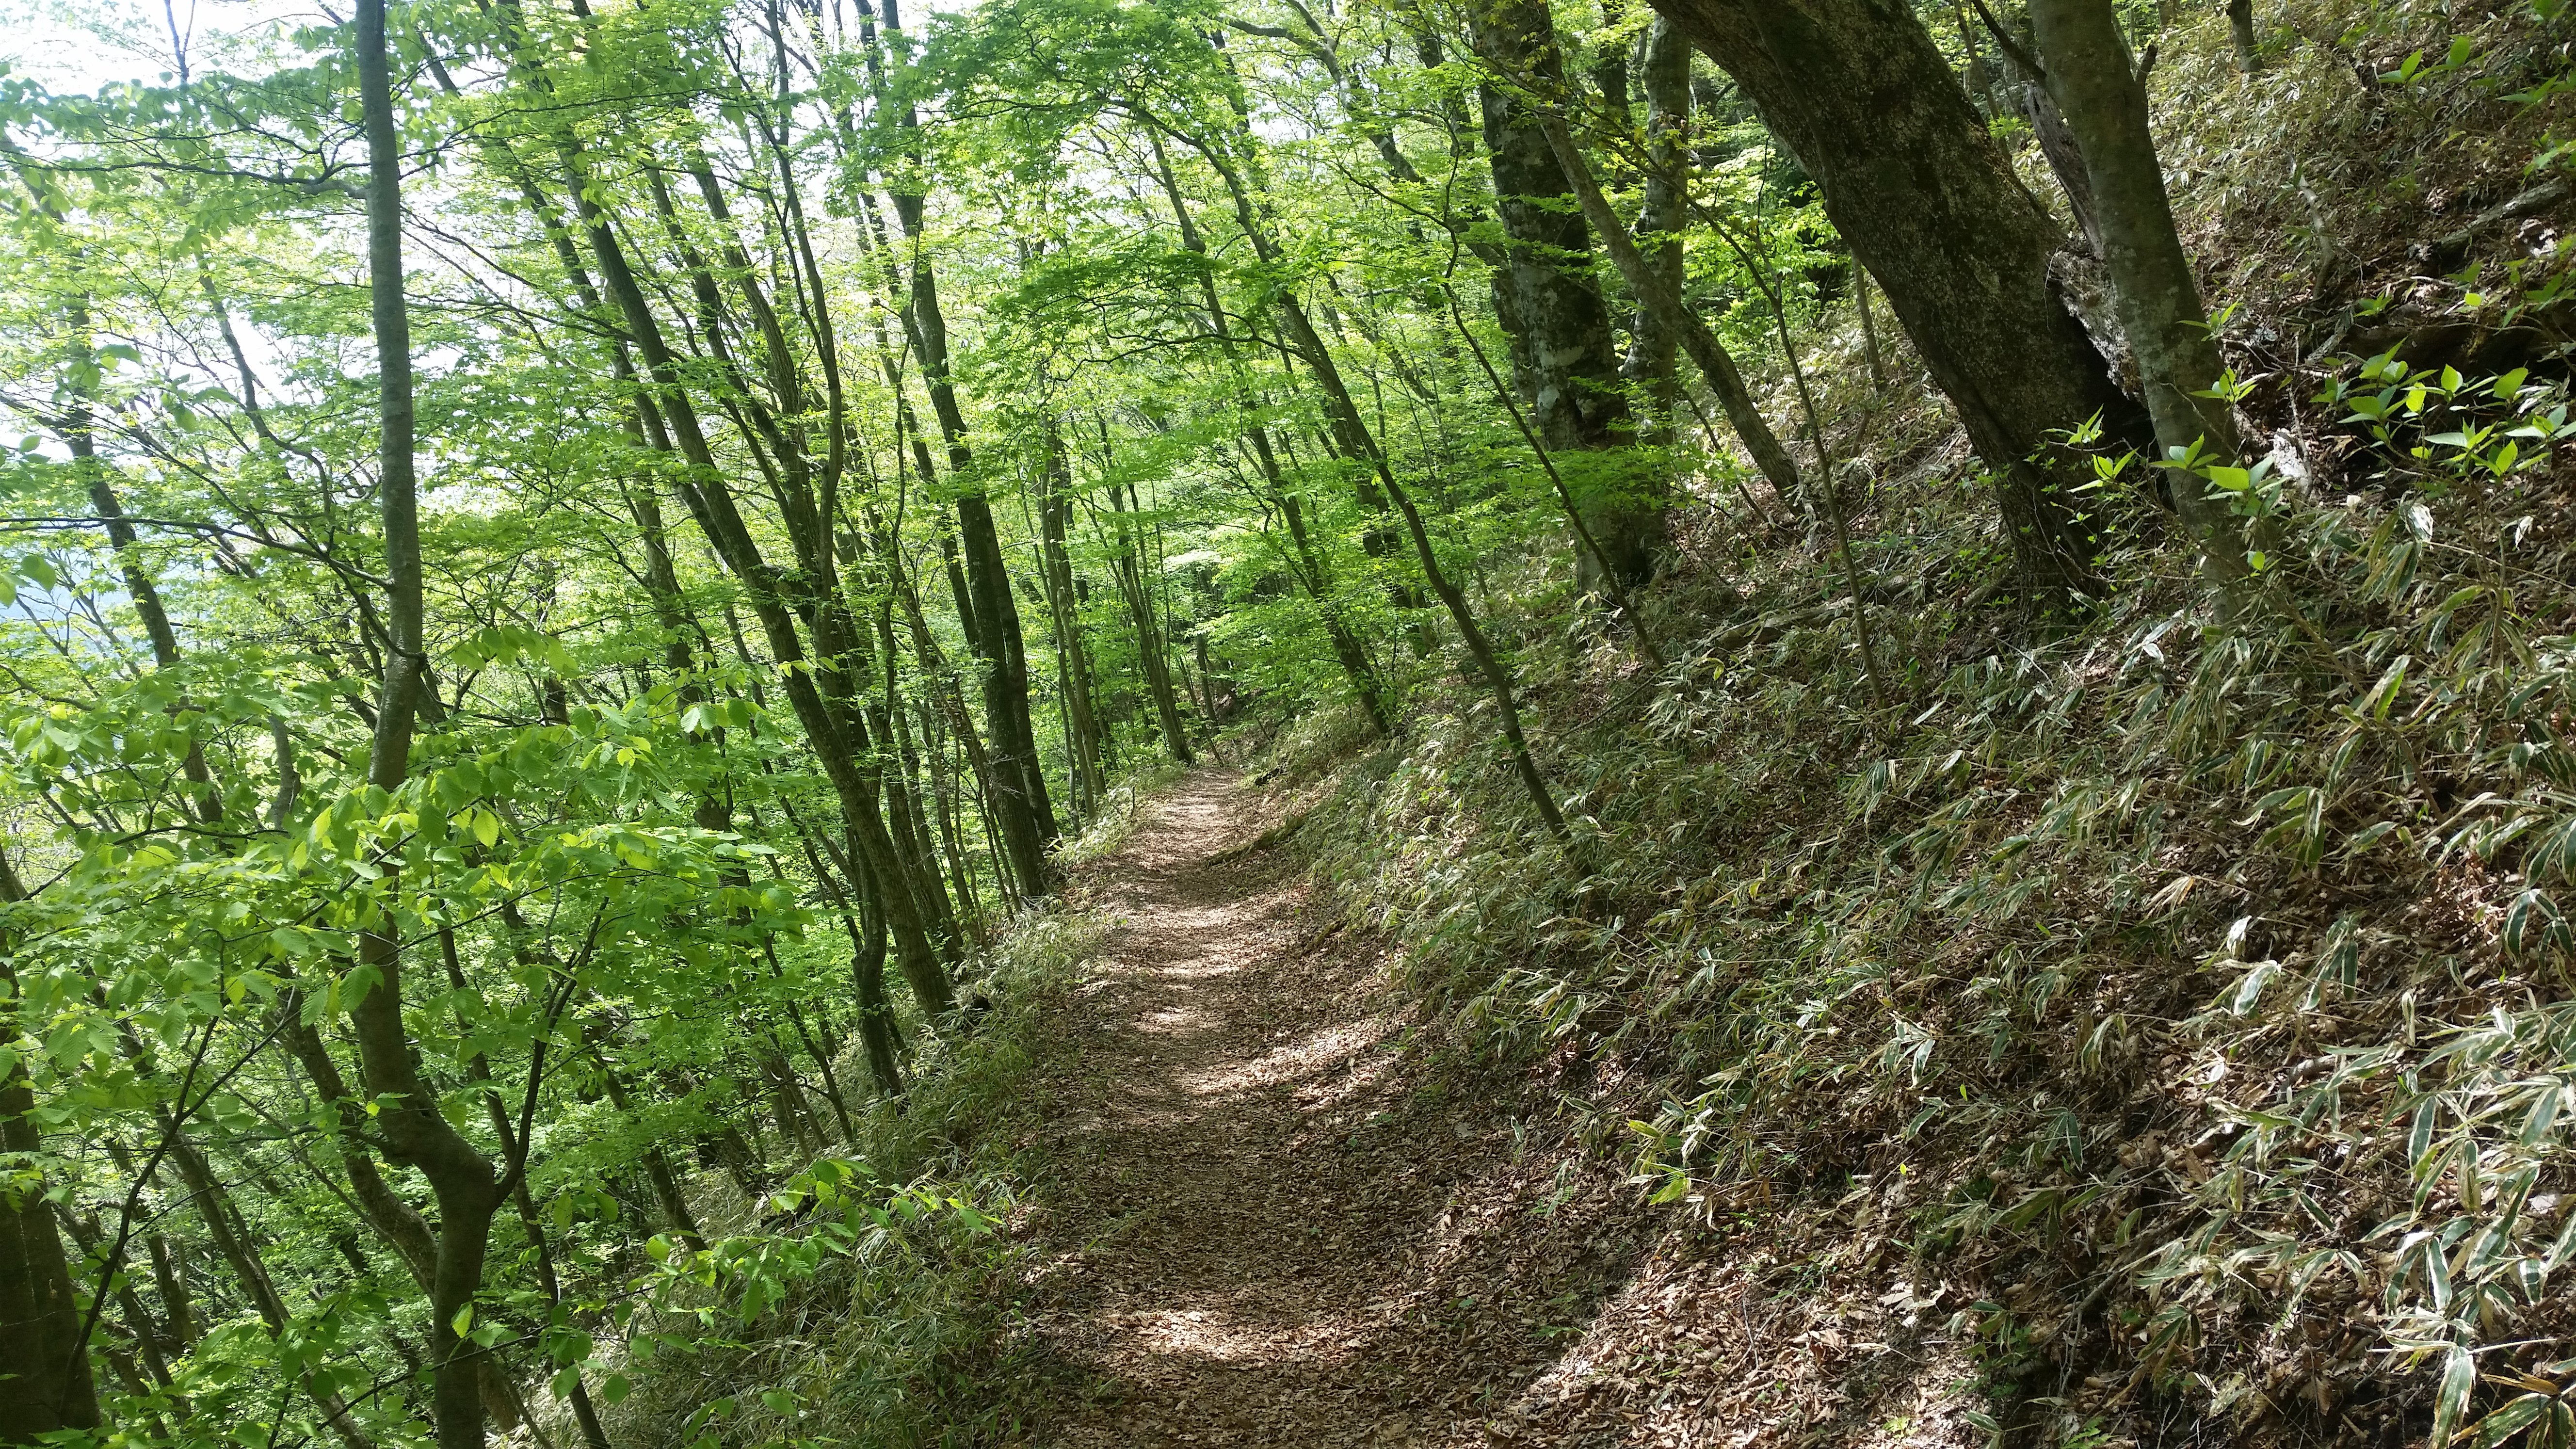
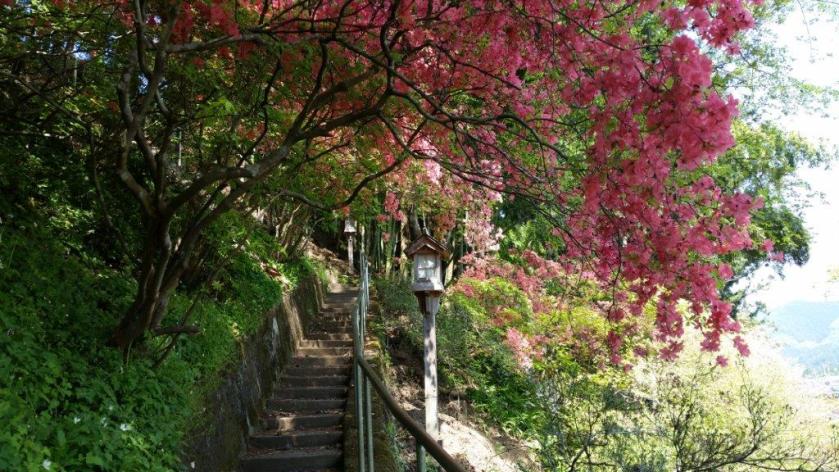
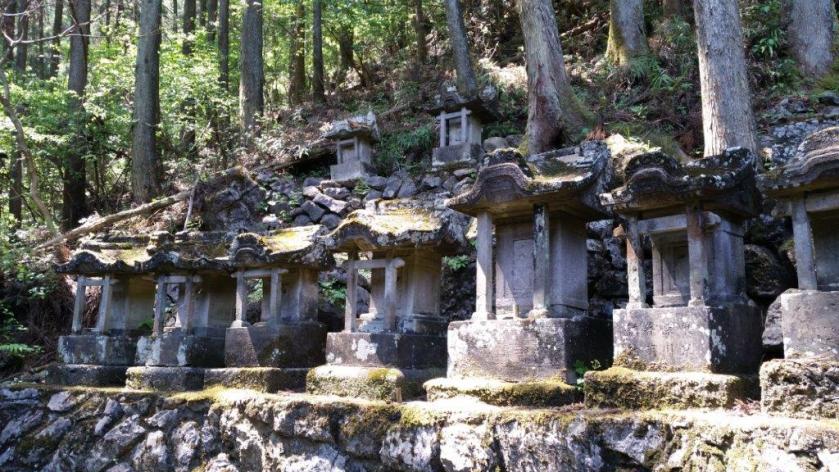
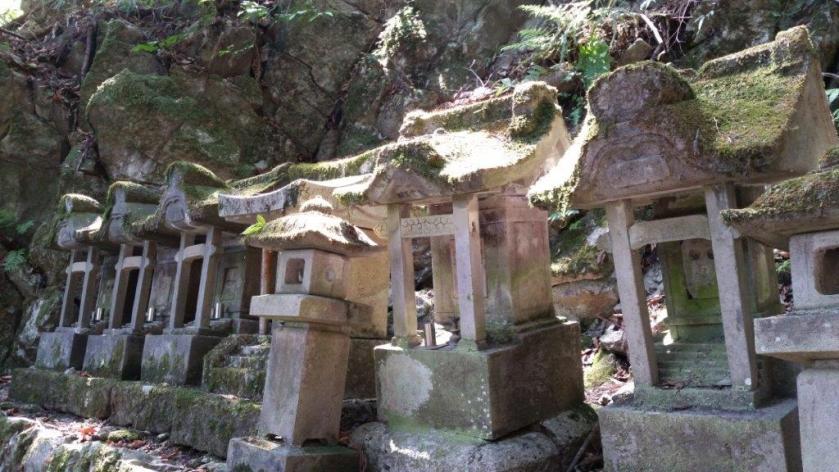
The hiking trail, also used by pilgrims, starts directly behind Ontake shrine up a staircase lined with “toro” or lanterns. In this season, “tsutsuji“or azalea were in full bloom adding patches of pink to the new green scenery. Further up the path, I saw many”Reijin-hi” (霊神碑), or miniature stone Shinto shrines, contributing to the mystic feel to the climb. The mountain is connected to the Ontake Faith, centered on Mt Ontake in the Hida mountains; Kobo-daishi also spent time at this mountain. At the top of some weather-worn stone steps, I reached a bench with a partial view – the perfect spot for an early lunch break.
View of Mt Mitsumine from the Bus Stop
After some more ascending, I reached a fork in the path: a short way to the right was “oku no in” (奥の院) marked by a stone “tori“, or Shinto gate; past it, were 3 dignified statues, the gods of creation in Japanese mythology, and a narrow view through a gap in the vegetation. Retracing my steps, I resumed my climb, soon reaching the flat top part of the mountain. Plodding through the featureless forest, it was hard to determine the location of the three peaks, let alone the highest one.
Watch a Short Video of the Mitsumine Summit View
I finally arrived at the official summit marker, oddly enough not the real top, but a spot on the western side and free of trees. I could see ridgeline after ridgeline disappear into haze, no particular peak standing out; apparently in the winter, one can see the Oku-Nikko mountains. Directly below was a gigantic construction field, as this side of the mountain is being constantly mined, similar to Mt Buko. After admiring the view, I used a more direct route down the east side to get back to the bus stop for the return trip to Tochigi station.





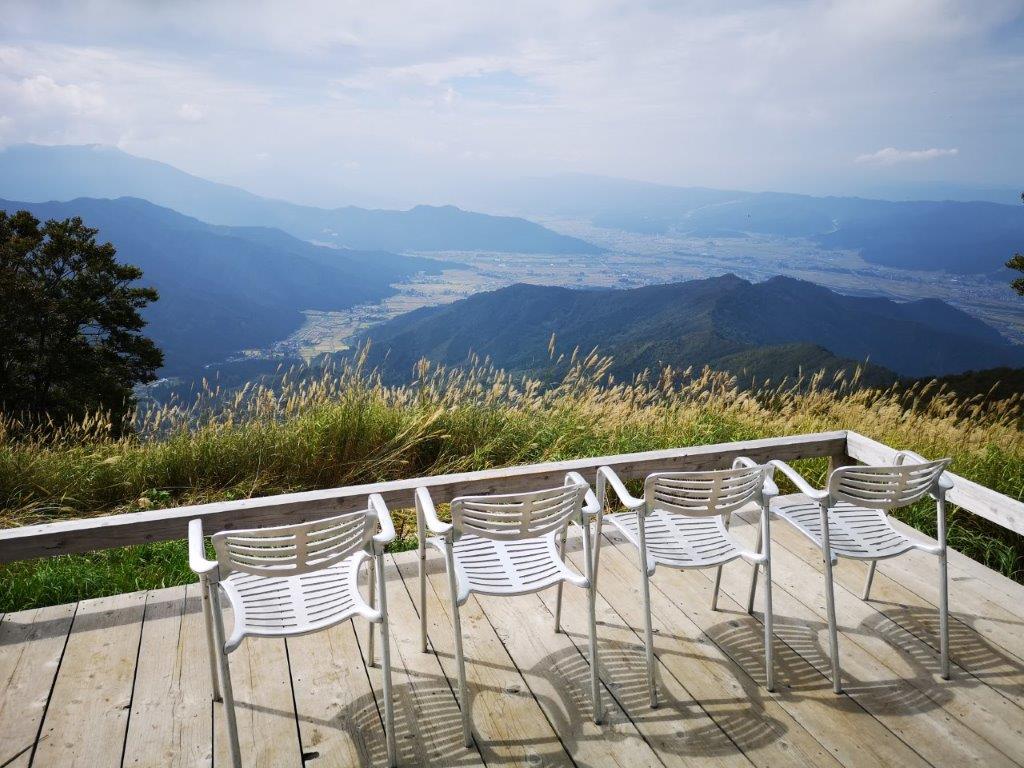
![Mt Zao (1841m), Yamagata City, Yamagata Prefecture, Friday, October 26, 2018 [Map Available]](https://hikingtokyo.com/wp-content/uploads/2022/09/img_20181026_113404.jpg?w=1024)

































 Hiking Around Tokyo
You must be logged in to post a comment.